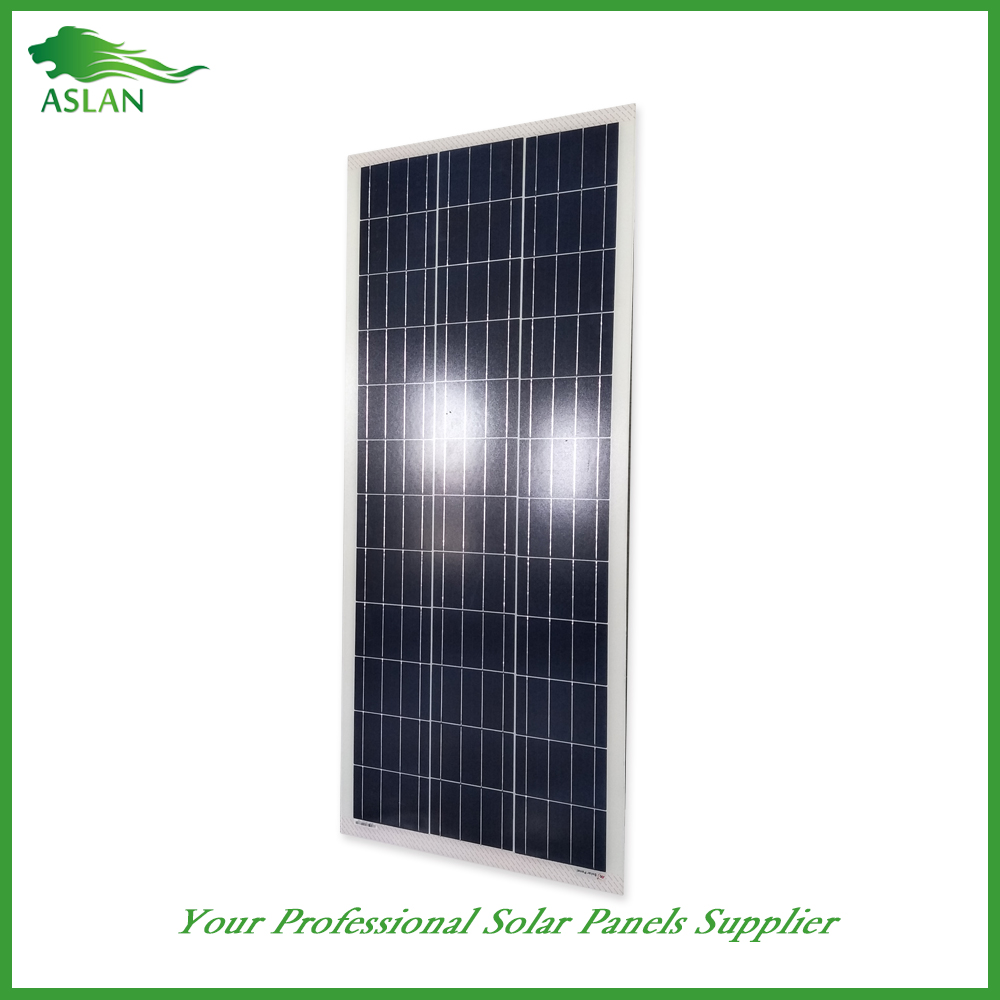
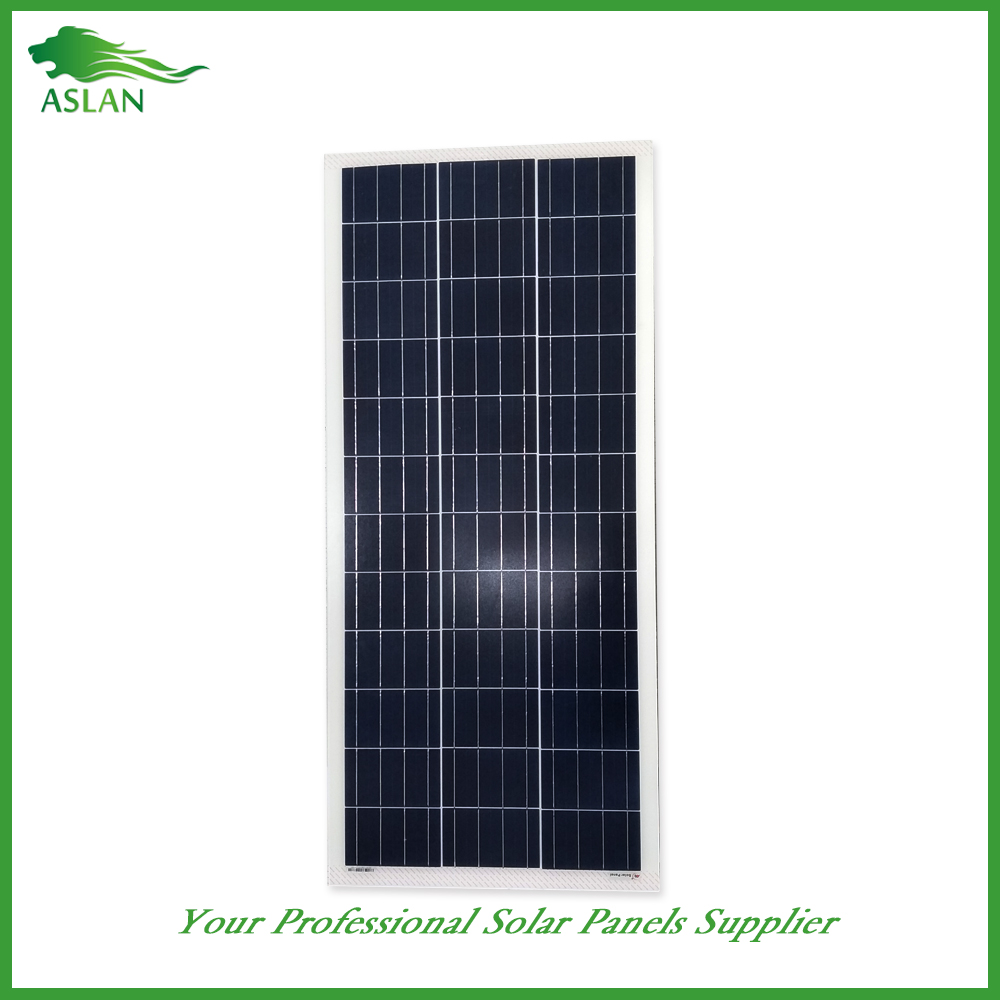
Short Lead Time for Mono-Crystalline 50W Solar Panel to Burundi Factory
Short Description:
Our development depends on the advanced equipment ,excellent talents and continuously strengthened technology forces for Short Lead Time for Mono-Crystalline 50W Solar Panel to Burundi Factory, We warmly welcome your participation based on mutual benefits in the near future.
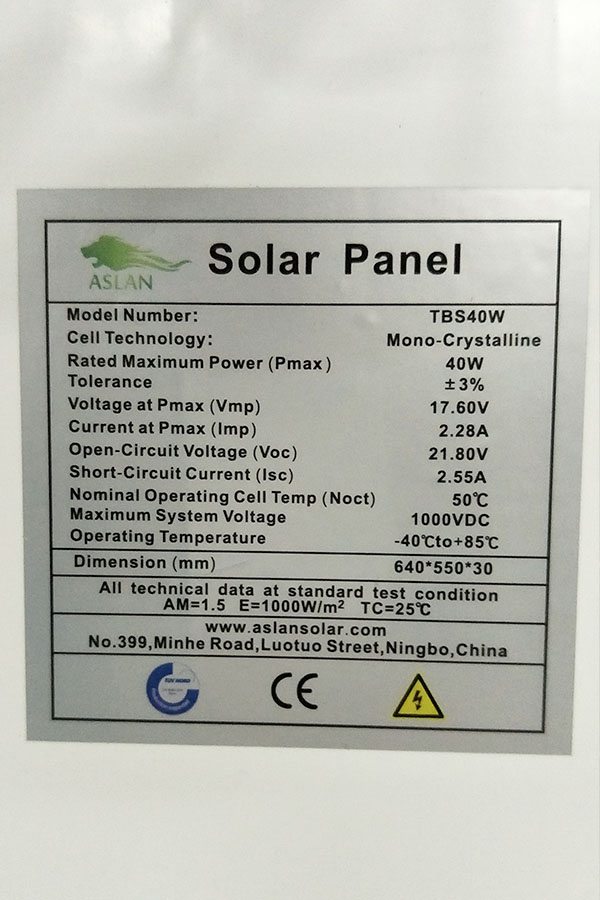
Technical parameter
Maximum Power(W) 50W
Optimum Power Voltage(Vmp) 18.72V
Optimum Operating Current(Imp) 2.67A
Open Circuit Voltage(Voc) 22.83V
Short Circuit Current(Isc) 2.94A
Mechanical Characteristics
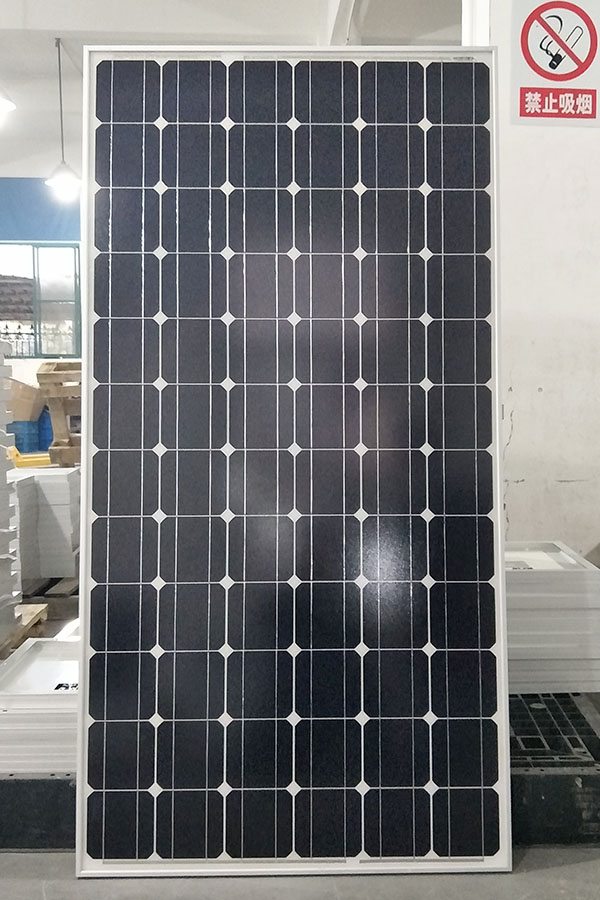
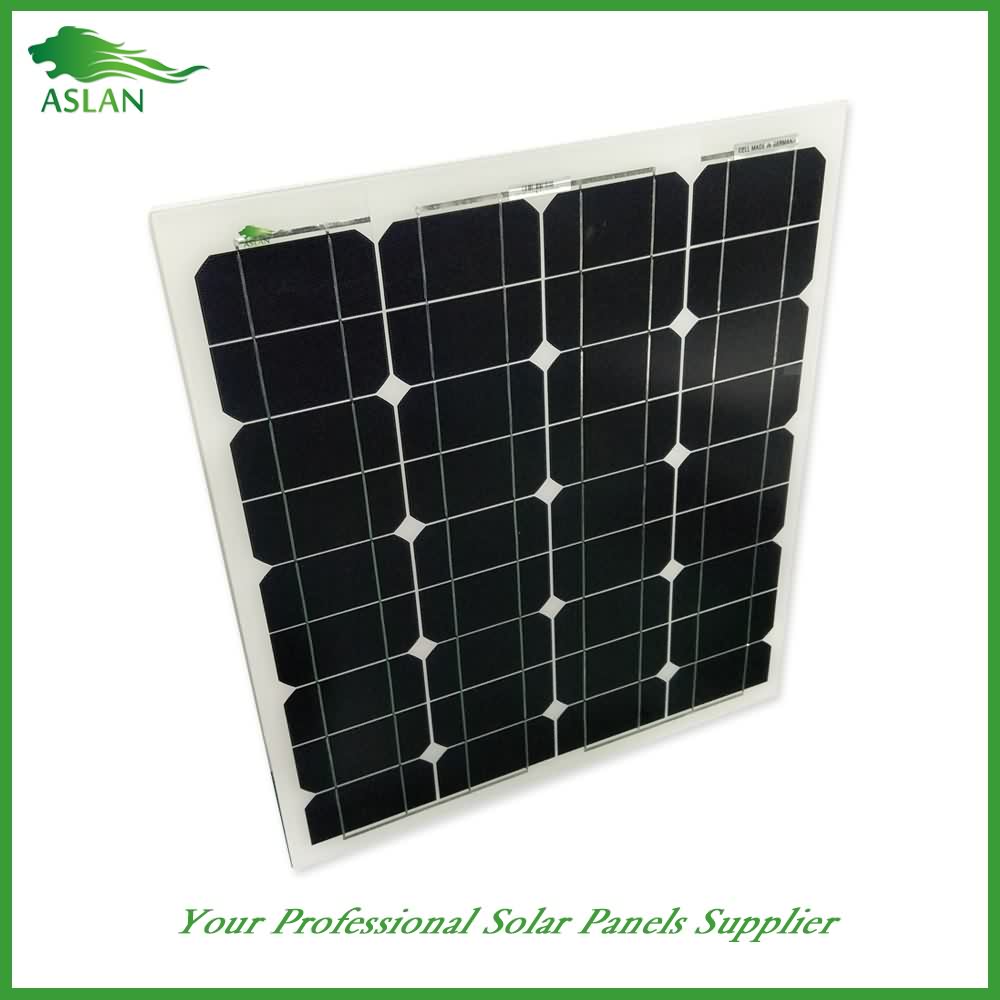
Cell Type Monocrystalline 125×62.5mm
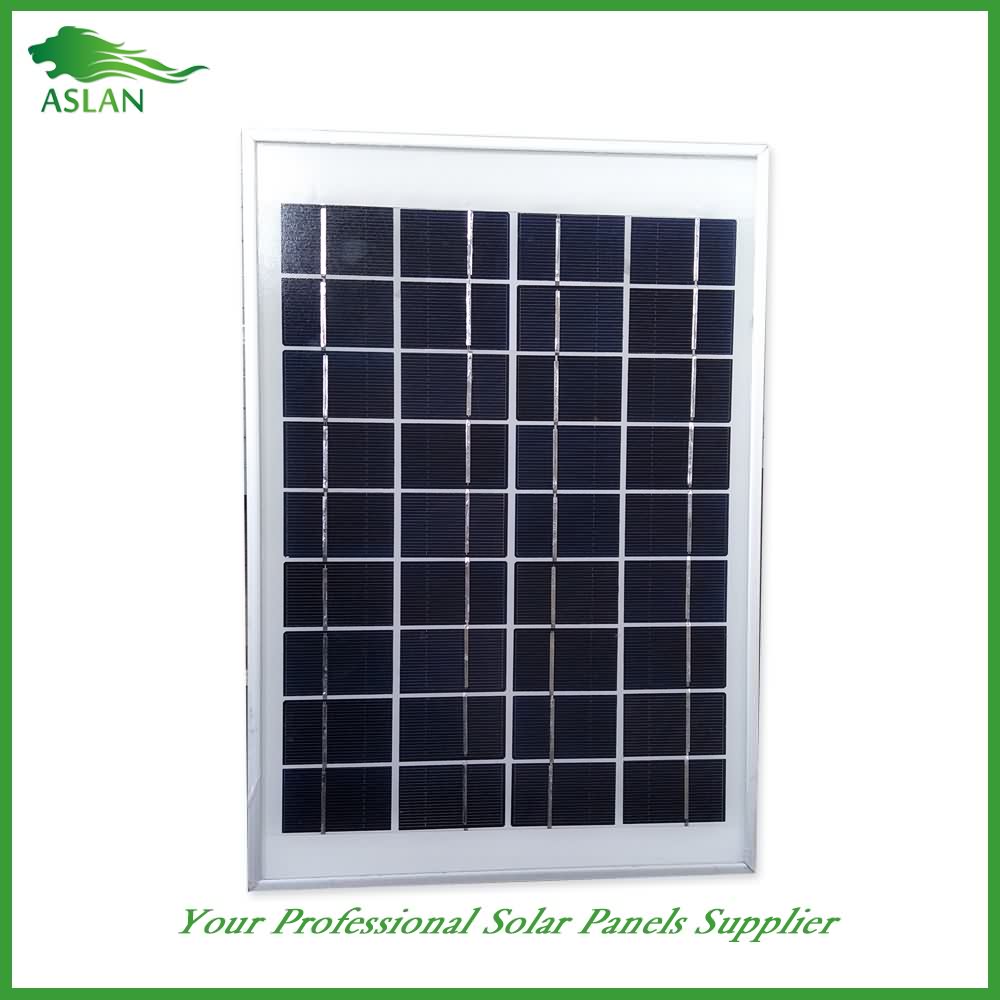
No of Cell 36 (4x9pcs)
Dimensions 636x554x25mm
Weight 4.2Kg
Front Glass 3.5mm,High Transmission, Low Iron,Tempered Glass
Junction box IP65 Rated
Output Cable TUV 1×4.0mm2/UL12AWG,Length:900mm
Temperature and Coefficients
Operating Temperature(°C): -40°C ~ + 85°C
Maximum System Voltage: 600V(UL)/1000V(IEC) DC
Maximum Rated Current Series: 15A
Temperature Coefficients of Pmax: -0.47%
Temperature Coefficients of Voc: -0.389%
Temperature Coefficients of Isc: 0.057%
Nominal Operationg Cell Temperature (NOCT): 47+/-2°C
Materials of solar panel
1).Solar Cell——Mono-crystalline solar cell 125*125mm
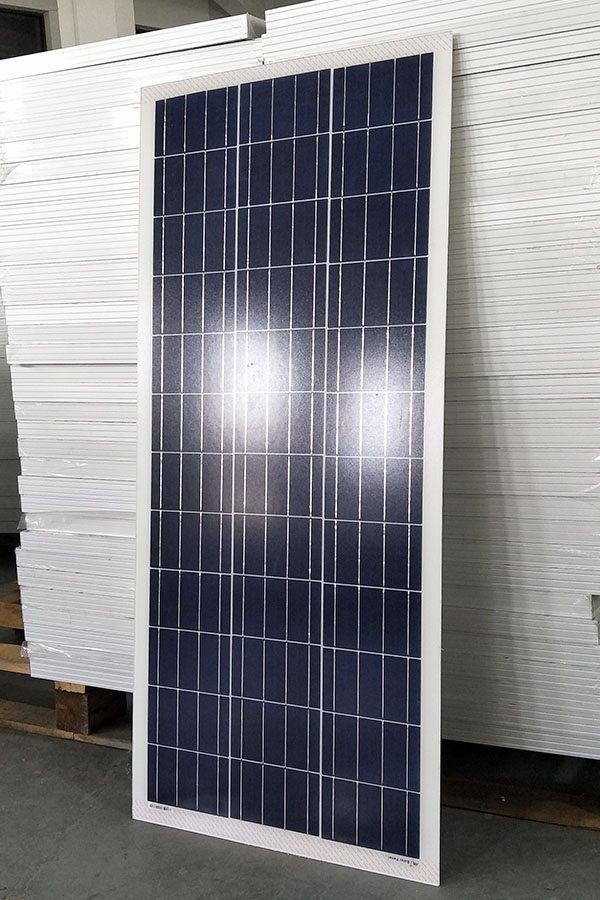
2).Front Glass——-3.2mm, high transmission, low iron, tempered glass
3).EVA——-excellent anti-aging EVA
4).TPT——-TPT hot seal made of flame resistance
5).Frame——anodized aluminum profile
6).Junction Box——-IP65 rated, high quality, with diode protection
Superiority: high quality anodized aluminum frame, high efficiency long life, easy installation, strong wind resistance, strong hail resistance.
Features
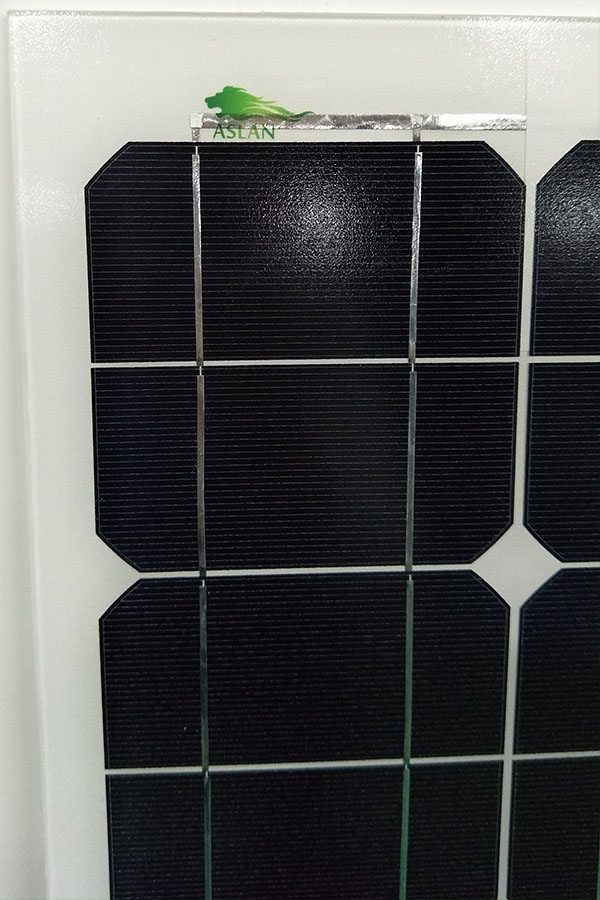
1. High cell efficiency with quality silicon materials for long term output stability
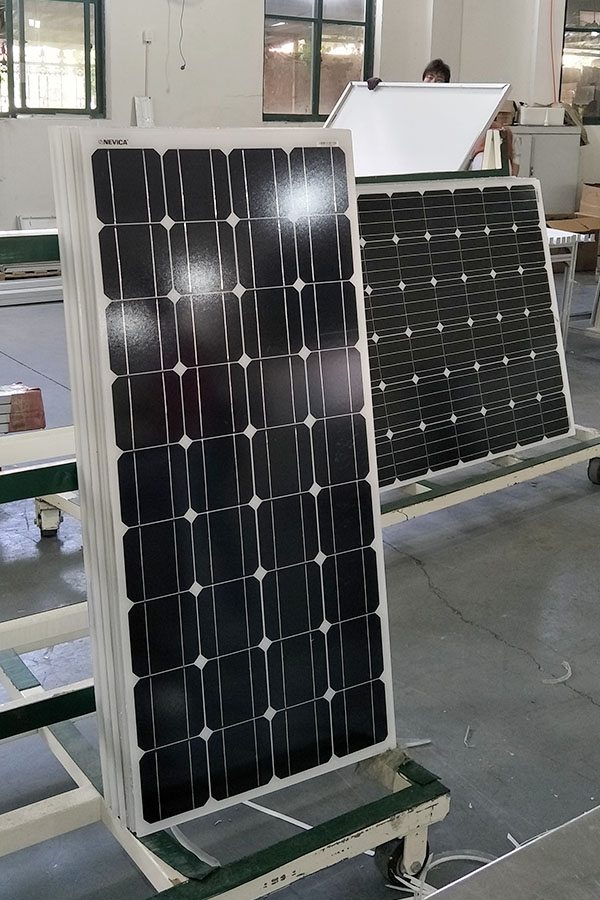
2. Strictly quality control ensure the stability and reliability, totally 23 QC procedures
3. High transmittance low iron tempered glass with enhanced stiffness and impact resistance
4. Both Poly-crystalline and Mono-crystalline
5. Excellent performance in harsh weather
6. Outstanding electrical performance under high temperature and low irradiance
Quality assurance testing
Thermal cycling test
Thermal shock test
Thermal/Freezing and high humidity cycling test
Electrical isolation test
Hail impact test
Mechanical, wind and twist loading test
Salt mist test
Light and water-exposure test
Moist carbon dioxide/sulphur dioxide
Surebond SB-140 Skylight sealant can be a bit hard to find. We got it on Amazon.com. Click here to see it:
http://tinyurl.com/php6ocj
If your RV’s skylight is cracked or broken, or just old and cloudy, we’ll show you how easy it is to replace it with a brand new one. Access to your roof and a few tools are all it takes to get the job done.
April 11th marks exactly a decade of full-time RVing for us! We drove away from our “stick house” for the last time on April 11, 2003 and never looked back. Since just about any type of motorhome, 5th wheel or travel trailer might have a skylight, we’re celebrating our anniversary with a video that just about any RVer can use.
You’ll need a putty knife or two, a can of mineral spirits, a caulk gun loaded with SureBond SB140 butyl sealant, a screw gun, an old rag and a pair of nitrile gloves (mostly to protect your hands from the mineral spirits). Of course you’ll need a brand-new replacement skylight too. Also be sure to have some extra self-drilling screws on hand just in case, since there may be more screw holes in the new skylight than in the old one.
After using your putty knife to scrape away enough sealant to expose the screw heads, remove them all with your screw gun (you could do this by hand, but there are an awful lots of screws to remove and re-install). Then use your putty knife to cut the sealant holding the old skylight onto the roof. If you have a rubber roof (or “EPDM”), be extra careful not to accidentally cut it.
Once you’ve broken the old sealant all the way around the perimeter, the old skylight will lift right off. Then use your putty knife again to scrape up any excess sealant. Now use the mineral spirits on your old rag to clean off the remaining sealant. If you have a “catwalk” roughened roof surface like we do in some areas, you probably won’t be able to get all the old sealant off. As long as you remove the excess, don’t worry about getting it all. Also be sure to be very sparing with minerals spirits if you have a rubber roof, being careful not to soak the material.
Now apply a nice thick bead of SureBond SB-140 on top of the old screw holes all the way around, and place your new skylight down, wiggling it slightly to spread the new sealant into place. Install all of the screws, keeping in mind that it is unlikely that many (or any) of them will go back into the original holes. No worries… the old holes will be sealed and the self-drilling screws will make new ones. To avoid cracking the plastic, don’t over-tighten them.
The final step is a nice bead of sealant around the perimeter and over the screw heads, and voila: you have a brand new crystal clear skylight.
To remove the inside liner of your skylight, follow the steps in our video here:
To hear about new videos, giveaways and other great RVing content as soon as it’s released, visit our website and subscribe!
http://TheRVgeeks.com
The intro music is my own piano performance of Scott Joplin’s Maple Leaf Rag from 1899.
Full-Time RVers since April 11, 2003, we share DIY (do it yourself) RV maintenance, repair, travel, upgrade and operational tips & tricks.
While we’re not RV technicians, we’re very mechanically inclined and have learned a lot about RV systems over the years. We’ve handled most of our own minor service, maintenance and upgrade work on both of our RVs.
We meet lots of newer RVers who are eager to learn some basics about using, maintaining and caring for their rigs. After more than a decade on the road, we’re happy to share what we’ve learned (some of it the hard way). ![]() We hope our experience can help other RVers go DIY, saving time & money while experiencing the satisfaction of a job well done. We’re handy RVers, not professional technicians. We’re happy with the techniques and products we use, but be sure to confirm that all methods and materials you use are compatible with your equipment and abilities. Regardless of what we recommend, consult a professional if you’re unsure about working on your RV. Any task you perform or product you purchase based on any information we provide is strictly at your own risk.
We hope our experience can help other RVers go DIY, saving time & money while experiencing the satisfaction of a job well done. We’re handy RVers, not professional technicians. We’re happy with the techniques and products we use, but be sure to confirm that all methods and materials you use are compatible with your equipment and abilities. Regardless of what we recommend, consult a professional if you’re unsure about working on your RV. Any task you perform or product you purchase based on any information we provide is strictly at your own risk.
We sometimes receive products for evaluation at no cost, but our opinions are our own and we only feature products we personally use, love and can recommend to friends with complete confidence. The RVgeeks participate in the Amazon Services LLC Associates Program, an affiliate advertising program designed to provide a means for sites to earn advertising fees by advertising and linking to Amazon.com.
Comments welcome! Thanks for watching! Don’t forget to subscribe!
LED SOLAR STREET LIGHT, Epsolar Controller with Led Driver
130Wp Poly Crystalline
100Ah Gel Battery