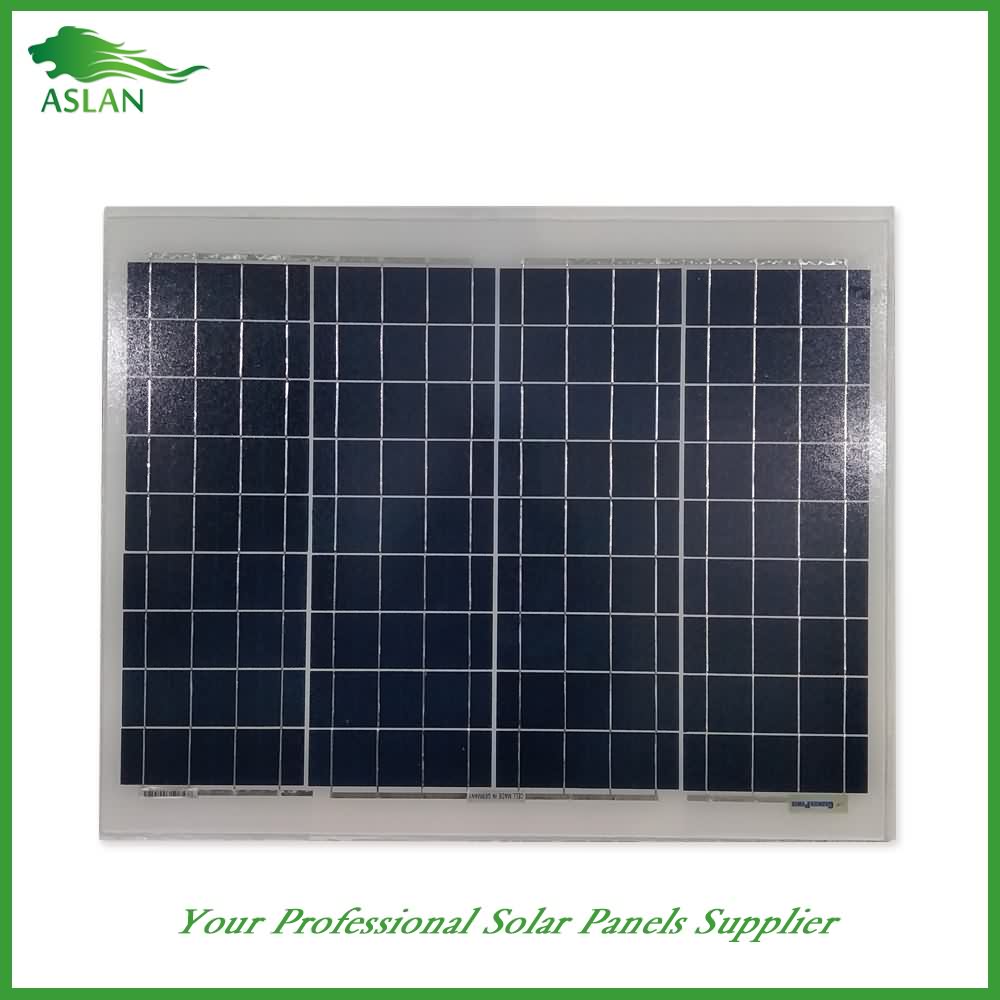
Factory source manufacturing Poly-crystalline Solar Panel 50W Sudan Factories
Short Description:
We are ready to share our knowledge of marketing worldwide and recommend you suitable products at most competitive prices. So Profi Tools offer you best value of money and we are ready to develop together with Factory source manufacturing Poly-crystalline Solar Panel 50W Sudan Factories, We sincerely welcome domestic and foreign merchants who calls, letters asking, or to plants to negotiate, we will offer you quality products and the most enthusiastic service,We look forward to your visit and your cooperation.
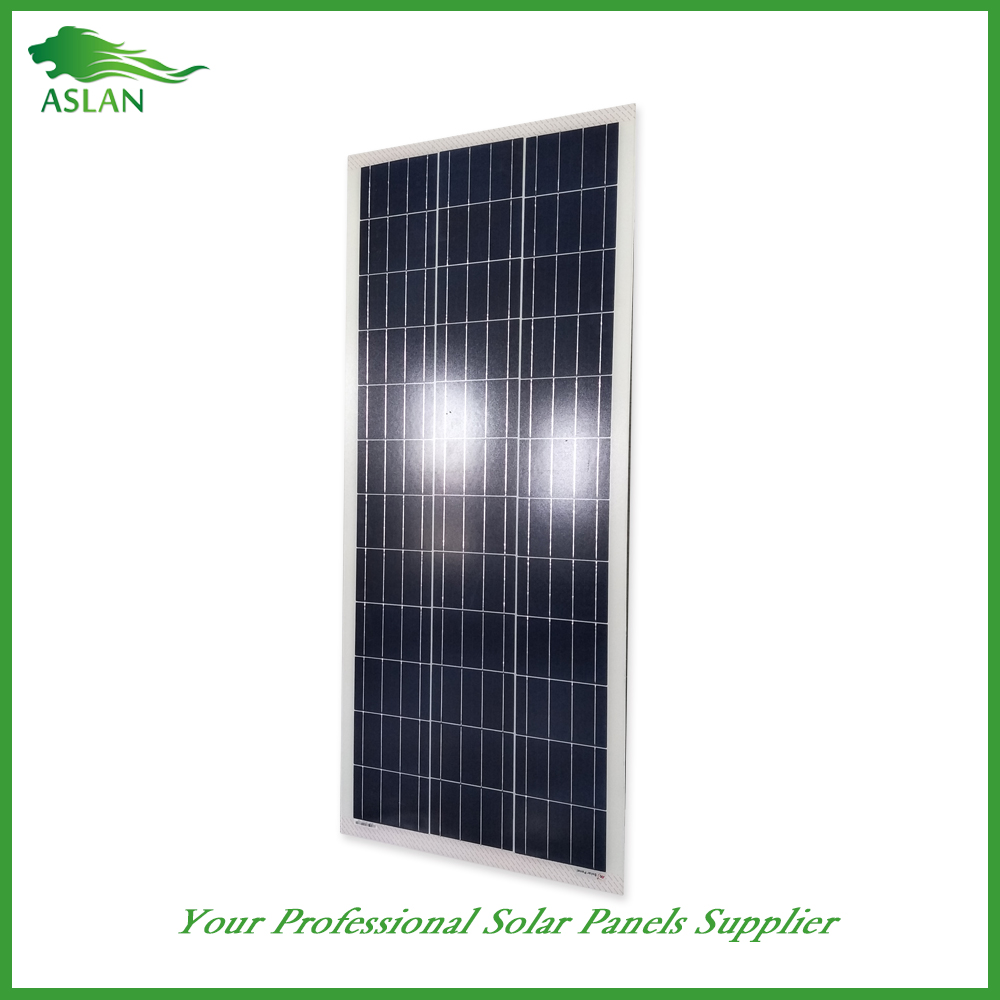
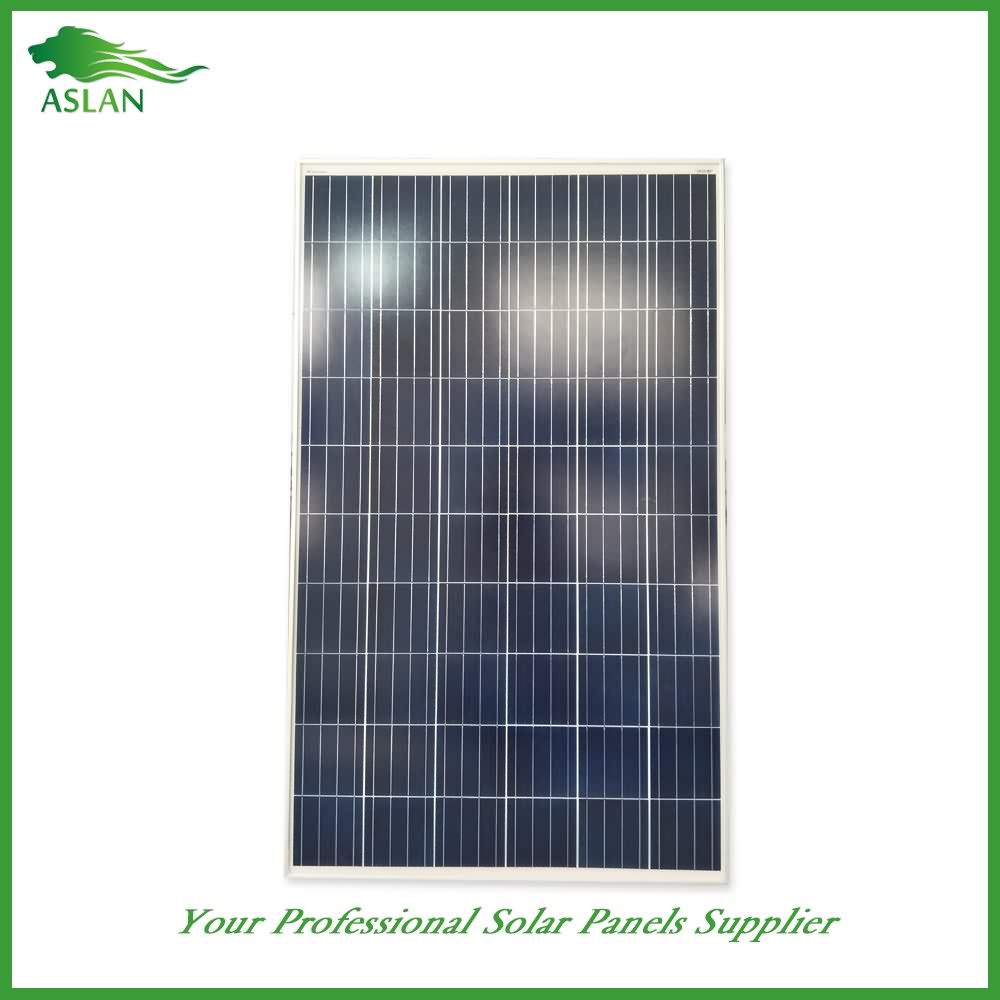
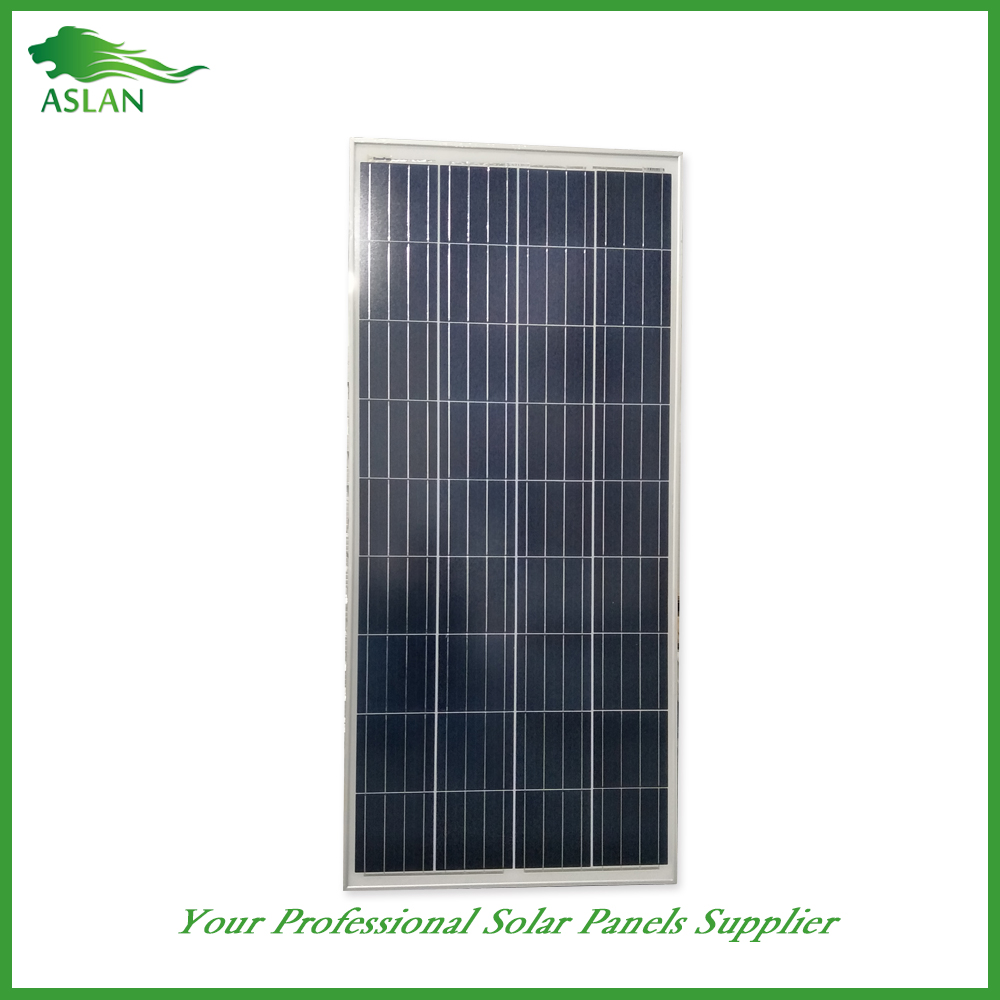
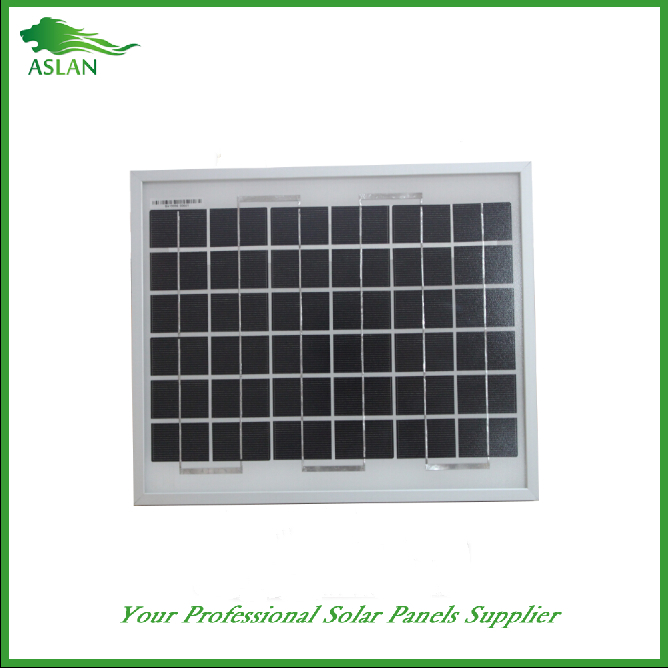
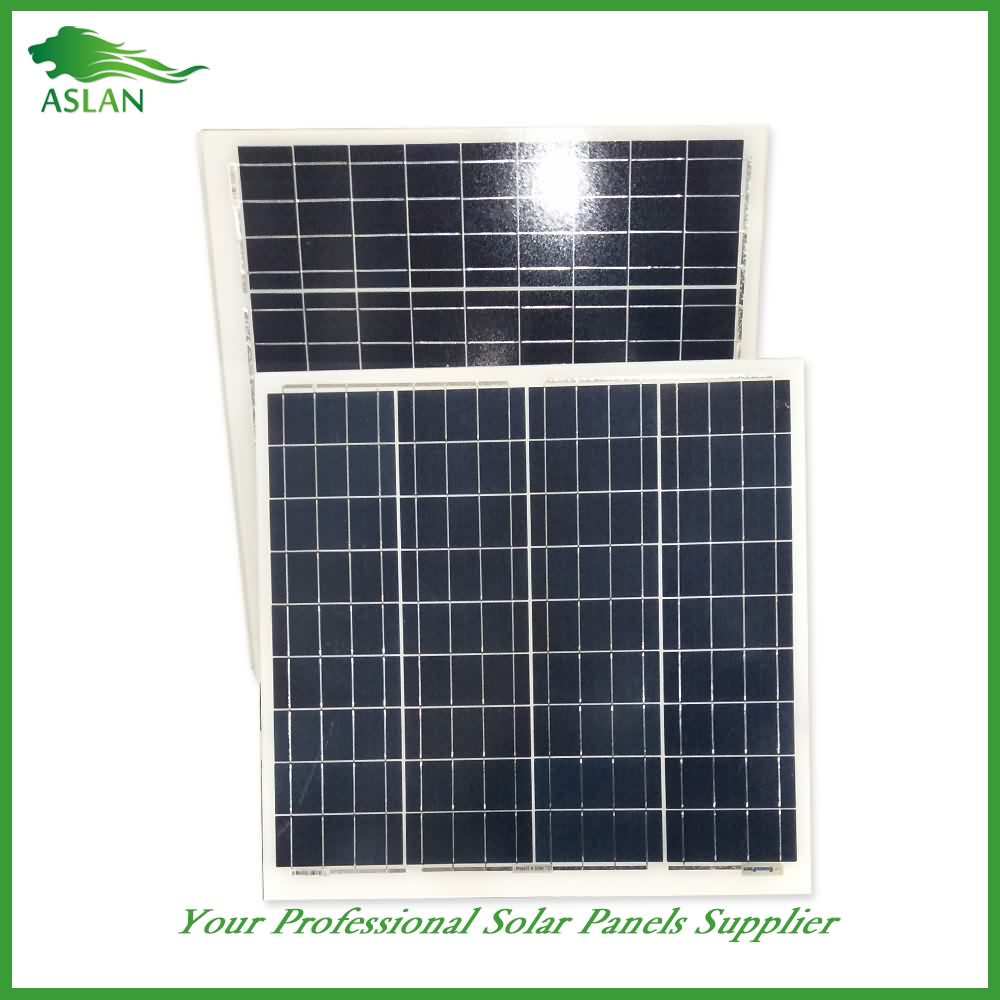
Poly-crystalline Solar Panel 50W
Technical parameter
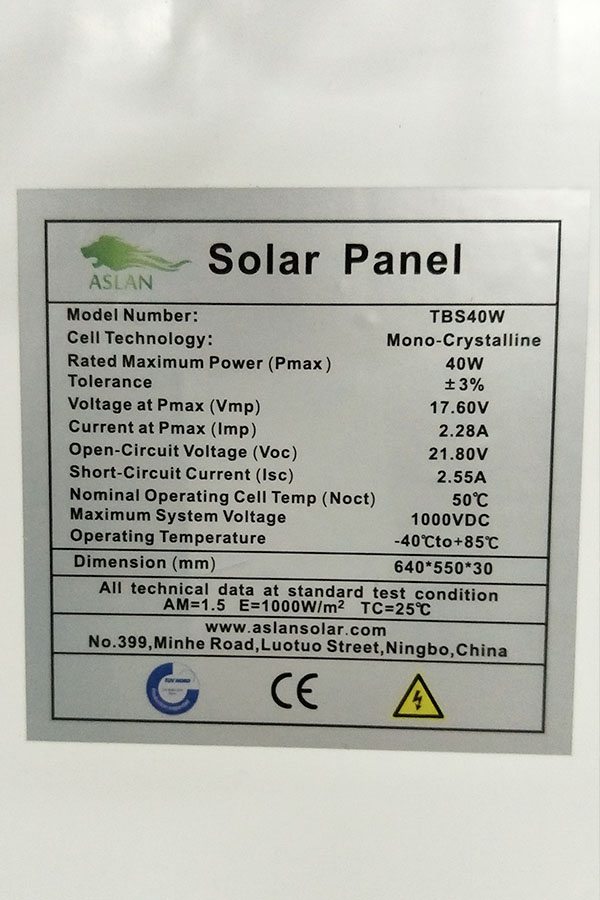
Maximum Power(W) 50W
Optimum Power Voltage(Vmp) 18.43V
Optimum Operating Current(Imp) 2.71A
Open Circuit Voltage(Voc) 22.48V
Short Circuit Current(Isc) 2.98A
Mechanical Characteristics
Cell Type Poly-crystalline 156 x 52mm
No of Cell 36 (4x9pcs)
Dimensions 678x542x25mm
Weight 4.2Kg
Front Glass 3.5mm,High Transmission, Low Iron,Tempered Glass
Junction box IP65 Rated
Output Cable TUV 1×4.0mm2/UL12AWG,Length:900mm
Temperature and Coefficients
Operating Temperature(°C): -40°C ~ + 85°C
Maximum System Voltage: 600V(UL)/1000V(IEC) DC
Maximum Rated Current Series: 15A
Temperature Coefficients of Pmax: -0.47%
Temperature Coefficients of Voc: -0.389%
Temperature Coefficients of Isc: 0.057%
Nominal Operationg Cell Temperature (NOCT): 47+/-2°C
Materials of solar panel
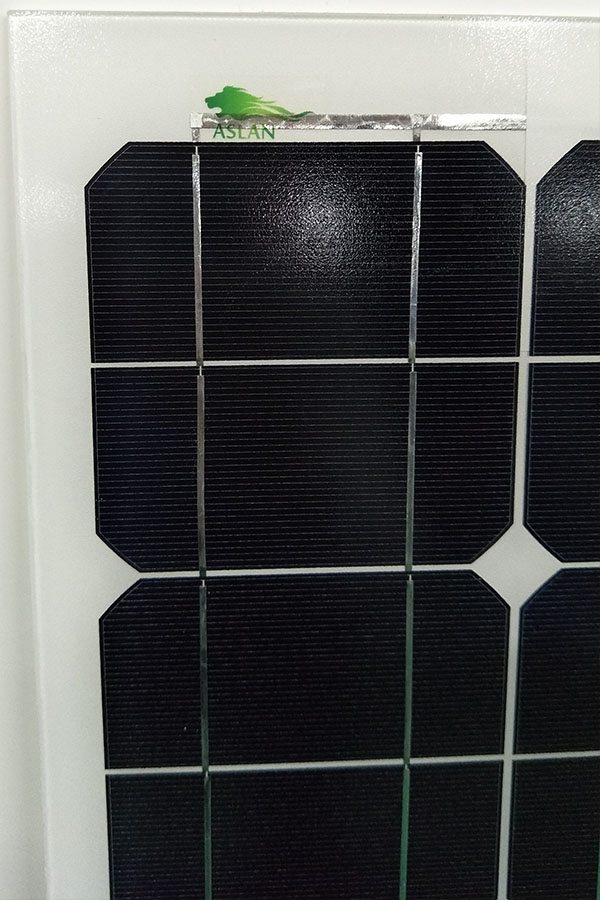
1).Solar Cell——Poly-crystalline solar cell 156*52mm
2).Front Glass——-3.2mm, high transmission, low iron, tempered glass
3).EVA——-excellent anti-aging EVA
4).TPT——-TPT hot seal made of flame resistance
5).Frame——anodized aluminum profile
6).Junction Box——-IP65 rated, high quality, with diode protection
Superiority: high quality anodized aluminum frame, high efficiency long life, easy installation, strong wind resistance, strong hail resistance.
Features
1. High cell efficiency with quality silicon materials for long term output stability
2. Strictly quality control ensure the stability and reliability, totally 23 QC procedures
3. High transmittance low iron tempered glass with enhanced stiffness and impact resistance
4. Both Poly-crystalline and Mono-crystalline
5. Excellent performance in harsh weather
6. Outstanding electrical performance under high temperature and low irradiance
Quality assurance testing
Thermal cycling test
Thermal shock test
Thermal/Freezing and high humidity cycling test
Electrical isolation test
Hail impact test
Mechanical, wind and twist loading test
Salt mist test
Light and water-exposure test
Moist carbon dioxide/sulphur dioxide
To see this complete video visit: http://video007.com?15
Frank Medina, CEO of Technica USA, and Noriaki Tomioka, Director & Senior VP of Hakuto Co., discuss the transition to digital imaging in both the North American and Asian markets. They tell guest editor Mark Thompson that this transition is made easier due to new technologies such as the new Maskless Lithography units.
Part 5 of our DIY video series on how to build a large solar generator. In this step we will be building an acrylic / plexiglass cover to protect the internal connections, as well as improvements to the solar panel cable, a cord wrap, and an automatic disconnect for the solar charge controller.
See the full component list and build instructions here:
https://www.modernsurvivalists.com/diy-solar-generator-plexiglass-cover-improvements/#.WJKKOhsrJaQ
Amazon links:
Inverter – http://amzn.to/1tp5Qyl
Solar Panel Kit – http://amzn.to/1tjLExb
Pelican 1620 Case – http://amzn.to/1UnvtJB
Acrylic Glue #16 – http://amzn.to/2kTos9n
Acrylic Glue #4 – http://amzn.to/2kXJnnq
Music:
Shurk – Innocent Man – https://soundcloud.com/shirkofficial/
Full Transcript:
In this update I am going to show you how to build an acrylic Plexiglass cover for the inside of the solar generator, so that we can store things like jumper cables inside the case without worry about shorting out or damaging any of our wiring connections. I will also show you some updates and improvements that I have made since the original videos, including a way to automatically disconnect the solar charger from the battery when the solar panels are unplugged. This will keep the solar charger from slowly running down the battery while in storage, without having to remember to turn on or off a disconnect switch. I will also show you a better solution I have found for the solar cable wire including heavier gauge cable, for less cost, and a built in cord wrap.
For the Plexiglass cover, if you have been following along with this build series, you can download a cut diagram I have made that should work for you if you have mounted your components in the same positions I did. If not, you can create your own template using some cardboard. I will do another video to show you how to create cardboard templates. This is a quick time lapse of the process I used.
The quickest and easiest way is to score the Plexiglass using either a Plexiglass knife, like this one, or a sharp utility knife. Once you have measured where you need to cut, use a straight edge to guide the knife and score the panel. Score it several times to help you get a clean break.
Then place the scored line along a sharp corner, and evenly flex the panel until it snaps along the score line. Use this same process for all of the panel in the cut diagram.
The two panels with an inside corner require a couple of extra steps. First we will drill a small hole at the inside corner. This is to keep the panel from breaking further than that point. When drilling Plexiglass, you will want to use the drill in reverse at high speed. The friction of the drill bit actually melts its way through, which keeps you from chipping and cracking the panel.
Then to assist the break in starting exactly where we want it, notch the two scored lines about an inch in from each end. You can use a vibrating multi-purpose saw like I am using here, or instead a fine tooth jigsaw or a Dremel type cutoff wheel.
On the solar generator end of the extension cord, we will connect our 6 pin trailer plug, just like before. The black ground wire will go to the pin connecter labeled as ground. Our white positive wire will connect to the center pin. We will be adding an additional jumper wire as well. This is part of the solution I talked about for having an automatic disconnect for the solar charge controller. You will want to use at least 14 AWG wire, and we will connect it to the pins labeled for the L and R turn signal. After that, we can then assemble the trailer plug and tighten the wire clamp. The extension cord wire also works very nicely with the 6 pin trailer plug. This makes for a really rugged connector.
We are using a 6 pin trailer connector for our solar panels because they are weather proof, rugged, and very inexpensive. But we are only actually using 2 of the 6 pins. So we can use 2 more of the pins as an integrated disconnect switch.
I will be building some portable quick connect battery bank expanders in the next video. The design will allow for connecting multiple ones in a daisy chain using the 350 Amp Quick Disconnect Port. I will also show you how to add multiple panels. The current design of our solar generator will allow up to four 100W panels to be connected.