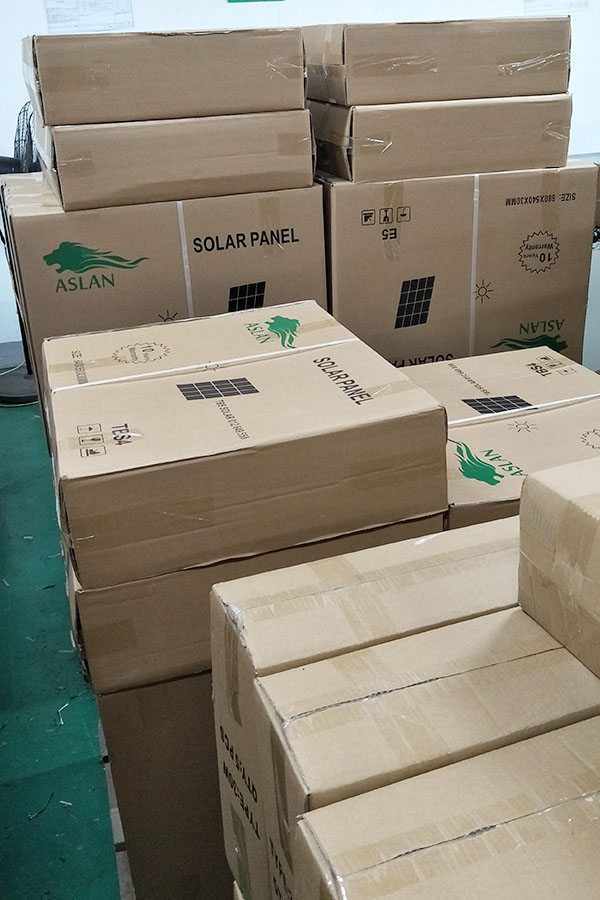
Factory selling Mono-Crystalline 60W Solar Panel Factory for Cape Town
Short Description:
With our excellent management, strong technical capability and strict quality control system, we continue to provide our clients with reliable quality, reasonable prices and excellent services. We aim at becoming one of your most reliable partners and earning your satisfaction for Factory selling Mono-Crystalline 60W Solar Panel Factory for Cape Town, We stick to providing integration solutions for customers and hope to build long-term, stable, sincere and mutual beneficial relationships with customers. We sincerely look forward to your visit.
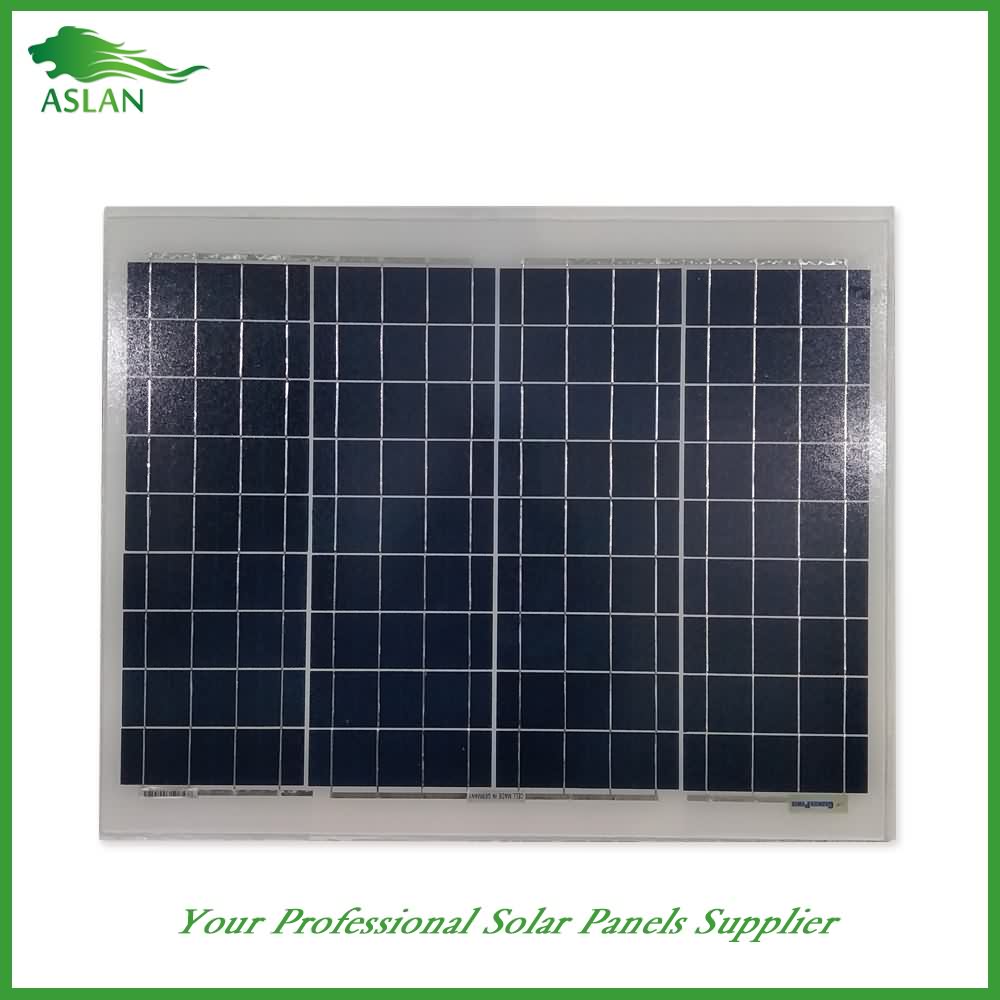
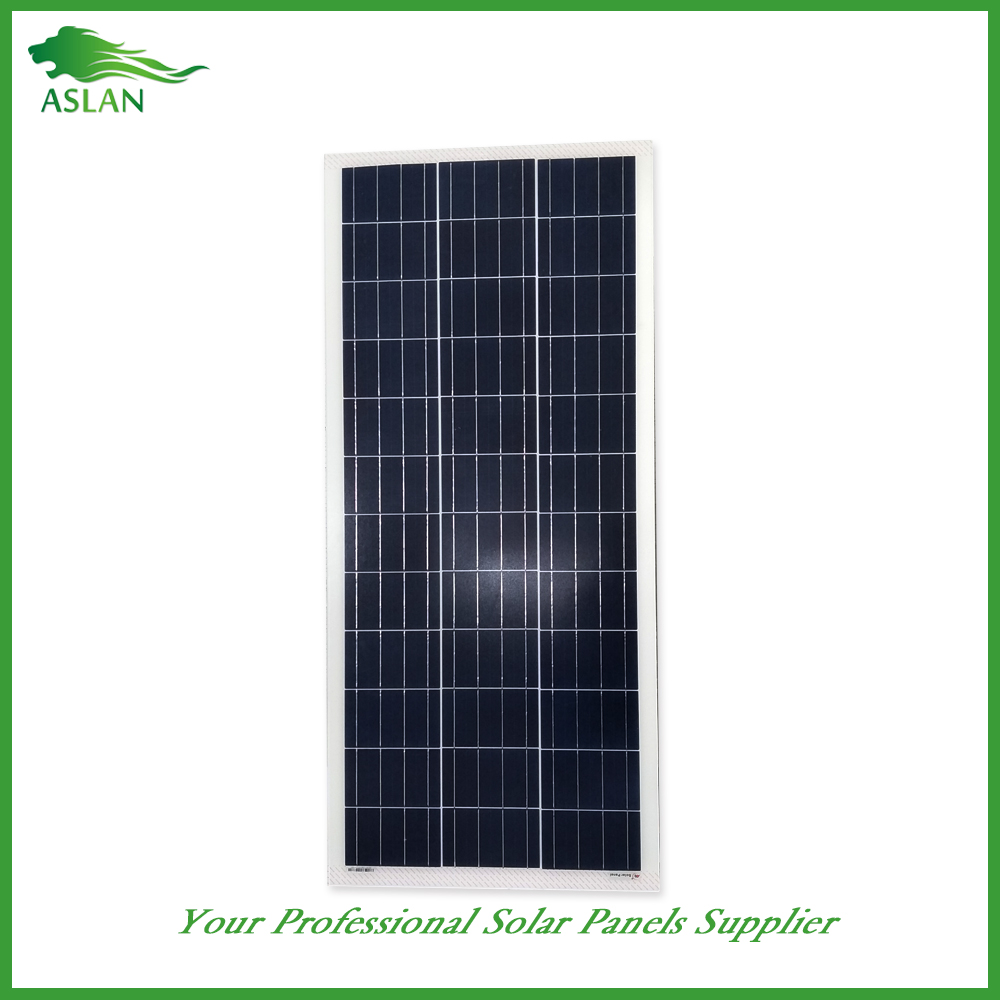
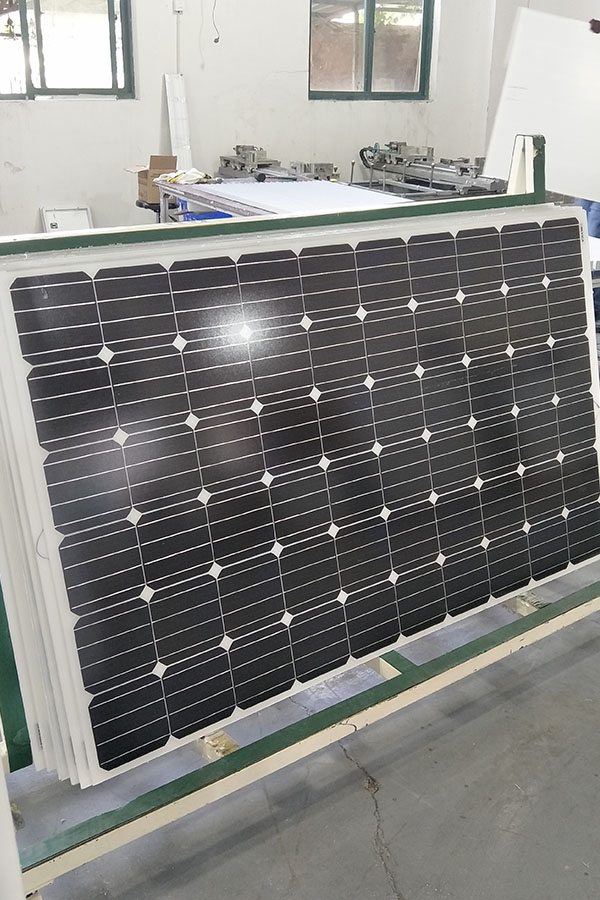
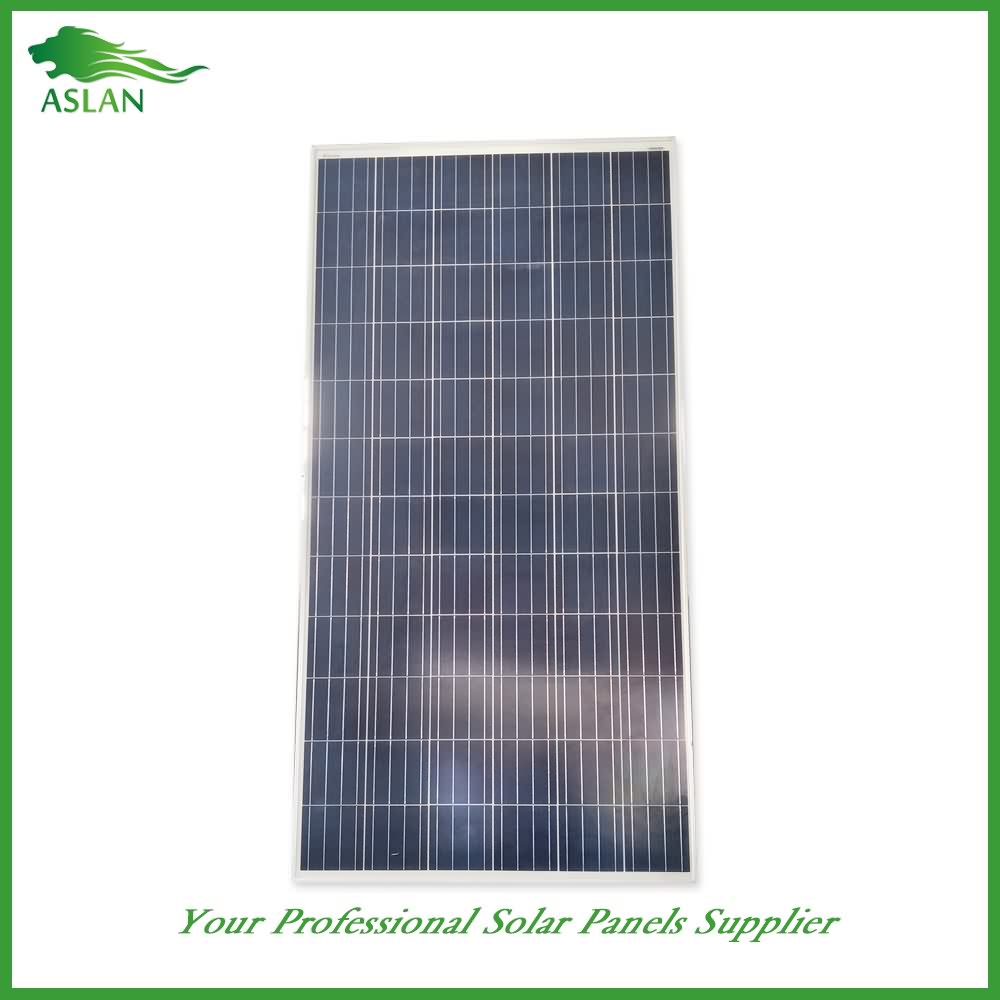
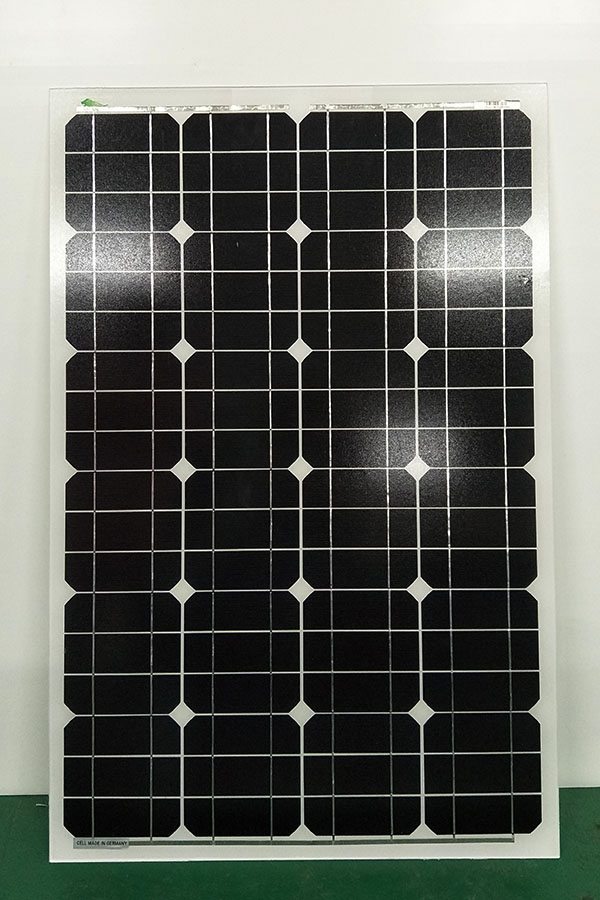
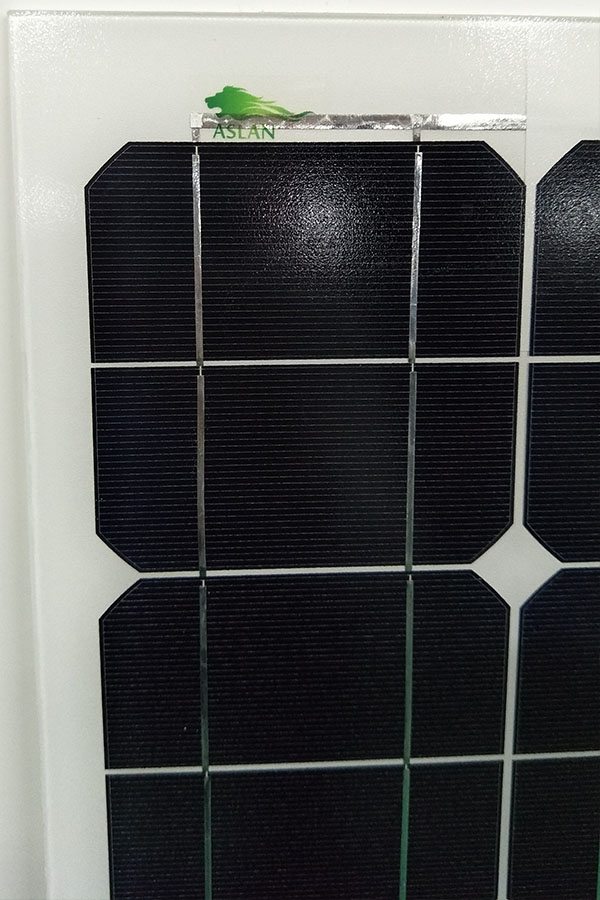
Mono-Crystalline 60W Solar Panel
Technical parameter
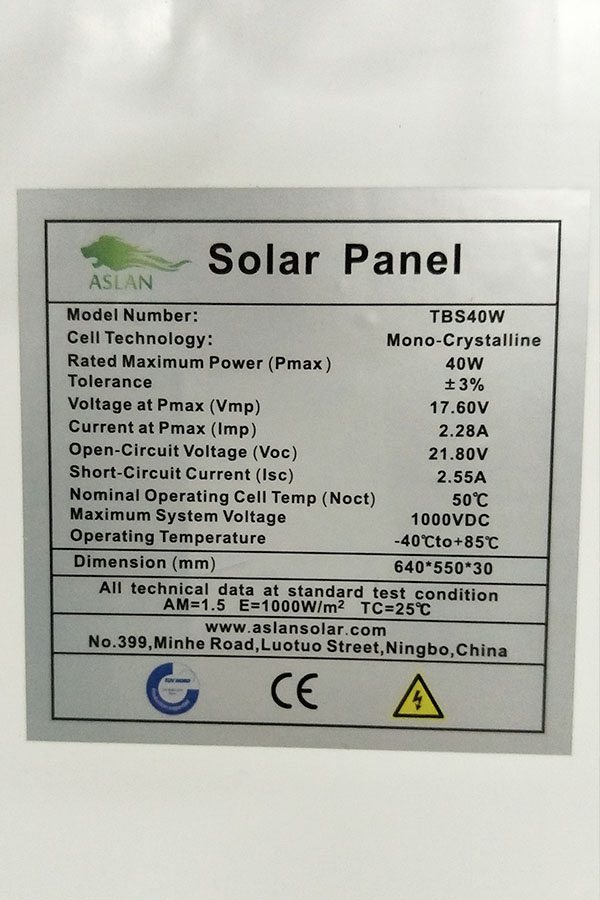
Maximum Power(W) 60W
Optimum Power Voltage(Vmp) 18.46V
Optimum Operating Current(Imp) 3.25A
Open Circuit Voltage(Voc) 22.51V
Short Circuit Current(Isc) 3.57A
Mechanical Characteristics
Cell Type Mono-crystalline 125 x 83mm
No of Cell 36 (4x9pcs)
Dimensions 821x554x35mm
Weight 5.0Kg
Front Glass 3.5mm,High Transmission, Low Iron,Tempered Glass
Junction box IP65 Rated
Output Cable TUV 1×4.0mm2/UL12AWG,Length:900mm
Temperature and Coefficients
Operating Temperature(°C): -40°C ~ + 85°C
Maximum System Voltage: 600V(UL)/1000V(IEC) DC
Maximum Rated Current Series: 15A
Temperature Coefficients of Pmax: -0.47%
Temperature Coefficients of Voc: -0.389%
Temperature Coefficients of Isc: 0.057%
Nominal Operationg Cell Temperature (NOCT): 47+/-2°C
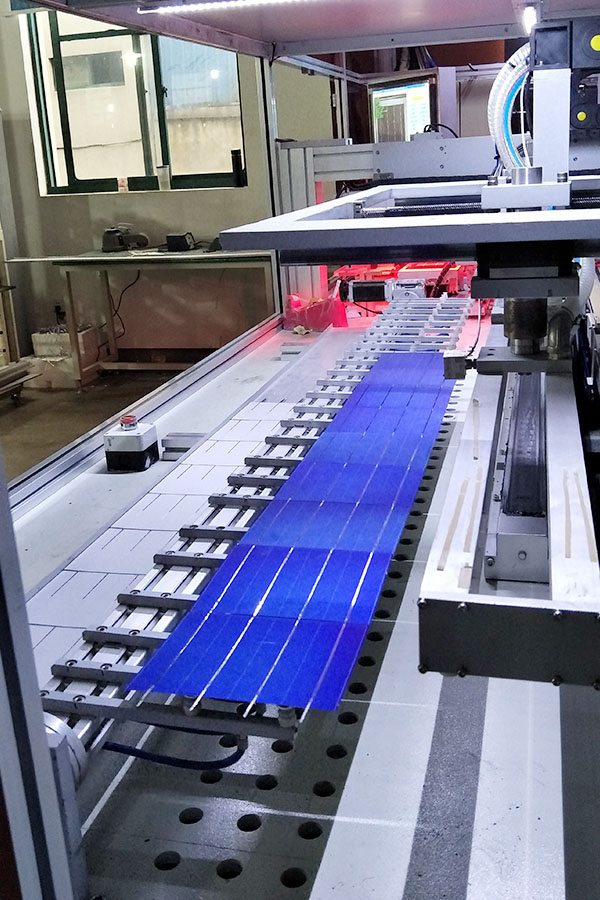
Materials of solar panel
1).Solar Cell——Mono-crystalline solar cell 125*83mm
2).Front Glass——-3.2mm, high transmission, low iron, tempered glass
3).EVA——-excellent anti-aging EVA
4).TPT——-TPT hot seal made of flame resistance
5).Frame——anodized aluminum profile
6).Junction Box——-IP65 rated, high quality, with diode protection
Superiority: high quality anodized aluminum frame, high efficiency long life, easy installation, strong wind resistance, strong hail resistance.
Features
1. High cell efficiency with quality silicon materials for long term output stability
2. Strictly quality control ensure the stability and reliability, totally 23 QC procedures
3. High transmittance low iron tempered glass with enhanced stiffness and impact resistance
4. Both Poly-crystalline and Mono-crystalline
5. Excellent performance in harsh weather
6. Outstanding electrical performance under high temperature and low irradiance
Quality assurance testing
Thermal cycling test
Thermal shock test
Thermal/Freezing and high humidity cycling test
Electrical isolation test
Hail impact test
Mechanical, wind and twist loading test
Salt mist test
Light and water-exposure test
Moist carbon dioxide/sulphur dioxide
I bought this “Spherical Rotation 56 LED Lamp POV Rotating Clock DIY Part+TTL Serial Downloader” from eBay, and it came without a manual, of course. So in this video series I will be building the kit until it is complete, working and reprogrammed.
In this video I will be reprogramming the STC chip with new texts and new images. The hardest part about reprogramming it, was finding the software, so here it is: http://files.banggood.com/2016/08/SKU343833.rar
The second hardest part was getting a USB to TTL adapter to work. The one which worked for me so far is this one: http://www.ebay.com/itm/CP2102-USB-2-0-to-TTL-UART-Module-6Pin-Serial-Converter-STC-Replace-FT232-Module-/381374541932
If the above link expired, search for CP2102 on eBay, and you’ll find the correct adapter.
Part 1: Building the main PCB https://youtu.be/_9pneUxXKbI/
Part 2: Building the LED arc and mounting it on the PCB https://youtu.be/uzVUZ-op9-I/
Part 3: Building the power supply and completing the kit. https://youtu.be/ir5viGHqvJ8/
Part 4: Reprogramming the kit. (this video)
Bonus part: Fixing the error mode. https://youtu.be/yWhOs9wqr6c
If you like this video and would like to see more of these video’s or this video series, be sure to subscribe to my channel.
In this two part video i explain what are the optimal bandgaps for realizing a 3 junction cell with high efficiency, how the requirement on matching the lattice constant of these materials restricts this band gap engineering and what are some of the processing techniques and methods people use to engineer around them.