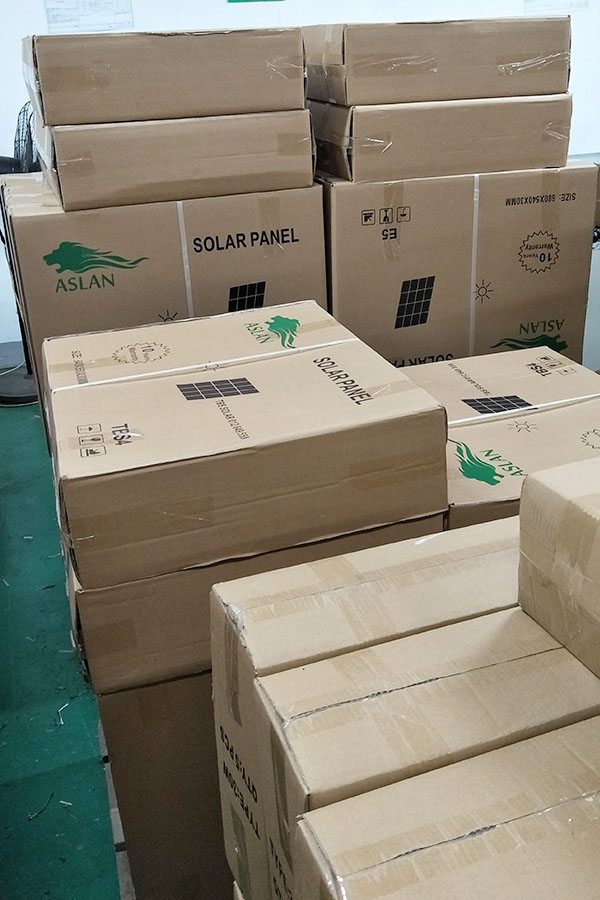
Factory best selling Poly-crystalline Solar Panel 50W for El Salvador Factories
Short Description:
We stick to our enterprise spirit of "Quality, Efficiency, Innovation and Integrity". We aim to create more value for our customers with our rich resources, advanced machinery, experienced workers and excellent services for Factory best selling Poly-crystalline Solar Panel 50W for El Salvador Factories, Our tenet is 'Reasonable prices, efficient production time and best service .' We hope to cooperate with more customers for mutual development and benefits.
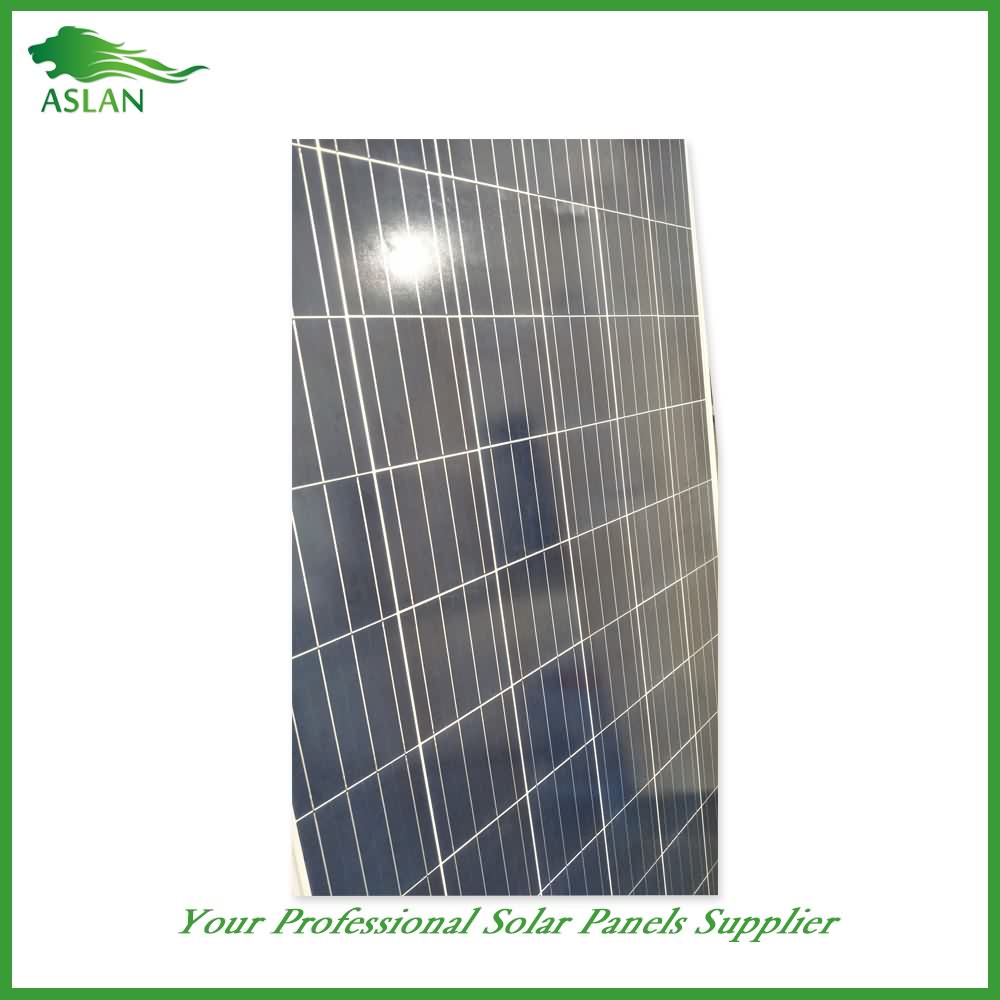
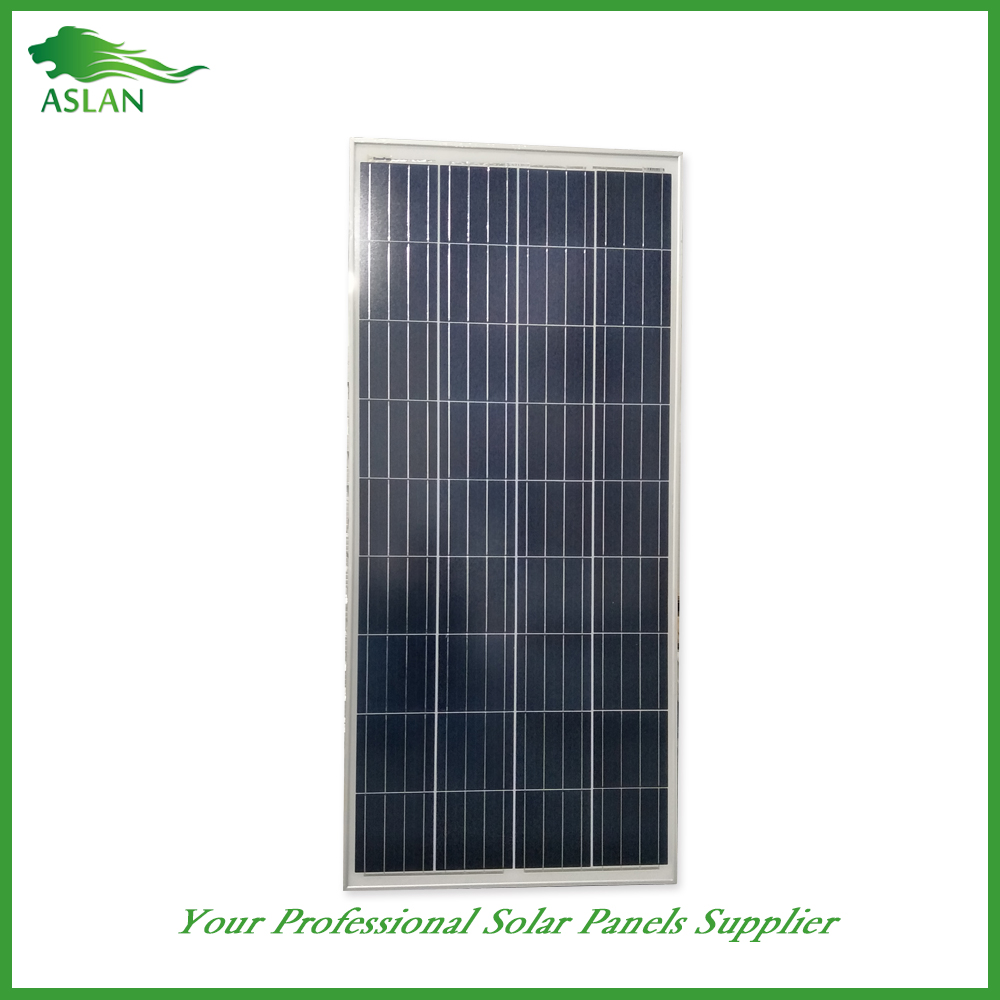
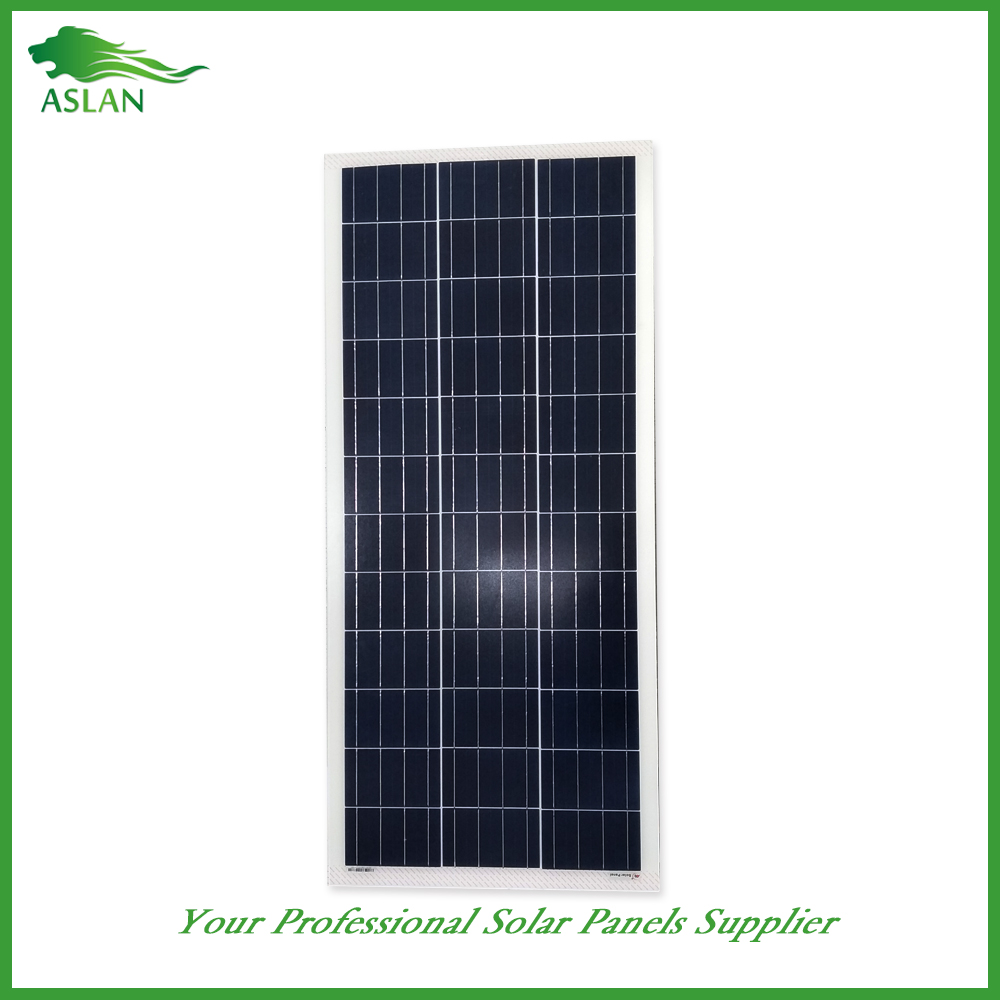
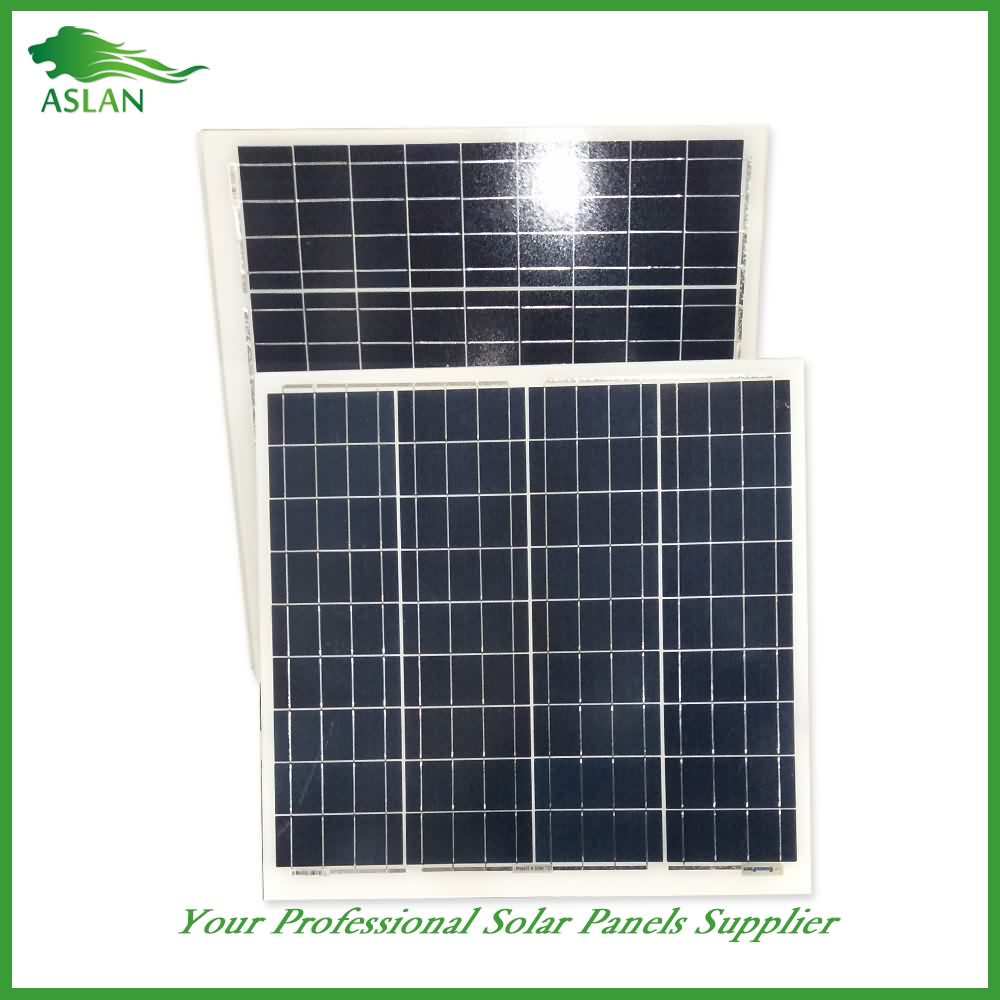
Poly-crystalline Solar Panel 50W
Technical parameter
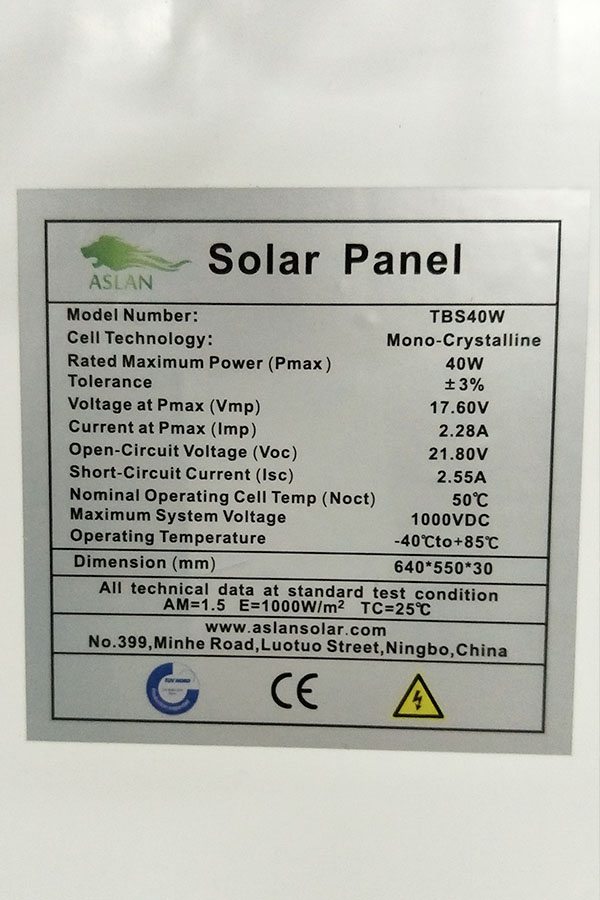
Maximum Power(W) 50W
Optimum Power Voltage(Vmp) 18.43V
Optimum Operating Current(Imp) 2.71A
Open Circuit Voltage(Voc) 22.48V
Short Circuit Current(Isc) 2.98A
Mechanical Characteristics
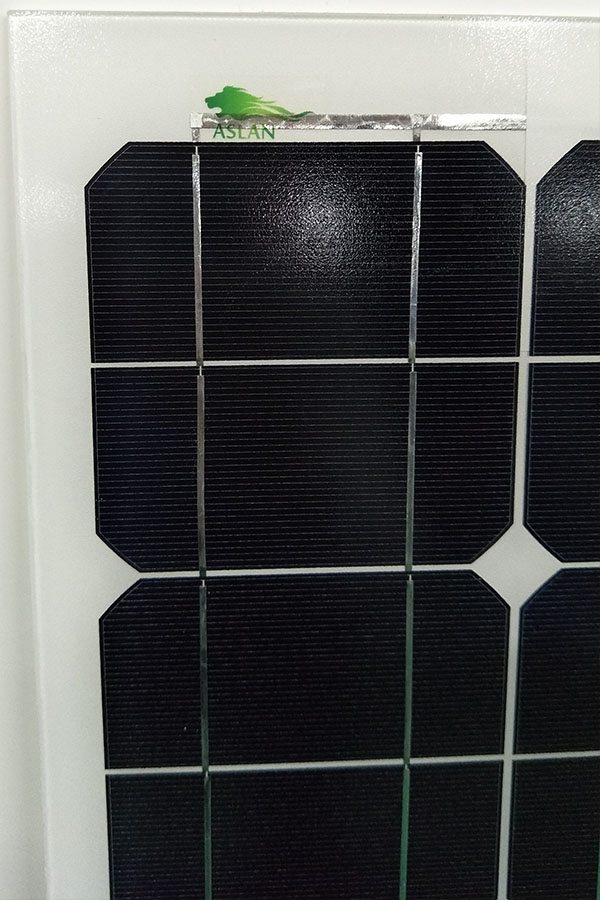
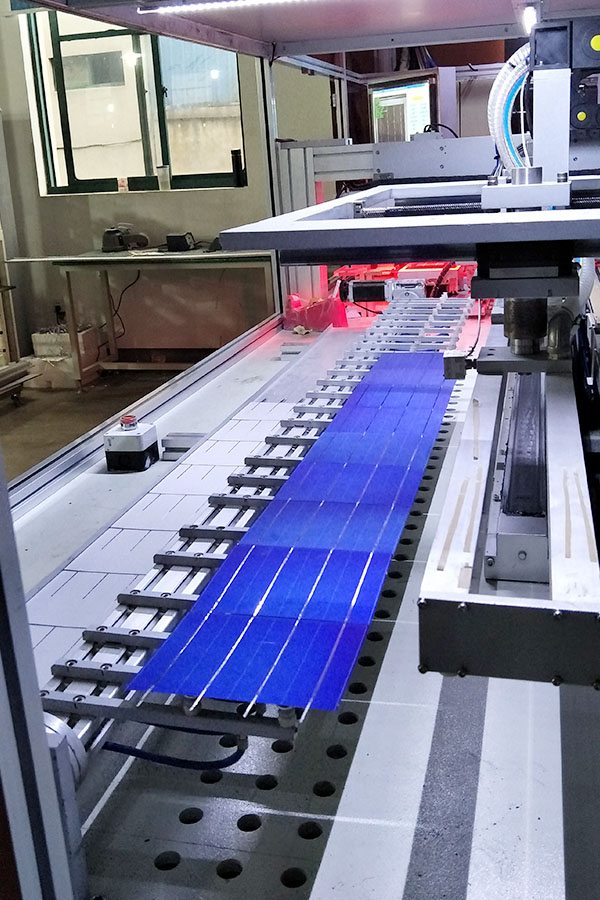
Cell Type Poly-crystalline 156 x 52mm
No of Cell 36 (4x9pcs)
Dimensions 678x542x25mm
Weight 4.2Kg
Front Glass 3.5mm,High Transmission, Low Iron,Tempered Glass
Junction box IP65 Rated
Output Cable TUV 1×4.0mm2/UL12AWG,Length:900mm
Temperature and Coefficients
Operating Temperature(°C): -40°C ~ + 85°C
Maximum System Voltage: 600V(UL)/1000V(IEC) DC
Maximum Rated Current Series: 15A
Temperature Coefficients of Pmax: -0.47%
Temperature Coefficients of Voc: -0.389%
Temperature Coefficients of Isc: 0.057%
Nominal Operationg Cell Temperature (NOCT): 47+/-2°C
Materials of solar panel
1).Solar Cell——Poly-crystalline solar cell 156*52mm
2).Front Glass——-3.2mm, high transmission, low iron, tempered glass
3).EVA——-excellent anti-aging EVA
4).TPT——-TPT hot seal made of flame resistance
5).Frame——anodized aluminum profile
6).Junction Box——-IP65 rated, high quality, with diode protection
Superiority: high quality anodized aluminum frame, high efficiency long life, easy installation, strong wind resistance, strong hail resistance.
Features
1. High cell efficiency with quality silicon materials for long term output stability
2. Strictly quality control ensure the stability and reliability, totally 23 QC procedures
3. High transmittance low iron tempered glass with enhanced stiffness and impact resistance
4. Both Poly-crystalline and Mono-crystalline
5. Excellent performance in harsh weather
6. Outstanding electrical performance under high temperature and low irradiance
Quality assurance testing
Thermal cycling test
Thermal shock test
Thermal/Freezing and high humidity cycling test
Electrical isolation test
Hail impact test
Mechanical, wind and twist loading test
Salt mist test
Light and water-exposure test
Moist carbon dioxide/sulphur dioxide
0:00 Import the SolidWorks file.
0:15 Converted all layers to a regular mesh item.
0:27 Freeze all item transforms.
0:40 Remove imported normals.
1:15 Remove all the internal parts. and save as .LWO reorganizing the model into its various layers.
2:30 Export to LWO.
2:45 Close, reopen and reorganize the .LWO model into its various layers.
5:26 I started to change the material surface for all the cells at once, but then remembered that each set needs to have its own material,
so you can skip past this if you want.
6:50 Re-align the model.
7:40 Re-center and save the .LWO.
8:00 Isolate each set of cells into their own layer.
I am selecting only the top of the cells. I cut the selected cells, create a new layer by using the n key and paste the cells into this new layer.
The side and back of these cells will get another material.
Each layer gets named after the side of the cubesat they reside on, starting with Minu-Z.
Placing the solitary @ symbol after the name, tells LwConvert that the layer won’t need to have global articulations added to it.
Note: STK and modo use a different up vector. This can cause some confusion in modo.
For a satellite in STK , the three axis X,Y,Z correspond to Minus Z, X, Minus Y in modo
9:09 I begin working on the cells that are on what I believe to be the Plus Y side of model, once converted to STK.
Not having done this in a while, I begin checking to see if I’m selecting the correct side.
I wind up guessing wrong, but don’t figure it out until later. Plus-Y was really Minus-Y and vice versa.
12:15 Create specific materials for each set of cells.
Setting a material in modo is done by using the m key.
Name each material the same as the layer name for consistency.
The actual color can be anything you like.
13:50 Set material for side and back of cells.
14:25 Cut the back and side of the cells and paste them into the layer containing the body of the cubesat.
14:30 More consolidation. Rename the first or main layer to that of the cubesat.
15:15 Parent cell item layers to the Parent layer.
15:25 Globally change material settings. Set all diffuse to be equal. Remove smoothing. Check that none are transparent.
Most important. Remove any Luminous Intensity from all polygons or it will affect your results in STK’s Solar Power Tool.
16:35 Check dimensions and save.
17:10 Convert to MDL with LwConvert. Use “Spacecraft, Aircraft” model type.
17:20 Import into “Modeler 9″ for visual inspection.
17:43 Import into TextPad or similar text editor
18:03 Click on the desired polys, use Ctrl-RightMouse to determine where in the text file the geometry you just selected is.
They will flash red. The line number the polys reside on will be displayed in the info window below.
Modeler defines them as being the Plus Z panels and says that they are on line 101145.
But, when you go there in TextPad, the Component isn’t there.
Note: This is when I first discover that I got the poly selection wrong back in modo
19:00 I select the polys on what I think is the Minus-Y side, but Modeler says that it is Plus-Y.
I went into the text editor and went to the line number as indicated and did come to Component SlrPnl_Plus_Y
Manually add the names of the solar panels. One for each of the four cell components.
20:00 Reload and select next set of cells. This time it is Plus Z
21:25 Went back into modo to switch layer name Minus-Y with Plus-Y. Also needed to re-assign the correct material for each layer.
24:10 Satisfied with the edits, I re-save the .LWO file and re-converted that to .MDL.
24:39 Started re-assigning solar panel names again, saving and reloading each time.
27:00 Set up Solar Panel Groups
29:00 Run Solar Power report in STK
Here is the link to the master ancillary file.
It contains all the elements one would need to set up their DAE file for use in STK.
https://www.dropbox.com/s/2l26quh9kcfsrvo/master.anc
Just make sure that the ancillary has the same name as the .DAE file and that it stays in the same directory.
-s
Amazon-UK: http://npad.us/neck/2/uk/B01BCK7216/review
100w Photonic Universe monocrystalline solar panel made of high efficiency German cells, with 2x5m of special cable perfect source of free power for charging your 12v battery This waterproof is for permanent outdoor use to provide electricity for batteries to various applications such as in a motorhome, caravan, boat, or for lighting, off-grid and back up It’s fitted with of specially designed for panels to carry currents with negligible loss.
The also comes with Mc4 connectors which can be used for easy connectivity if existing has (otherwise just cut them and bare wires).
The long-lasting, high-efficiency and the tough, sealed, aluminium frame will give years and of consistent, power.
ensures the be in all weather conditions.
specifications: Peak power: Maximum voltage: 17.5v current: 5.71a Open circuit 21.6v Short 6.17a allowance range: +/3% Dimensions: 945 x 670 x 35 mm Weight: 7.2 kg 4 mounting for ease of installation 5m of quality 4.0mm cross section with Note that the of this is so for it either requires a suitable charge controller or it be added to with a / inverter.
Please contact if have any questions about this product.