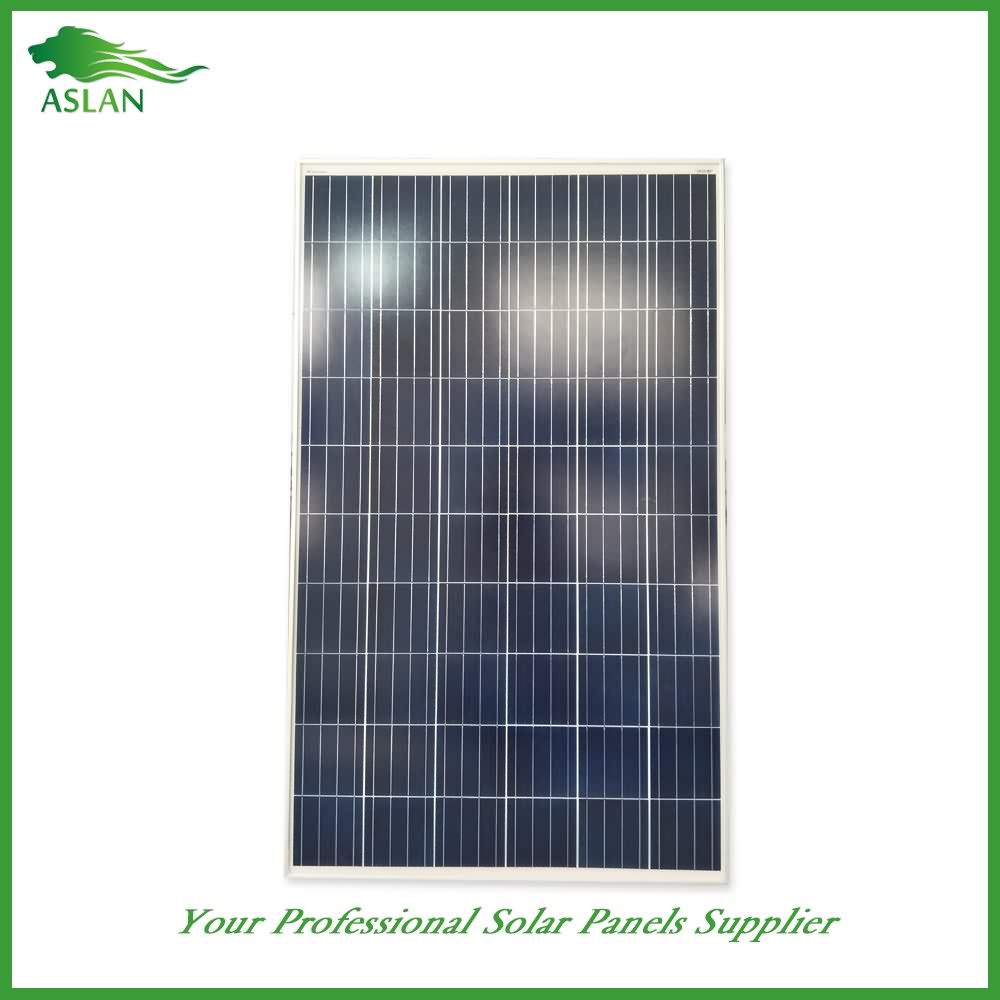
China Manufacturer for Poly-crystalline Solar Panel 250W for Sri Lanka Manufacturers
Short Description:
We stick to our enterprise spirit of "Quality, Efficiency, Innovation and Integrity". We aim to create more value for our customers with our rich resources, advanced machinery, experienced workers and excellent services for China Manufacturer for Poly-crystalline Solar Panel 250W for Sri Lanka Manufacturers, "Passion, Honesty, Sound service, Keen cooperation and Development" are our goals. We are here expecting friends all over the world!
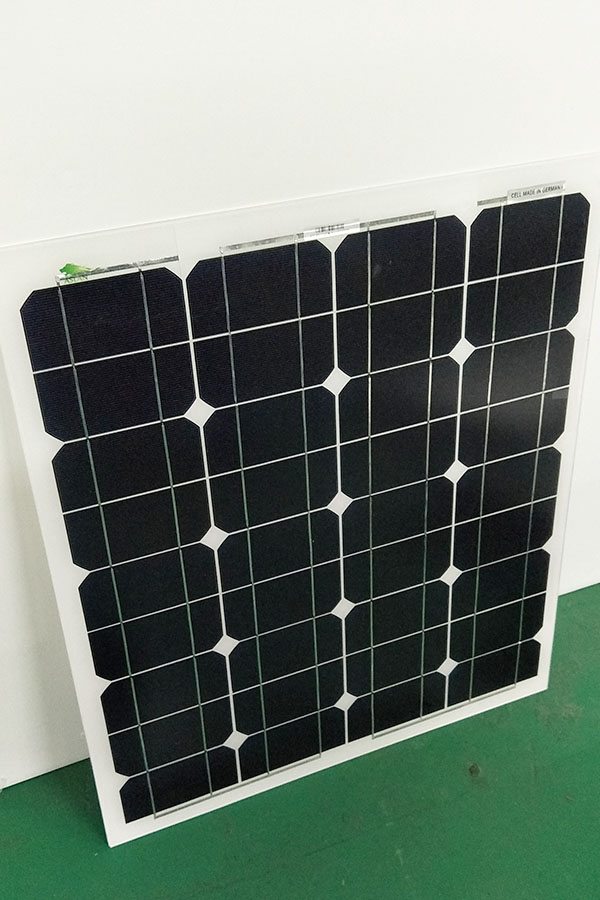
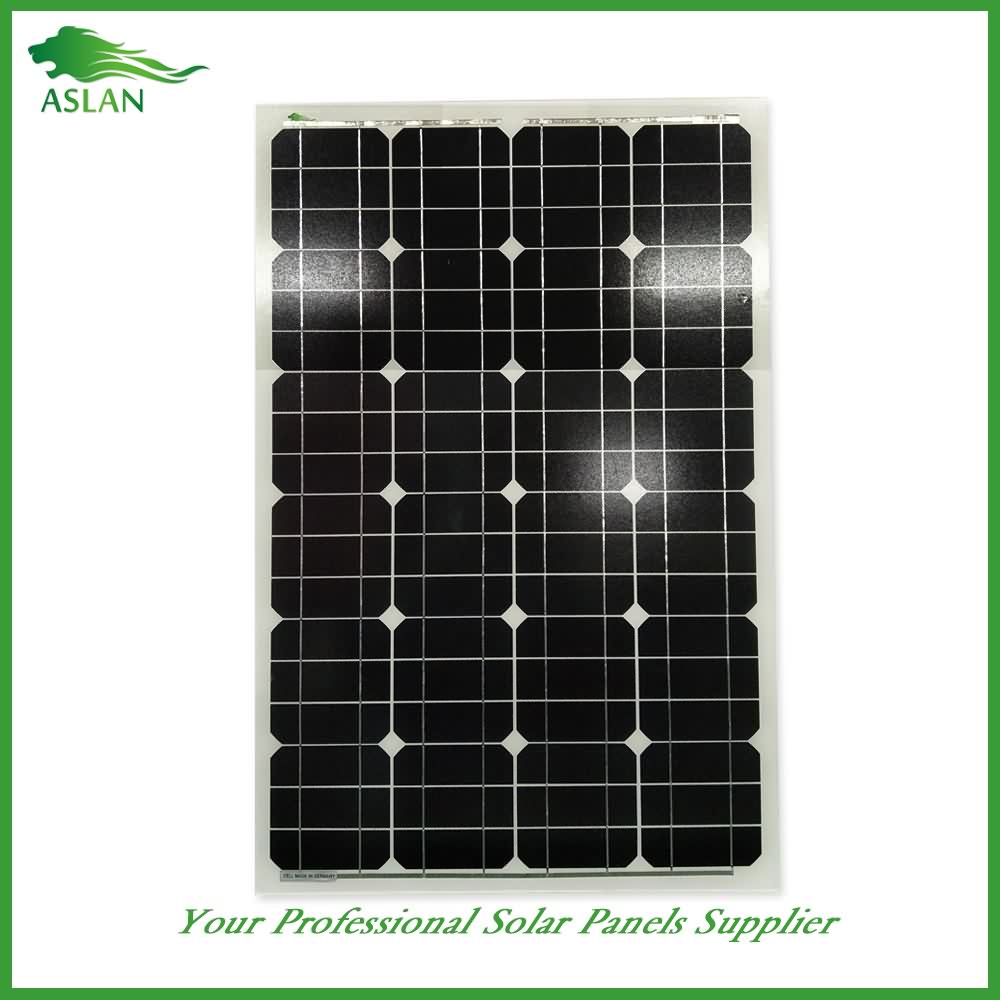
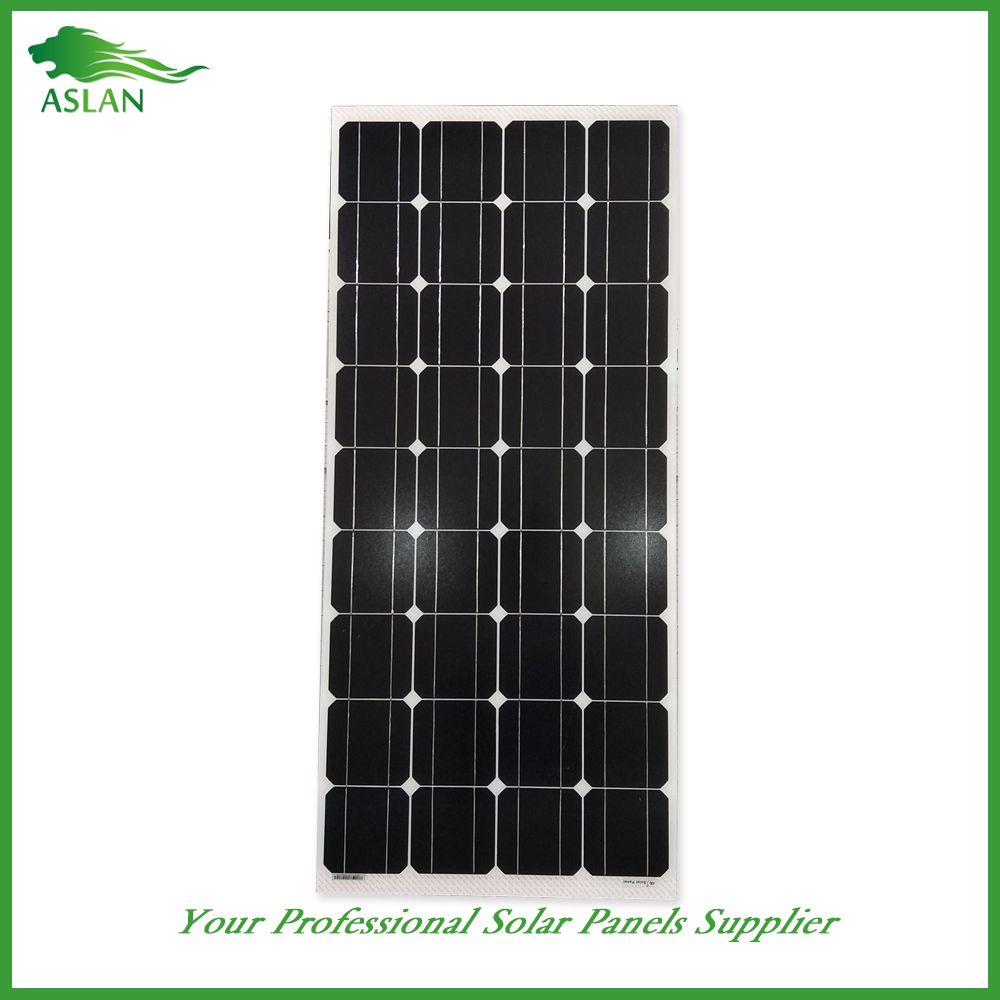
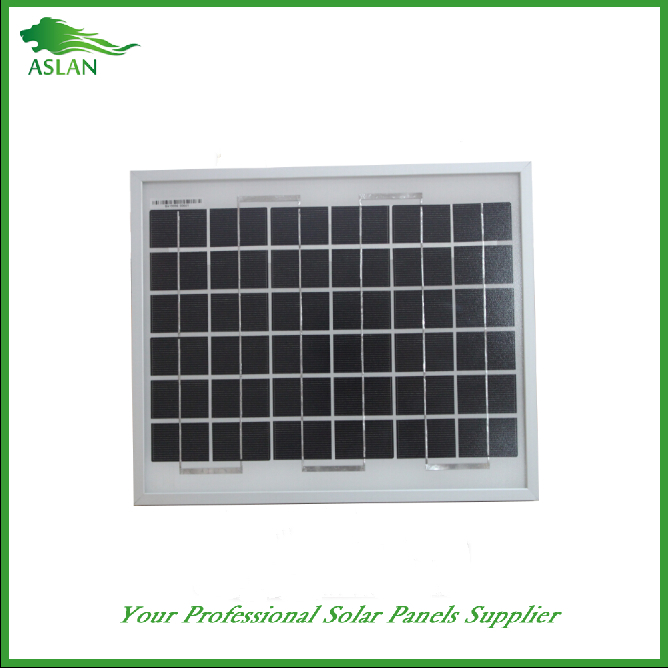
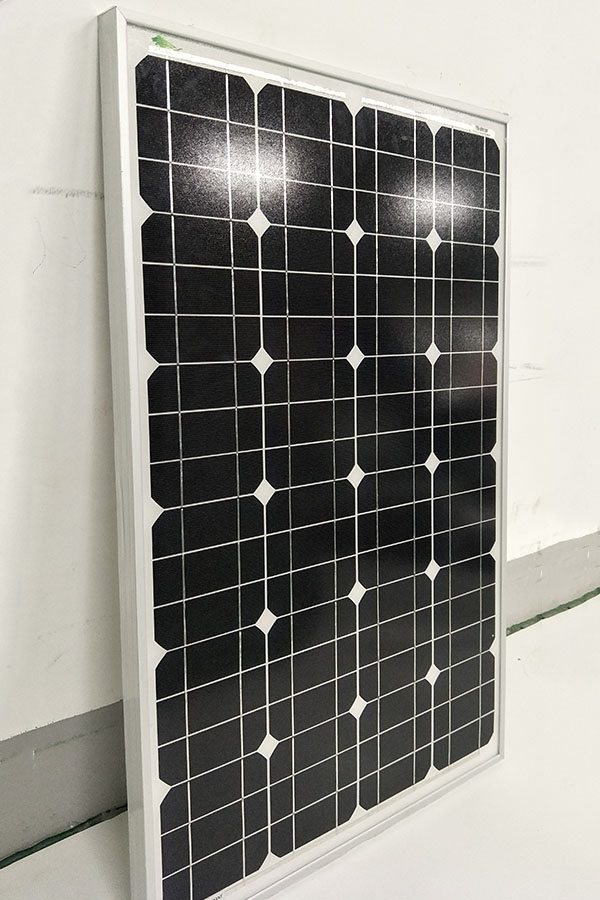
Poly-crystalline Solar Panel 250W
Technical parameter
Maximum Power(W) 250W
Optimum Power Voltage(Vmp) 30.25V
Optimum Operating Current(Imp) 8.26A
Open Circuit Voltage(Voc) 36.61V
Short Circuit Current(Isc) 8.89A
Mechanical Characteristics
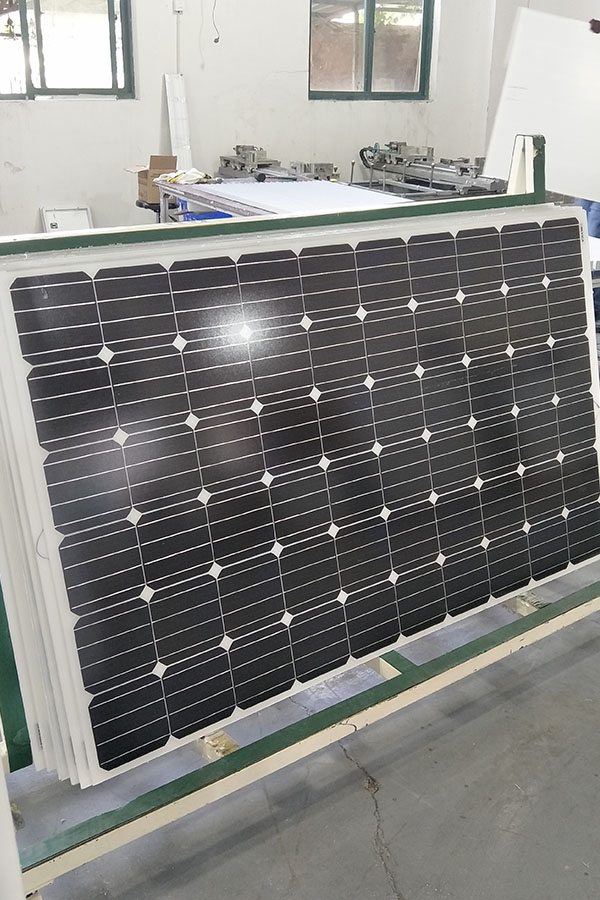
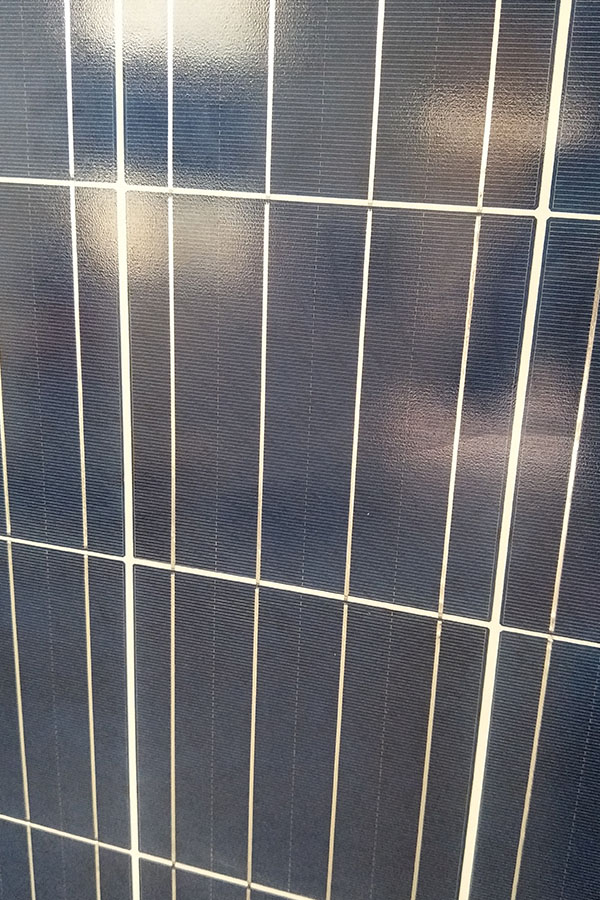
Cell Type Polycrystalline 156x156mm (6 inch)
No of Cell 60 (6x10pcs)
Dimensions 1640x990x40mm
Weight 18.5KGS
Front Glass 3.2mm,High Transmission, Low Iron,Tempered Glass
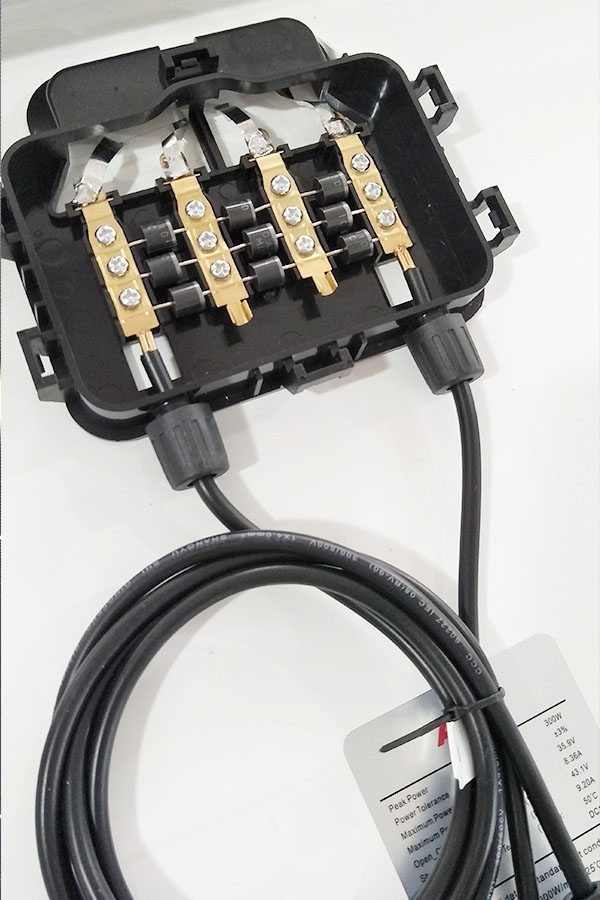
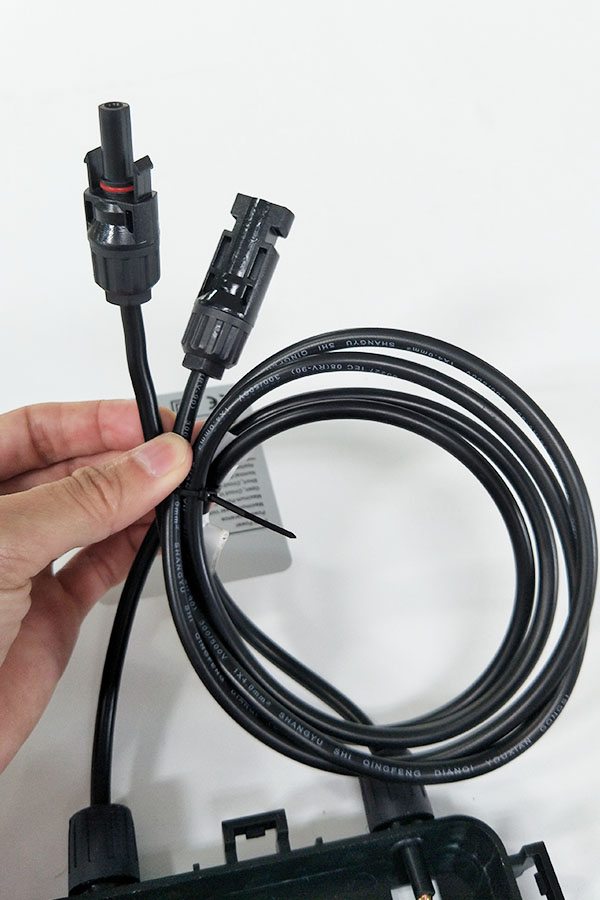
Junction box IP65 Rated
Output Cable TUV 1×4.0mm2/UL12AWG,Length:900mm
Temperature and Coefficients
Operating Temperature(°C): -40°C ~ + 85°C
Maximum System Voltage: 600V(UL)/1000V(IEC) DC
Maximum Rated Current Series: 15A
Temperature Coefficients of Pmax: -0.47%
Temperature Coefficients of Voc: -0.389%
Temperature Coefficients of Isc: 0.057%
Nominal Operationg Cell Temperature (NOCT): 47+/-2°C
Materials of solar panel
1).Solar Cell——Polycrystalline solar cell 156*156mm
2).Front Glass——-3.2mm, high transmission, low iron, tempered glass
3).EVA——-excellent anti-aging EVA
4).TPT——-TPT hot seal made of flame resistance
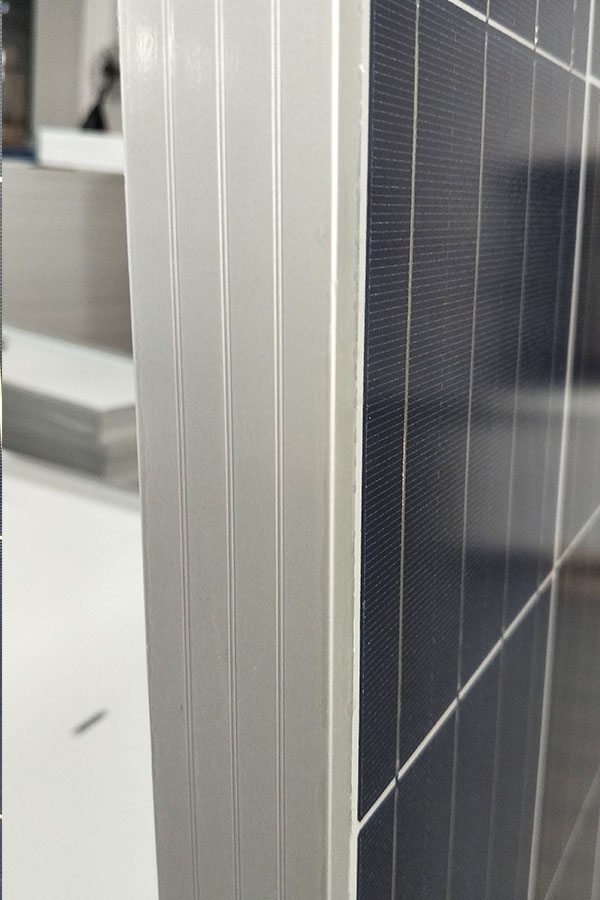
5).Frame——anodized aluminum profile
6).Junction Box——-IP65 rated, high quality, with diode protection
Superiority: high quality anodized aluminum frame, high efficiency long life, easy installation, strong wind resistance, strong hail resistance.
Features
1. High cell efficiency with quality silicon materials for long term output stability
2. Strictly quality control ensure the stability and reliability, totally 23 QC procedures
3. High transmittance low iron tempered glass with enhanced stiffness and impact resistance
4. Both Poly-crystalline and Mono-crystalline
5. Excellent performance in harsh weather
6. Outstanding electrical performance under high temperature and low irradiance
Quality assurance testing
Thermal cycling test
Thermal shock test
Thermal/Freezing and high humidity cycling test
Electrical isolation test
Hail impact test
Mechanical, wind and twist loading test
Salt mist test
Light and water-exposure test
Moist carbon dioxide/sulphur dioxide
Several ways to get involved with the Solar Industry: Powur, SolarCity, Crew Solar :
* Powur ~ $499 to join, $29.95/mo, MLM, the middleman for Solar City, and other companies.
compensation that is a “pipe dream” ~
http://powur.com
* SolarCity Ambassador ~ Free to Join, no monthly fees, no up-Sells,
Simple 3 level referral fee program
http://solarcity.com
* Crew Solar PBC ~ Free to join, no monthly fees, no up-sells, Ave $1500 per residential installation, 5 figure commission for commercial installations, 11% profit sharing and more
http://jointhecrew.com/TheSolarGuy
WATCH THIS SHORT CREW OPPORTUNITY OVERVIEW:
QUESTIONS? : “YOU CALL~ I ANSWER”
BRUCE @ 828-989-7771
Just like every space constrained maker I too look out how to work with what is available. So I finally added a Black and Decker router to the table saw. Its perfect because it adds more surface to the table saw.
Btw I am using Makita MLT100 table saw.
——————//——————
FOLLOW ME ON:
http://instagram.com/mrjcrp
http://facebook.com/mediamilan
http://twitter.com/mr_jcrp
——————//——————
MORE PROJECTS TUTORIALS and POSTS
http://www.mediamilan.com
——————//——————
MUSIC: Super Power Cool Dude (incompetech.com)
——————//——————
I begin by measuring the distance of the opening. Oh! Cutting the MDF is almost like cutting butter. After working plywood forever working with MDF is a pleasure.
Once the piece is cut I set it on the table and mark how heavy it is to the table. That would the amount I need to route out. So in my trim router I set the straight dado bit and set the dept to the marking.
These lines mark the thickness of dado that I have to route. And this piece of wood acts as the guide. Almost looks like the firing of a jet engine aint it. But we cannot deny that MDF makes a mess too.
Here I am dadoing the other side of the MDF. I cut another piece of MDF and this will hold the router. Before marking I first secure it to the top piece and check if the fit is right by placing it on the table.
To find the center I draw lines from each corner. This will give me where to position my router. Then I can mark the area that I have to cut out.
First I will use a forstner bit to create a hole that will go all the way through both the layers of MDF. This will act as the hole through which the bit will come out.
Now I can remove the second MDF and use that hole to pass through the Jigsaw and make the cut. I took my time to cut through the MDF and was very careful to follow the line.
Its such a happiness if things fit in the first try.
These block will hold the router. I mark the wood so I can cut it at the bandsaw. This was such a risky cut. I must have used a zero clearance board and then made the cut. Coz the bandsaw was pulling the piece along with the blade.
Now I can drill some holes and secure the piece with nut and bolt. There are two options of nut. One is a T-Nut and the other is I don’t the exact name but it screws into the wood. But because MDF is a softer wood I will use the T-Nut.
Btw the T-But goes on the inside of the second MDF so it is sandwiched between the two boards. This way its more secure. And it is will I am countersinking the thickness of the t-nut by creating an indentation.
A little hammering and the T-Nut is fixed good.
To make the bolt heads. I cut these left over MDF. Marked a rough center point. Then to fix the head I first drilled a shallow hole. Then a 8mm hole for the bolt to go through. Now I can hammer the bolt inside the MDF. And thats how the pieces are secured. You can see the Router moving as I tighten the holders.
Now thats out of the way I have to create a holder that secures the router table to the table saw.
I am just drawing line and trying to get two holder piece out of one block. This piece of wood has enough material for both. I marked the holders in a zig zag fashion to achieve this.
This time I got wise and used a 6mm plywood as a zero clearance board.
These are the two holders that I will be using.
I pre-drill before attaching the holders. I am going to pretty much follow the same method that I used before.
After removing and flipping the second MDF I can counter sink using forstner bit. Forstner bit tends to wobble when the initial hole is a bit bigger.
So there are four t-nuts in total. Two near the router and two on the edges.
Time to finally secure the router table to the saw.
A little test cut wouldn’t hurt I suppose.
MDF and water a great enemies. So to protect the surface I am stick this laminate with some 3M spray adhesive. The bond is instant and no time for correction.