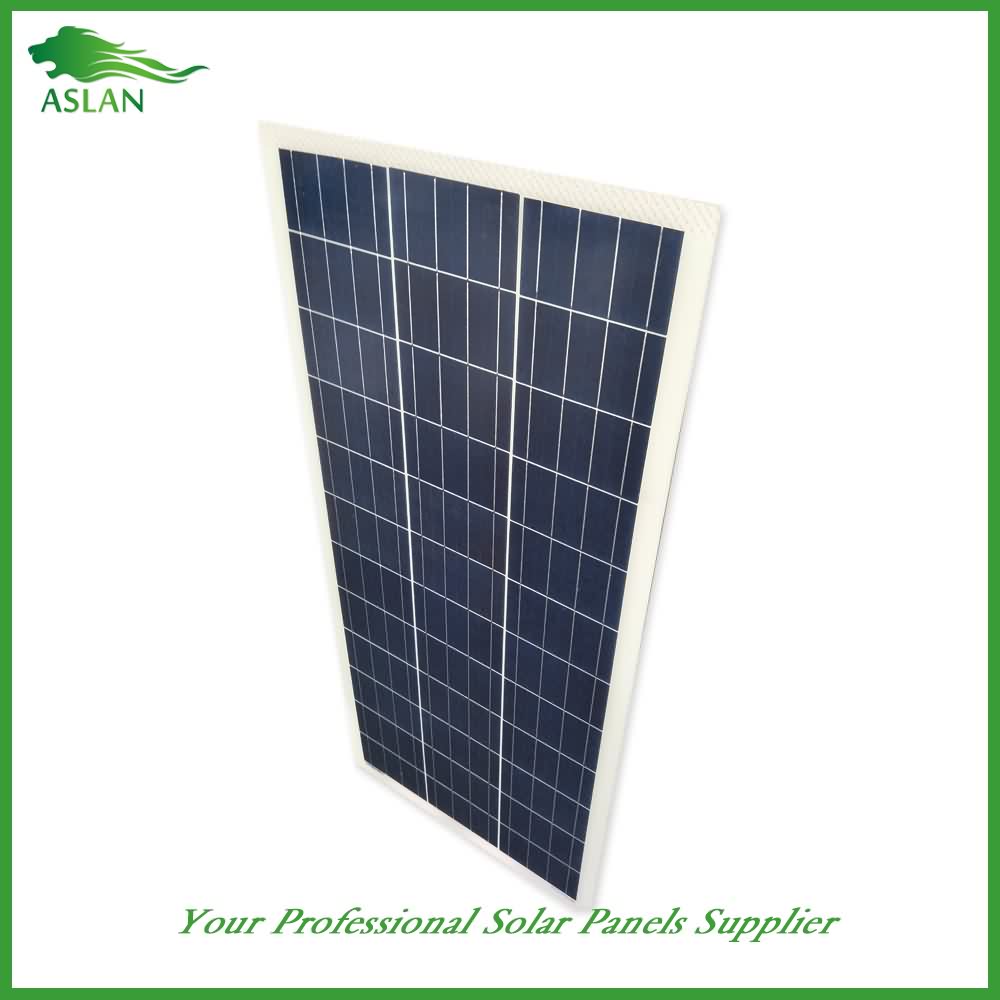
8 Year Exporter Poly-crystalline Solar Panel 300W to Switzerland Manufacturer

Short Description:
The key to our success is "Good Product Quality, Reasonable Price and Efficient Service" for 8 Year Exporter Poly-crystalline Solar Panel 300W to Switzerland Manufacturer, For further information, please do not hesitate to contact us. All inquiries from you will be highly appreciated.
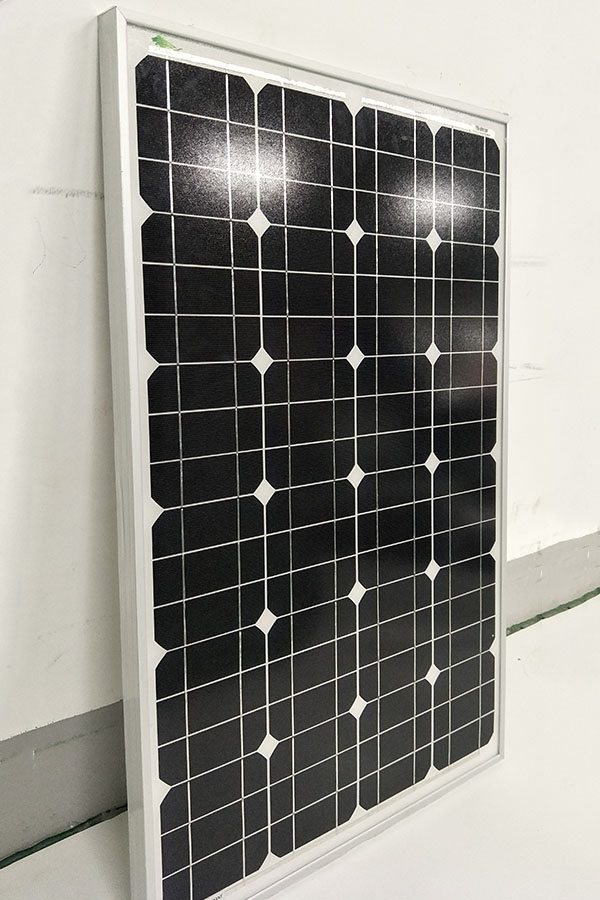
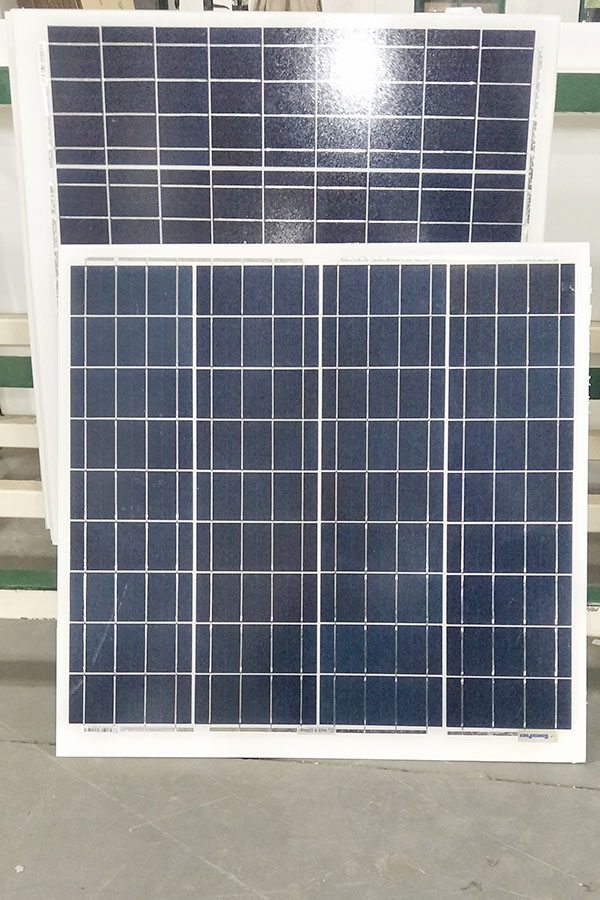
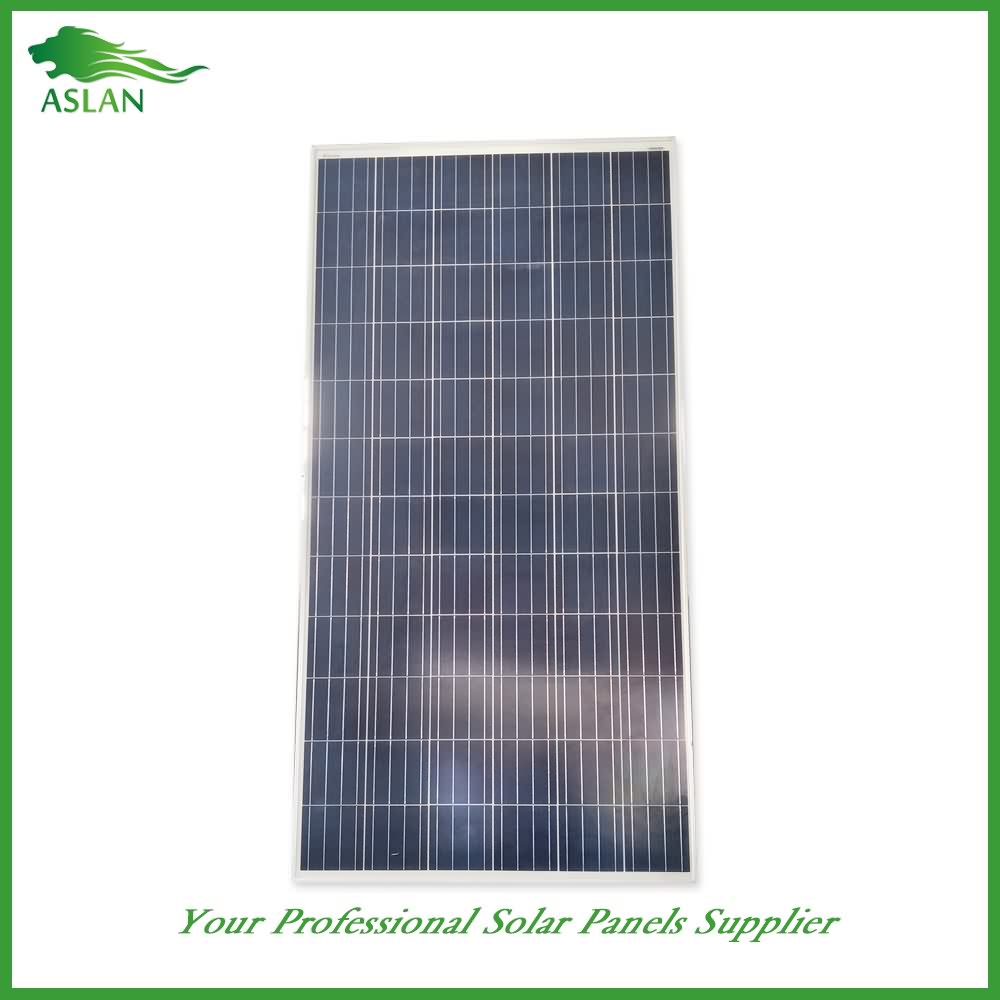
Poly-crystalline Solar Panel 300W
Technical parameter
Maximum Power(W) 300W
Optimum Power Voltage(Vmp) 37.15V
Optimum Operating Current(Imp) 8.08A
Open Circuit Voltage(Voc) 45.30V
Short Circuit Current(Isc) 8.87A
Mechanical Characteristics
Cell Type Poly-crystalline 156x156mm (6 inch)
No of Cell 72 (6x12pcs)
Dimensions 1956x992x50mm
Weight 22.5Kg
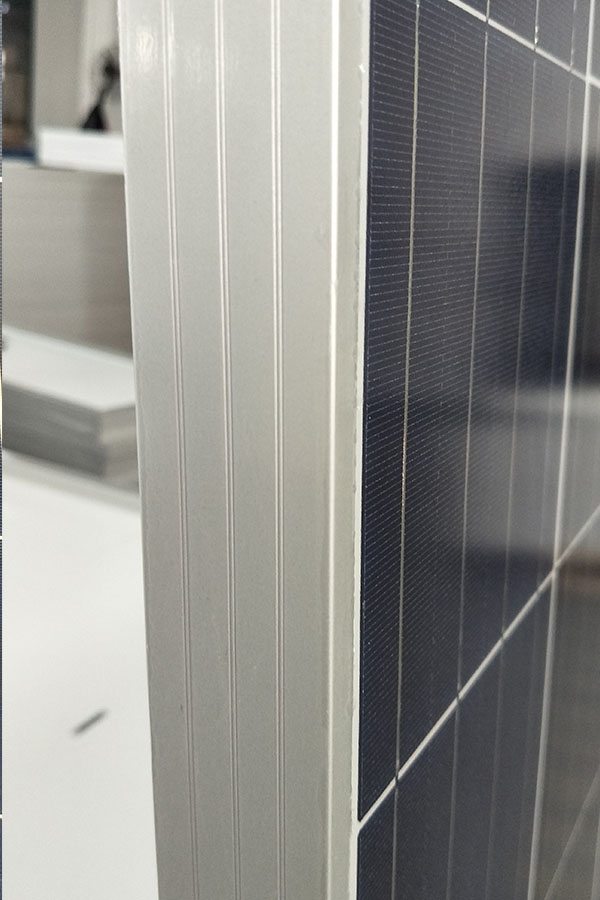
Front Glass 3.2mm,High Transmission, Low Iron,Tempered Glass
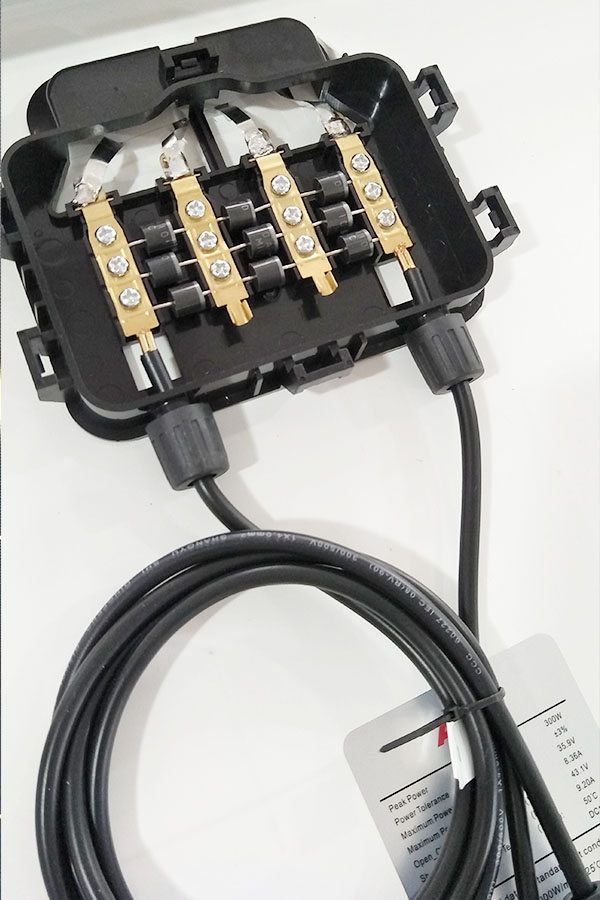
Junction box IP65 Rated
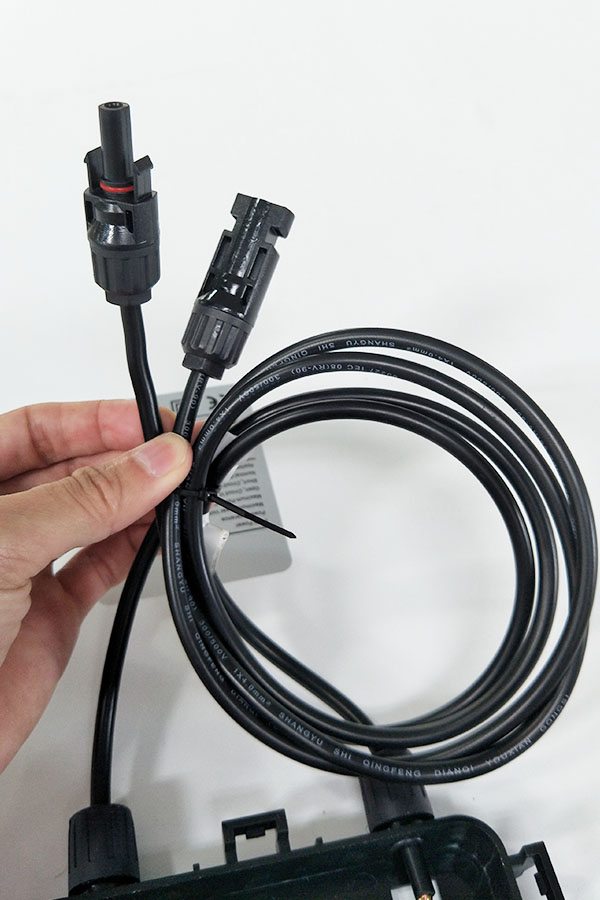
Output Cable TUV 1×4.0mm2/UL12AWG,Length:900mm
Temperature and Coefficients
Operating Temperature(°C): -40°C ~ + 85°C
Maximum System Voltage: 600V(UL)/1000V(IEC) DC
Maximum Rated Current Series: 15A
Temperature Coefficients of Pmax: -0.47%
Temperature Coefficients of Voc: -0.389%
Temperature Coefficients of Isc: 0.057%
Nominal Operationg Cell Temperature (NOCT): 47+/-2°C
Materials of solar panel
1).Solar Cell——Poly-crystalline solar cell 156*156mm
2).Front Glass——-3.2mm, high transmission, low iron, tempered glass
3).EVA——-excellent anti-aging EVA
4).TPT——-TPT hot seal made of flame resistance
5).Frame——anodized aluminum profile
6).Junction Box——-IP65 rated, high quality, with diode protection
Superiority: high quality anodized aluminum frame, high efficiency long life, easy installation, strong wind resistance, strong hail resistance.
Features
1. High cell efficiency with quality silicon materials for long term output stability
2. Strictly quality control ensure the stability and reliability, totally 23 QC procedures
3. High transmittance low iron tempered glass with enhanced stiffness and impact resistance
4. Both Poly-crystalline and Mono-crystalline
5. Excellent performance in harsh weather
6. Outstanding electrical performance under high temperature and low irradiance
Quality assurance testing
Thermal cycling test
Thermal shock test
Thermal/Freezing and high humidity cycling test
Electrical isolation test
Hail impact test
Mechanical, wind and twist loading test
Salt mist test
Light and water-exposure test
Moist carbon dioxide/sulphur dioxide
A simple guide to controlling 12 volt LED strips from your Arduino using an N Channel Mosfet.
In my example I’m using PWM to fade the 12v LED strip, but you could just as easily turn the LED strip on and off instead of fading it. Also it doesn’t have to be an LED strip and it doesn’t have to be 12v!
If you’re going to drive a motor or a relay (or any inductive load) using this setup, you should add a diode across the positive and negative input of the motor/relay to avoid any back voltage.
I’ve over simplified things in terms of my description and the circuit, but it should be enough to get you up and running and to give you a basic understanding of how an N-Channel Mosfet works.
Pretty much any N Channel Mosfet will be fine, but ideally you want to go for an L series, because the gate can be reliably driven at lower voltages, such as the 5 volt from the Arduino.
If you’re curious, a MOSFET is a metal–oxide–semiconductor field-effect transistor. The benefit of a MOSFET over the traditional relay is that it can turn on and off extremely quickly, meaning it’s suitable for PWM, compared to the old coil relay which can’t turn on and off so quickly. Of course a modern solid state relay can compare against a mosfet or transistor.
SUPPORT ME: If you enjoyed this video, please remember to give a LIKE and click here to subscribe to my channel – http://www.youtube.com/subscription_center?add_user=philstuffs
This simple, but cozy bush cabin was constructed in my spare time, and was completed in 8 months. My youth group, and several people from my church were a huge help. I wouldn’t have been able to complete it in time without them.
I am aware that 8 months isn’t necessarily a fast building time, but keep in mind: this cabin is somewhat isolated, no machinery was used, all the logs and materials had to be carried on our shoulders, I often worked alone and in at least 3 feet of snow, I built this in my spare time when I wasn’t working 50+ hours at my jobs, or spending time with my family. And any construction project takes longer when it’s out in the bush.
Some people have noticed that I have a gas can in the corner of the cabin next to the stove. Obviously it is dangerous to keep a gas can near a running stove. The only reason why the gas can is there, is because I temporarily put it there for filming. The stove was off, and as soon as I was done filming, I returned the gas can back to where it belonged; outside.
Of course there are things that I can, and could have done, to make sure this cabin lasts 100+ years:
1- The logs could have been debarked before I used them.
2- In the future I can jack the cabin up and put it on footings so that the logs will be kept off the ground.
3- In the future I can put a metal roof on, to replace the tarp.
So why didn’t I just do the above 3 things right away? I was under a strict time & budget constraint. I only had $500 and I had exactly 8 months to complete the cabin (it’s a long story). Although I had a lot of people who helped on various occasions, I worked alone most of the time, often in temperatures of -30, with only a chainsaw, an axe, and my arms. Although I had to take a couple of shortcuts (because of my constraints), I do not regret any decision I made in the cabin’s construction. If I chose to build the cabin exactly the way I wanted it to be built, I wouldn’t have been able to build it at all. In the future, I plan to build a bigger log home. And when I do, I will be sure to take the time to build the cabin exactly the way it needs to be built.
The cabin cost only $500 to build. Most the the money went into the lumber that I put into the roof. As for the items that were donated, all of them were scrap to begin with. That means the donated items were worth $0, and they only took on value when I was able to make use of them.
- The stove was donated because I had a friend who had it sitting in his scrap pile and he knew I could probably use it.
- A farmer friend I knew told me that he had a bunch of thrown-out windows in a garbage pile in his back field. He said that if I could dig them out of the snow, I could have them.
- The door was a coffee table that another friend made, but he was going to throw it out because the varnish didn’t go on properly. So I took it off his hands.
My point is, that even though the above items were donated, they were salvaged items that were going to be thrown out anyway. This is another reason why I was able to keep my costs down. Because I was able to take other people’s garbage, and make them into something useful.
I was given permission to build this cabin on a privately owned bush lot.
Cabin details:
- I have no previous experience in construction, only a passion to learn and build.
- The cabin is 10′x10′. While the roof section is 11′x16′
- It has 52 logs, approximately 25 inches in circumference at the base. I left them with the bark on.
- It only cost me $15 worth of gas, and $30 worth of oil to build the entire cabin with my chainsaw.
- The floor is set on 9 patio stones, with 2″x4″s for support, and 2.25″ thick rough-cut Poplar floor boards on top.
- I made square notches in the logs, which I found to be a sturdy way to fit the logs together.
- We didn’t use any machinery (except for a chainsaw). Just good ol’ fashioned man power.
- I used a heavy-duty tarp to cover the roof.
- To fill the gaps between the logs I used brown-coloured insulation. Not the best way to fill the gaps, but it’s certainly cheap, quick, and efficient.
- Since the cabin is small, I didn’t place it on any footings. The logs are sitting directly on the level ground. I’ll see in the years to come, how well the cabin holds up. But it’s already lasted through a whole winter and spring without any problems.