7 Years Factory Poly-crystalline Solar Panel 200W Riyadh Factory
Short Description:
It is a good way to improve our products and service. Our mission is to develop creative products to customers with a good experience for 7 Years Factory Poly-crystalline Solar Panel 200W Riyadh Factory, Adhering to the business principle of mutual benefits, we have won good reputation among our customers because of our perfect services, quality products and competitive prices. We warmly welcome customers from home and abroad to cooperate with us for common success.
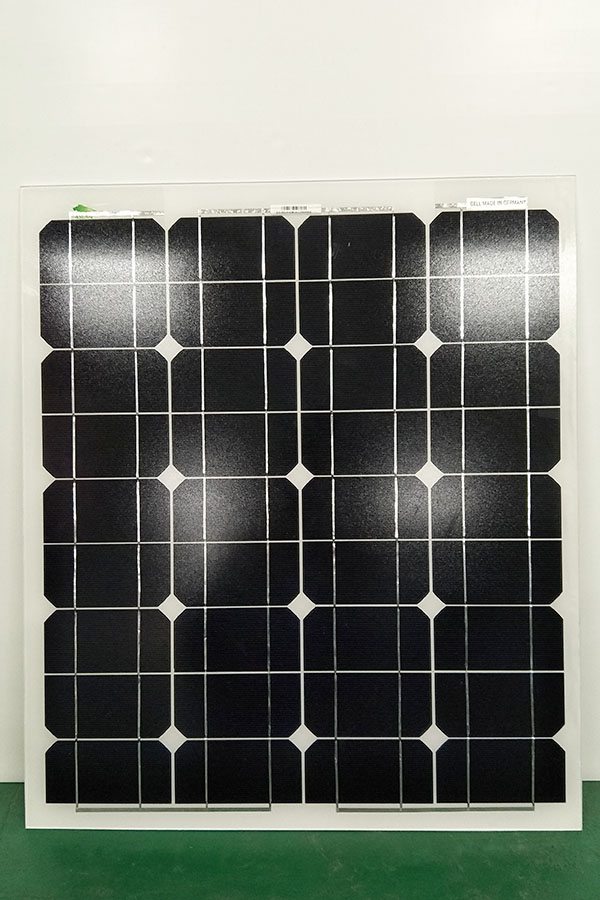
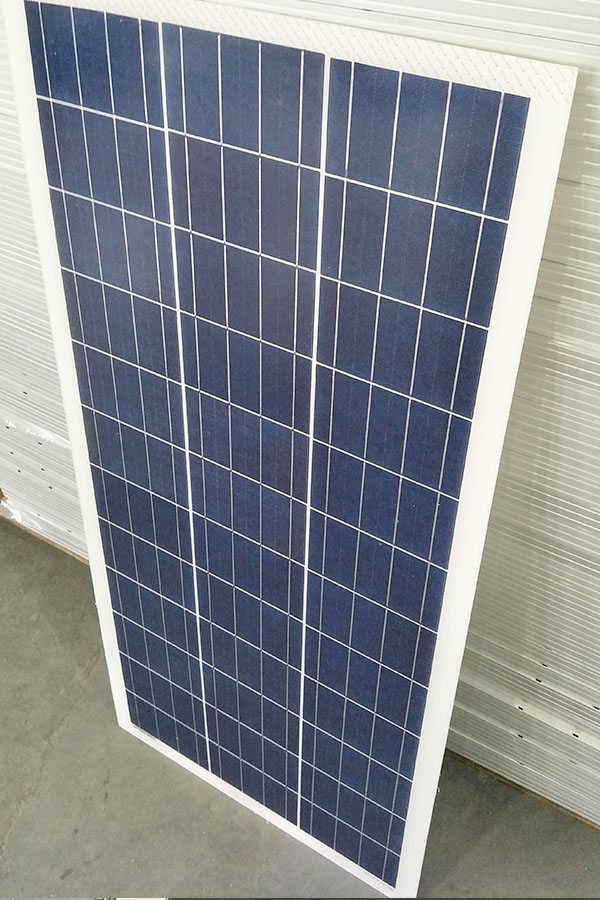
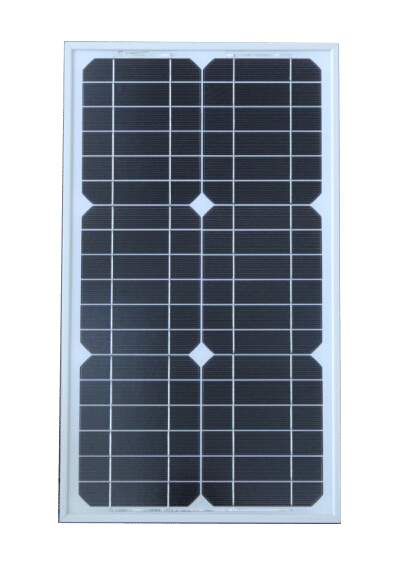
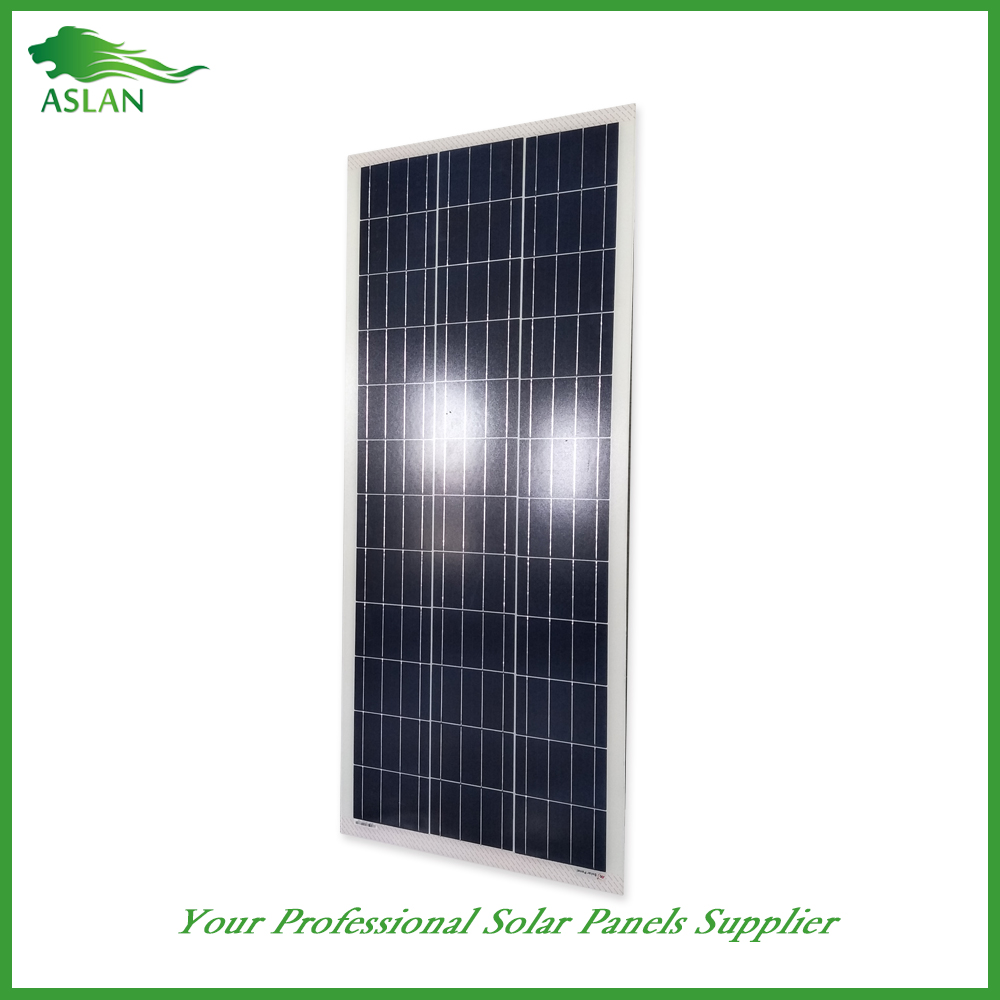
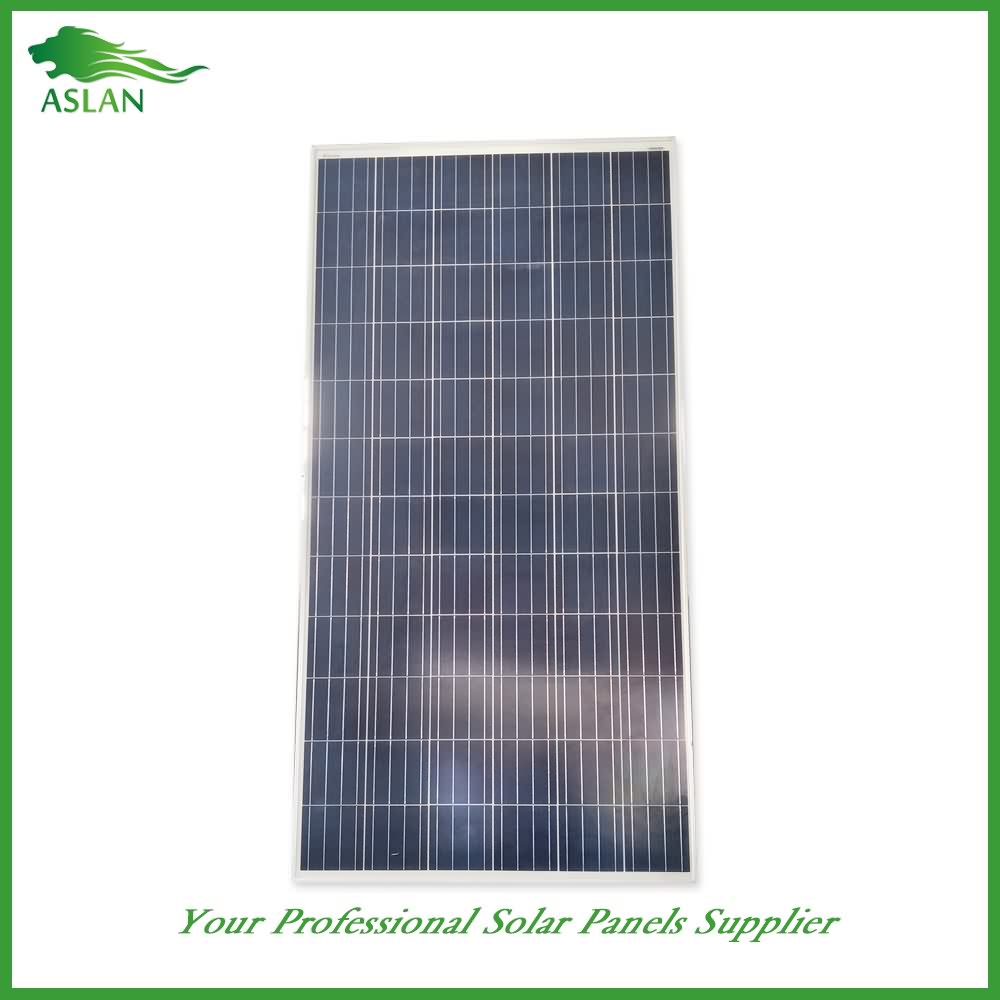
Poly-crystalline Solar Panel 200W
Technical parameter
Maximum Power(W) 200W
Optimum Power Voltage(Vmp) 26.78V
Optimum Operating Current(Imp) 7.47A
Open Circuit Voltage(Voc) 32.66V
Short Circuit Current(Isc) 8.21A
Mechanical Characteristics
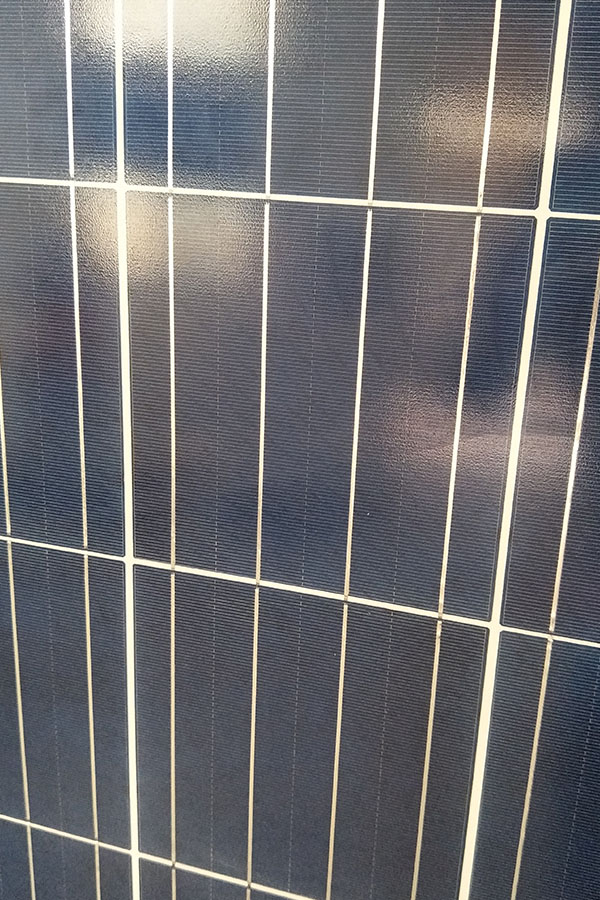
Cell Type Polycrystalline 156x156mm (6 inch)
No of Cell 54 (6x9pcs)
Dimensions 1482x990x40mm
Weight 17.6Kg
Front Glass 3.2mm,High Transmission, Low Iron,Tempered Glass
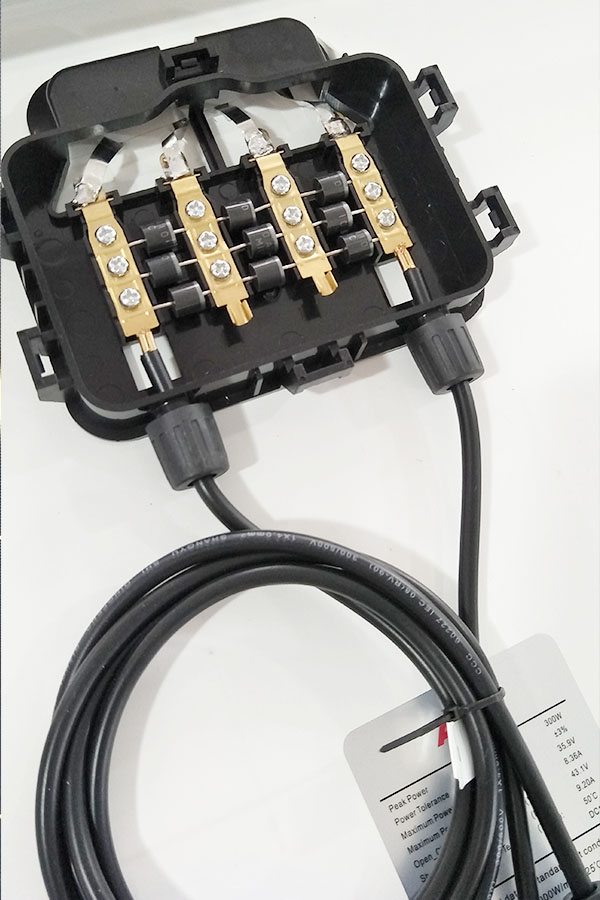
Junction box IP65 Rated
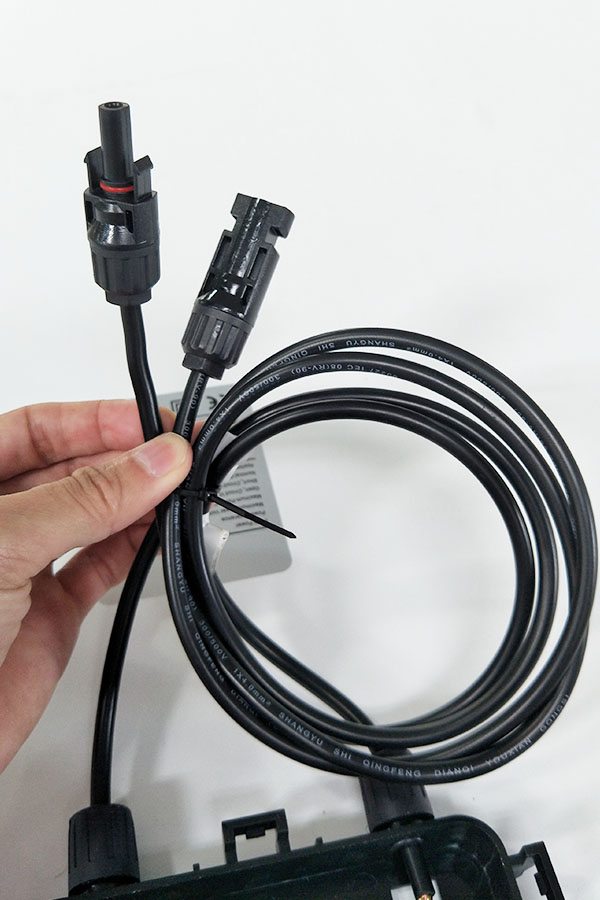
Output Cable TUV 1×4.0mm2/UL12AWG,Length:900mm
Temperature and Coefficients
Operating Temperature(°C): -40°C ~ + 85°C
Maximum System Voltage: 600V(UL)/1000V(IEC) DC
Maximum Rated Current Series: 15A
Temperature Coefficients of Pmax: -0.47%
Temperature Coefficients of Voc: -0.389%
Temperature Coefficients of Isc: 0.057%
Nominal Operationg Cell Temperature (NOCT): 47+/-2°C
Materials of solar panel
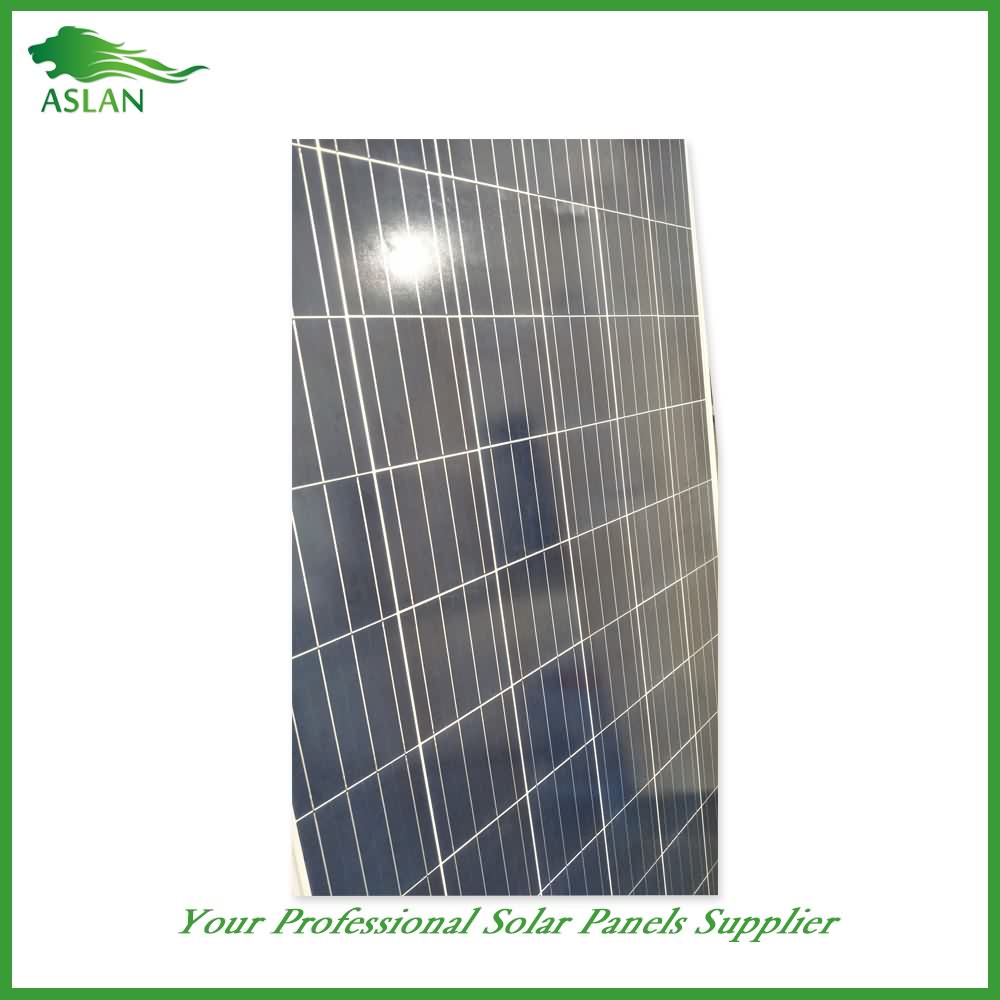
1).Solar Cell——Polycrystalline solar cell 156*156mm
2).Front Glass——-3.2mm, high transmission, low iron, tempered glass
3).EVA——-excellent anti-aging EVA
4).TPT——-TPT hot seal made of flame resistance
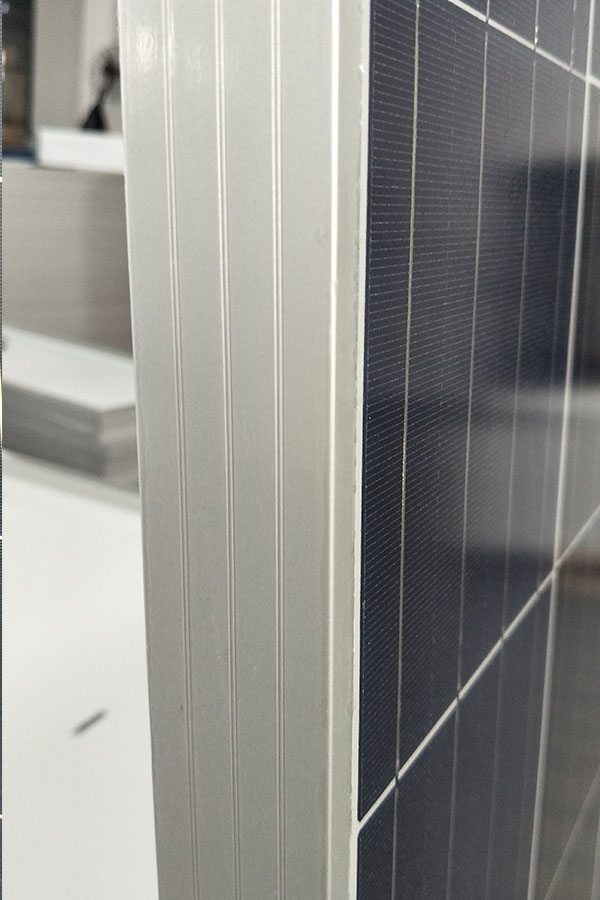
5).Frame——anodized aluminum profile
6).Junction Box——-IP65 rated, high quality, with diode protection
Superiority: high quality anodized aluminum frame, high efficiency long life, easy installation, strong wind resistance, strong hail resistance.
Features
1. High cell efficiency with quality silicon materials for long term output stability
2. Strictly quality control ensure the stability and reliability, totally 23 QC procedures
3. High transmittance low iron tempered glass with enhanced stiffness and impact resistance
4. Both Poly-crystalline and Mono-crystalline
5. Excellent performance in harsh weather
6. Outstanding electrical performance under high temperature and low irradiance
Quality assurance testing
Thermal cycling test
Thermal shock test
Thermal/Freezing and high humidity cycling test
Electrical isolation test
Hail impact test
Mechanical, wind and twist loading test
Salt mist test
Light and water-exposure test
Moist carbon dioxide/sulphur dioxide
How To Make A Led Light Bulb …
you don’t need any special skills to assemble a led lamp.
five minutes of free time, a few tools and some desire to make something by yourself – that’s all you need to build a modern, beautiful and efficient light source.
by assembling led lamp with your own hands you can always be 100% sure that it will meet the claimed specifications, since most of the commercially available led lamps have overstated specifications. the number one reason you want to build the led lamp by yourself is that you’ll save a substantial amount of money. led diy kits is 1.5-2 times cheaper than already assembled lamps.
let’s briefly remind ourselves about the benefits led lamps:
first of all – it’s the energy saving factor. led lamps consume 10 times (video text – save up to 10 times) less power compared to incandescent ones and 2 times (video text – save up to 2 times) less power as compared to fluorescent lamps.
the lifespan of the correctly assembled led lamp is 50 thousand hours (video text – 50 thousand hours) or more, with an 8-hour operation time per day. 15 years of trouble-free operation (video text – 15 years of trouble-free operation).
among other benefits:
instant start
operation in wide voltage range – from 85 to 265 volts
no flicker
no infrared and ultraviolet radiation
an ability to choose the color temperature: warm or cold
to assemble the led lamp we’ll need:
aluminum lamp housing (which consists of lamp base, pcb for leds, light diffuser and mounting elements)
led current driver
light-emitting diodes (their number determines the power of the lamp)
the tools we use:
soldering iron
multimeter
screwdriver
and some consumables: thermal paste, solder and hot glue.
try and assemble by yourself this very promising and cost-effective light source.
first of all we need to determine the polarity of the led – some manufacturers apply plus and minus signs to the contacts of the led, but some leds can be supplied without the polarity indication. we are using a tester to do this job. if you connect the plus test lead to the positive contact of the led, and a minus to negative contact – led should light up. pcb for leds has a corresponding plus and minus designation.
for mounting the diodes we use thermal paste that provides effective heat dissipation between the contact area and the board.
mount all of the leds with the correct polarity.
solder the leds to the board and be careful not to damage the led lenses with the soldering iron.
using a tester we check the quality and accuracy of the soldering. test leads should be placed on the nearby leds with the correct polarity. as the result led should light up.
connect driver to the lamp base. one of the white wires should go through the center of the base and must be fixed using the screw with a flat cap. the other wire should be fixed during the lamp base assembly.
using a tester check the contact between the base and the driver.
put the driver into the mount in the base and fix it with hot glue and wait until it cools down.
screw the base into the lamp housing.
solder the driver to the pcb maintaining correct polarity which is indicated on the board – pink wire to positive, white wire to negative.
apply the thermal paste at the point of contact of pcb and lamp housing.
adjust the holes on the lamp and on the board. screw the board to the housing.
it is important to fix the lamp base to the housing using a sharp tool – screwdriver or an awl. push the metal on the base in three or four points to do this.
finally screw on the light diffuser to the lamp housing.
check for a short-circuit on the housing and between the contacts of the base.
the lamp is ready now.
using wattmeter we measure lamp power – 7.6 w.
using light meter measure illumination at a distance of 1 meter – 300 lux.
measure the temperature in the leds area after 5 minutes of operation – 42 degrees celsius.
measure the temperature of the lamp housing – the temperature is 40 degrees celsius.
we have assembled led lamp with the following parameters:
~ 140-160 degrees beam angle
housing heating is 40 degrees celsius
~ 7 watt power consumption
and 670~700 lumens of luminous flux
we hope that our video instruction will help you to:
significantly reduce the cost of electricity
choose high-quality led lamp components and assemble it correctly
and perhaps start
Subscribe & More Videos: https://goo.gl/pf6NFc
Thank for watching, Please Like Share And SUBSCRIBE!!!
#ledlampinvention, #lampinvention