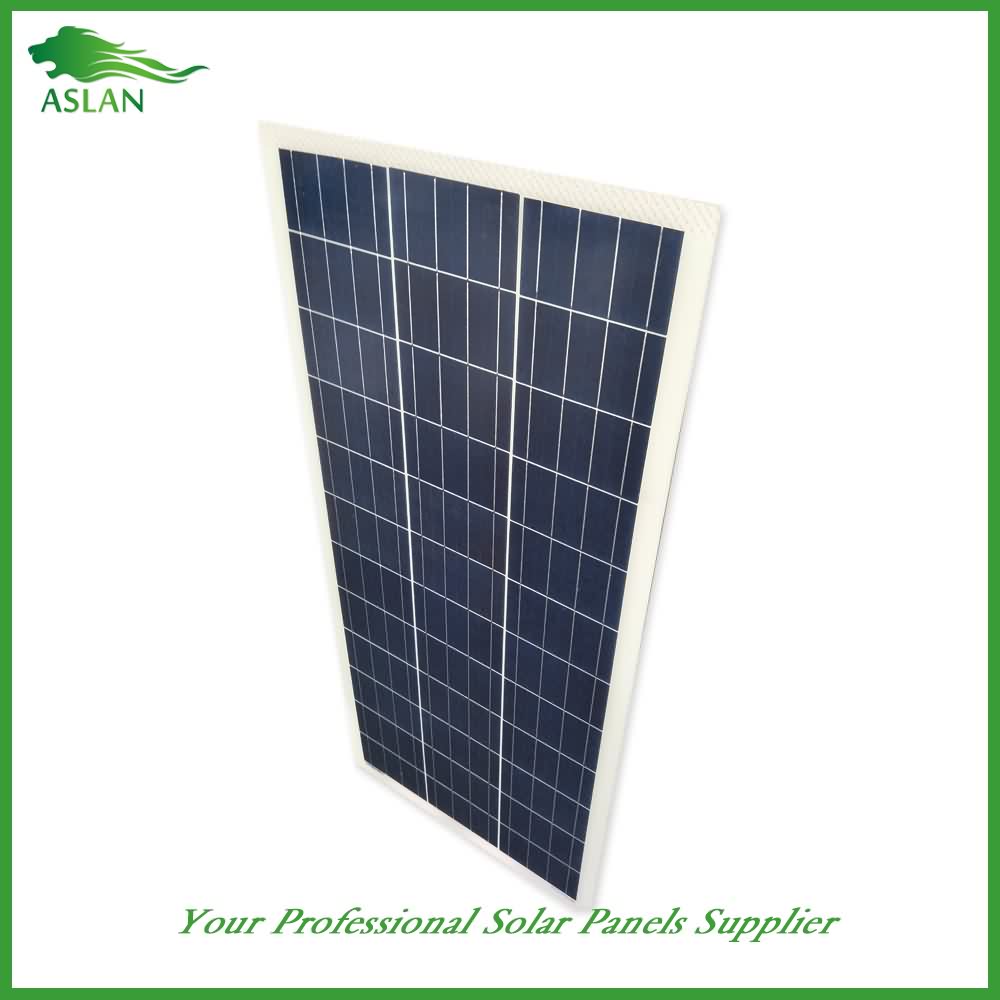
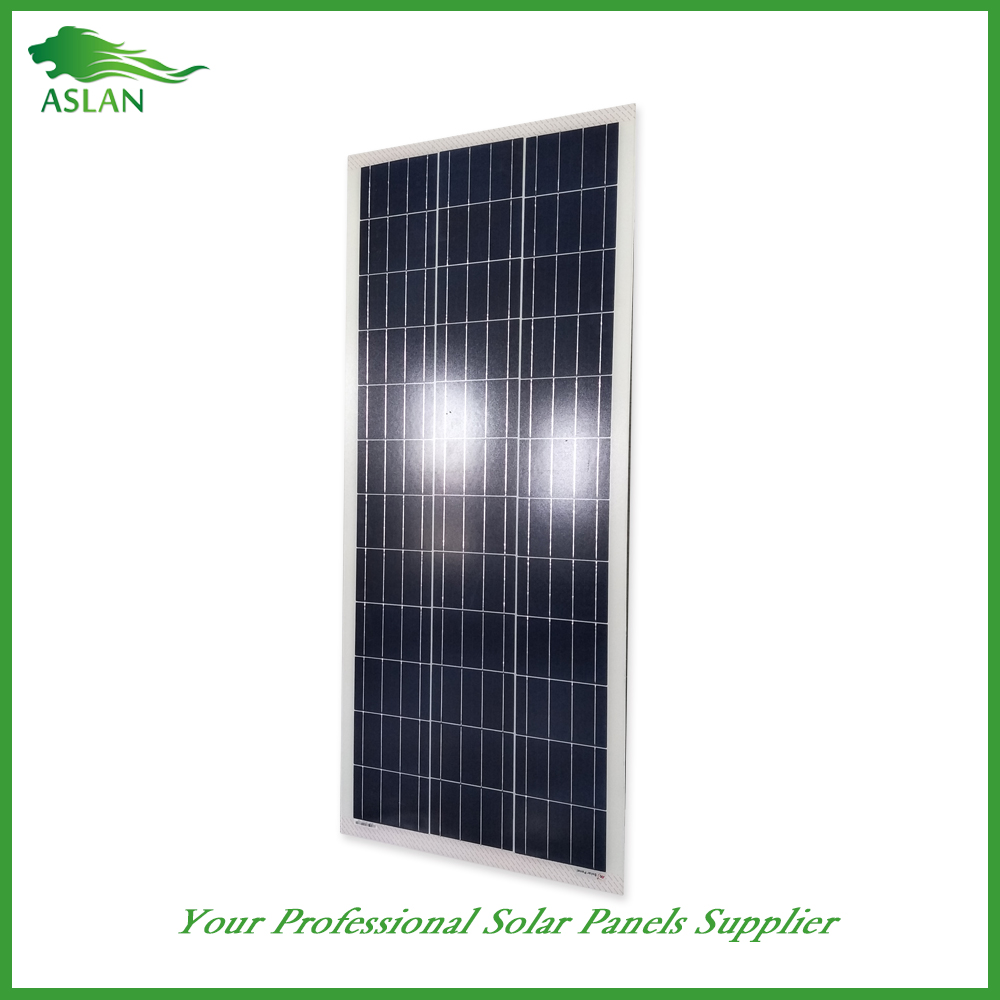
6 Years Factory Mono-Crystalline 50W Solar Panel to Seychelles Factories
Short Description:
With our leading technology as well as our spirit of innovation,mutual cooperation, benefits and development, we will build a prosperous future together with your esteemed company for 6 Years Factory Mono-Crystalline 50W Solar Panel to Seychelles Factories, winning customers' trust is the gold key to our success! If you are interested in our products, please feel free to visit our web site or contact us.
Technical parameter
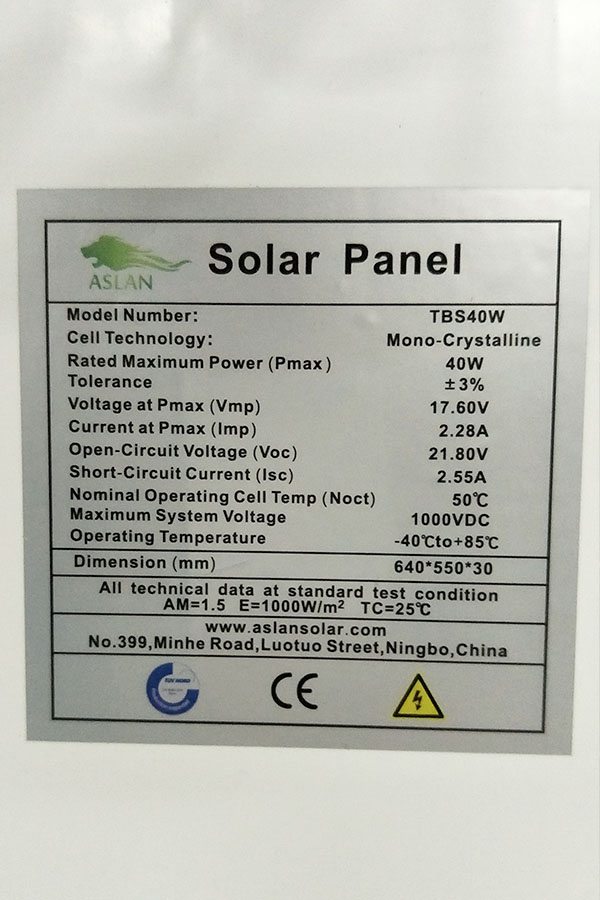
Maximum Power(W) 50W
Optimum Power Voltage(Vmp) 18.72V
Optimum Operating Current(Imp) 2.67A
Open Circuit Voltage(Voc) 22.83V
Short Circuit Current(Isc) 2.94A
Mechanical Characteristics
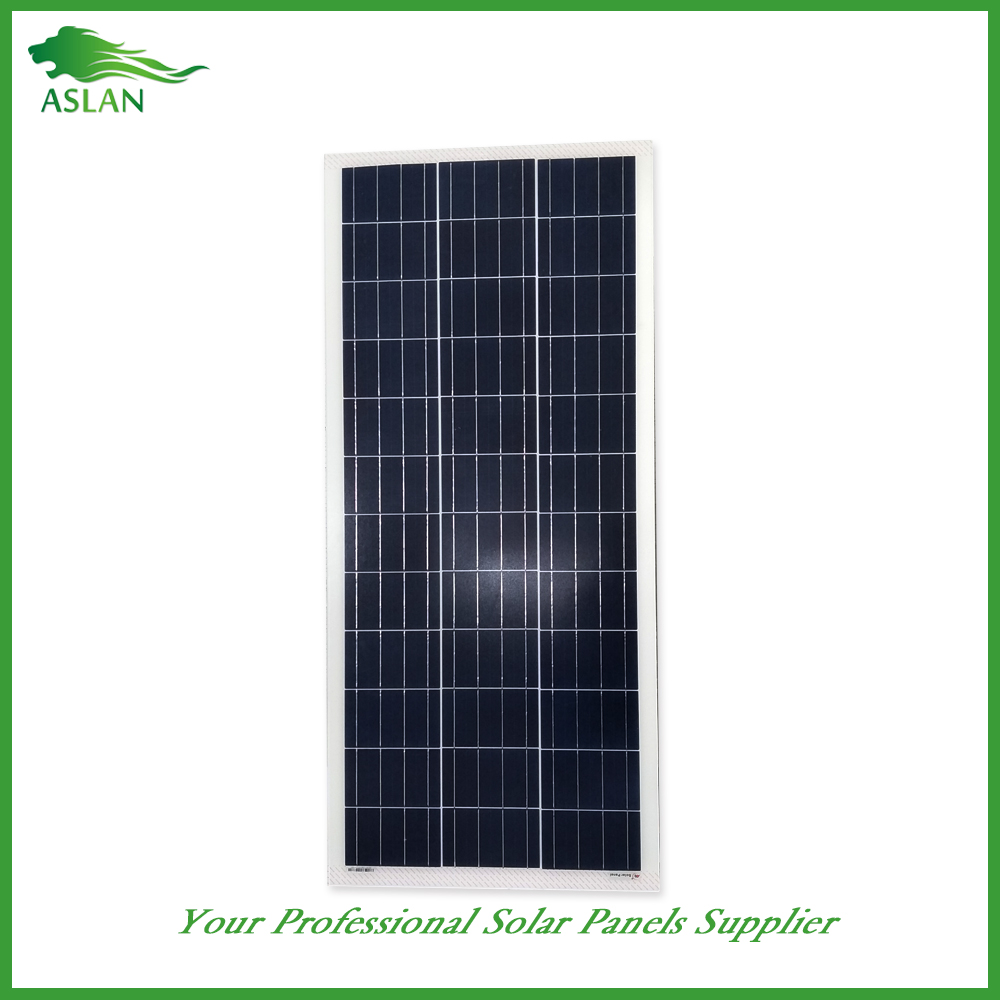
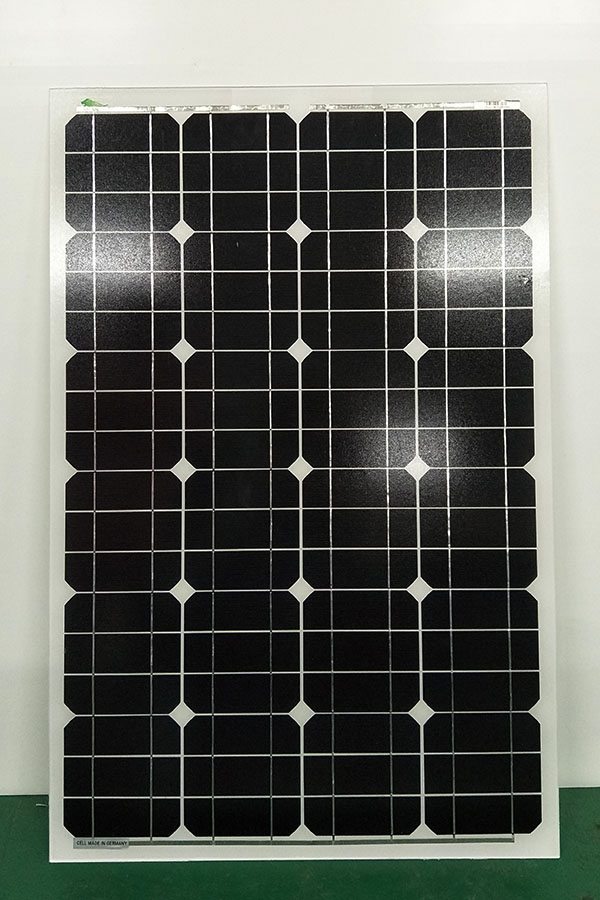
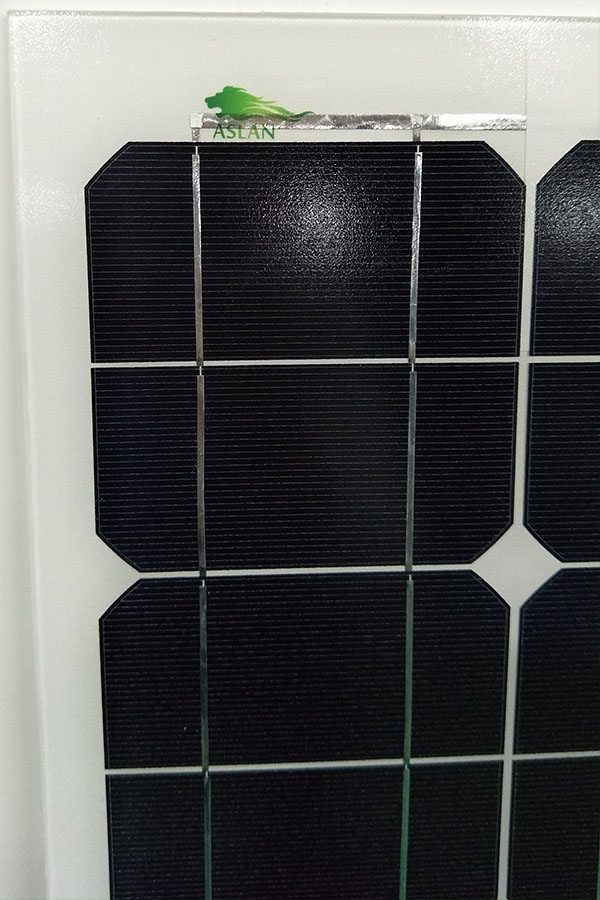
Cell Type Monocrystalline 125×62.5mm
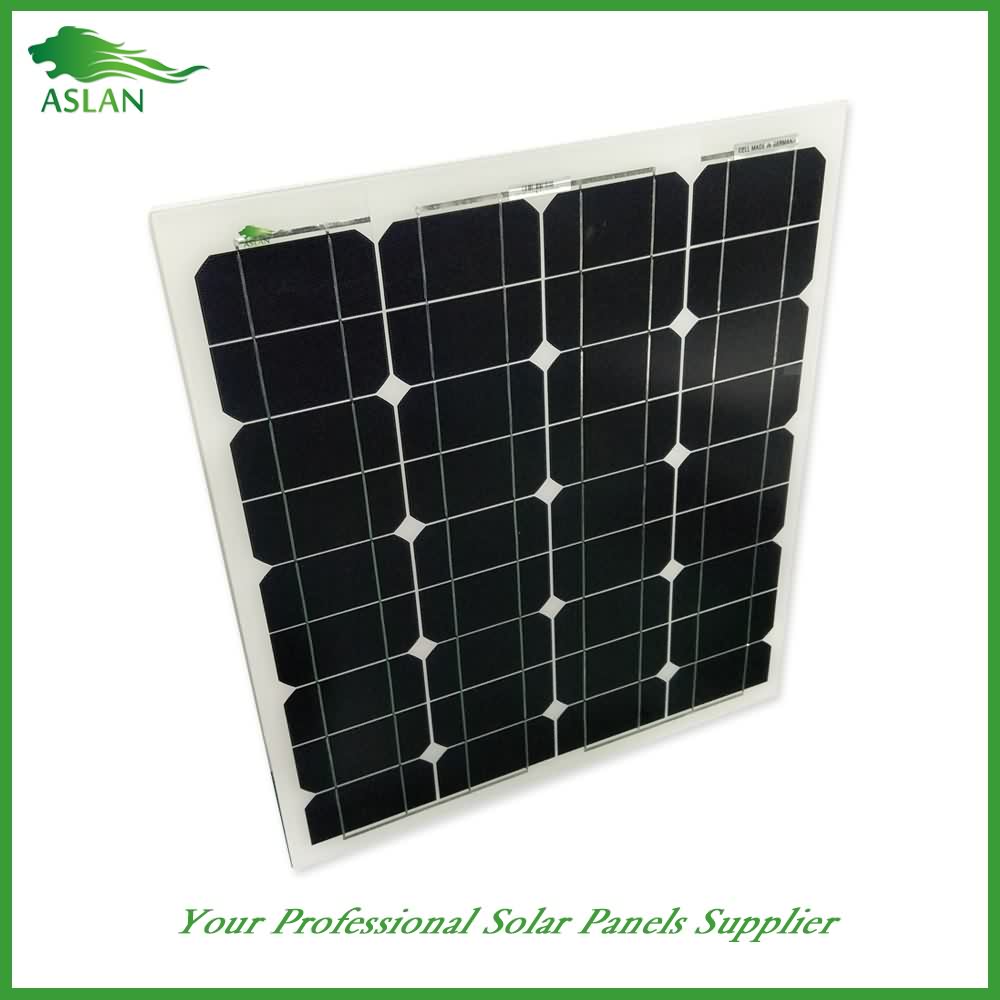
No of Cell 36 (4x9pcs)
Dimensions 636x554x25mm
Weight 4.2Kg
Front Glass 3.5mm,High Transmission, Low Iron,Tempered Glass
Junction box IP65 Rated
Output Cable TUV 1×4.0mm2/UL12AWG,Length:900mm
Temperature and Coefficients
Operating Temperature(°C): -40°C ~ + 85°C
Maximum System Voltage: 600V(UL)/1000V(IEC) DC
Maximum Rated Current Series: 15A
Temperature Coefficients of Pmax: -0.47%
Temperature Coefficients of Voc: -0.389%
Temperature Coefficients of Isc: 0.057%
Nominal Operationg Cell Temperature (NOCT): 47+/-2°C
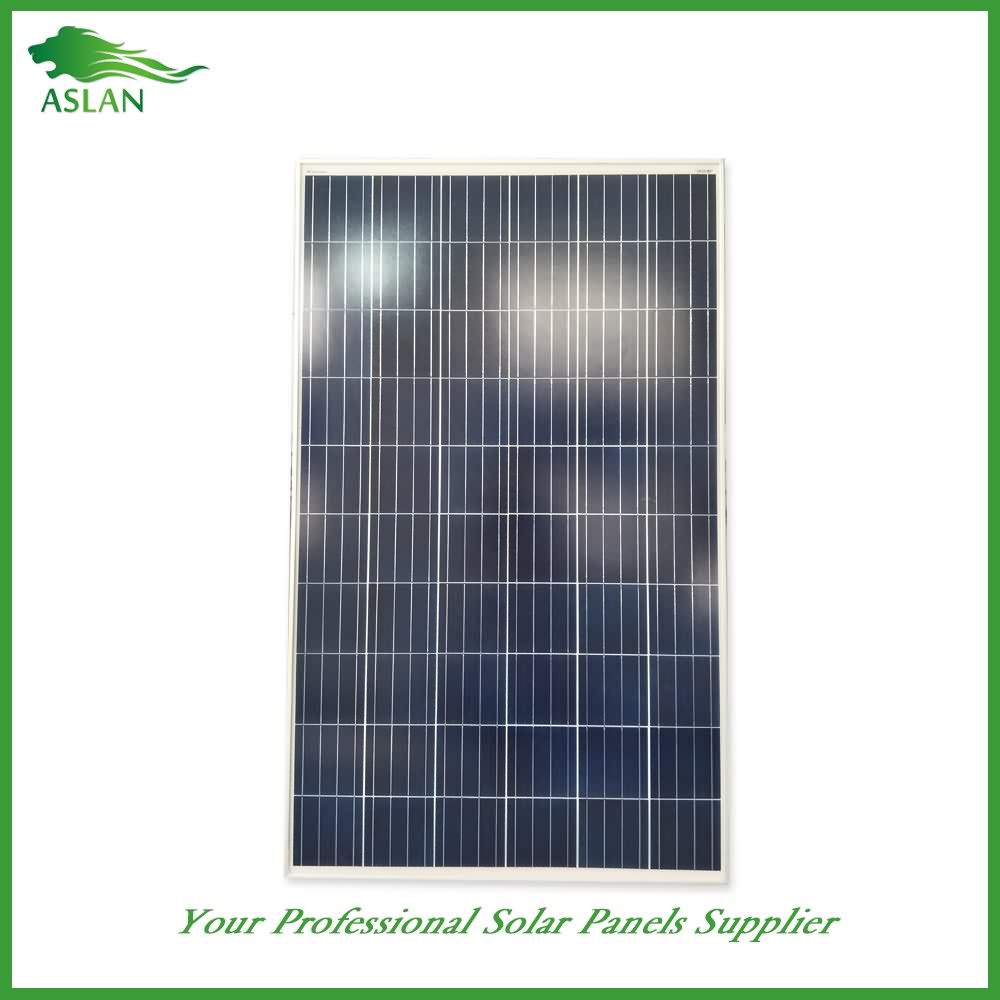
Materials of solar panel
1).Solar Cell——Mono-crystalline solar cell 125*125mm
2).Front Glass——-3.2mm, high transmission, low iron, tempered glass
3).EVA——-excellent anti-aging EVA
4).TPT——-TPT hot seal made of flame resistance
5).Frame——anodized aluminum profile
6).Junction Box——-IP65 rated, high quality, with diode protection
Superiority: high quality anodized aluminum frame, high efficiency long life, easy installation, strong wind resistance, strong hail resistance.
Features
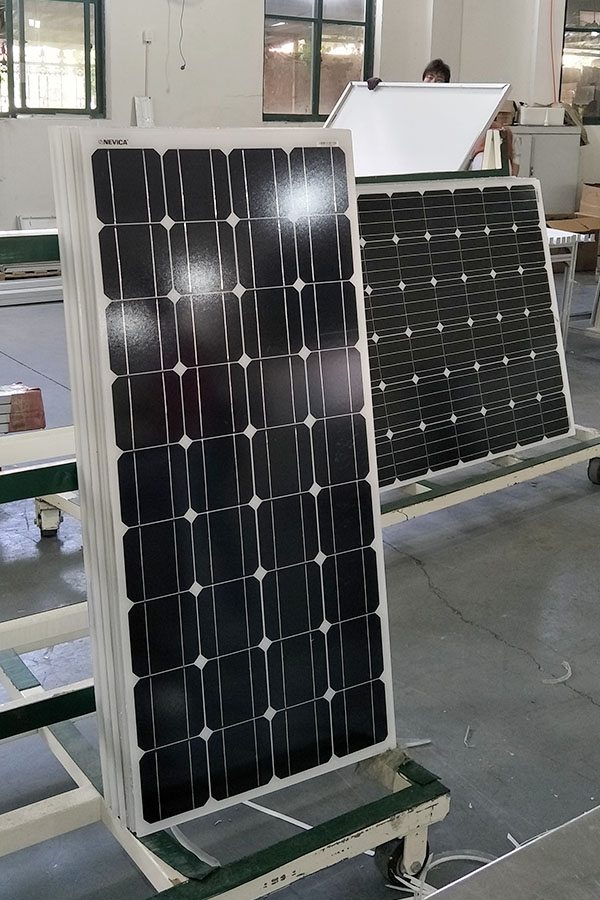
1. High cell efficiency with quality silicon materials for long term output stability
2. Strictly quality control ensure the stability and reliability, totally 23 QC procedures
3. High transmittance low iron tempered glass with enhanced stiffness and impact resistance
4. Both Poly-crystalline and Mono-crystalline
5. Excellent performance in harsh weather
6. Outstanding electrical performance under high temperature and low irradiance
Quality assurance testing
Thermal cycling test
Thermal shock test
Thermal/Freezing and high humidity cycling test
Electrical isolation test
Hail impact test
Mechanical, wind and twist loading test
Salt mist test
Light and water-exposure test
Moist carbon dioxide/sulphur dioxide
Watch the full episode: https://www.thisoldhouse.com/watch/ask-toh-hawaii-makes-50
Ask This Old House plumbing and heating expert Richard Trethewey learns how to add storage to an existing photovoltaic array.
Click here to SUBSCRIBE to the official This Old House YouTube channel: http://www.youtube.com/subscription_center?add_user=thisoldhouse
Time: 1 day
Cost: Varies based on system size
Skill Level: Professional
Tools List:
Drill/driver
PVC pipe cutter
Philips screwdriver
Wire strippers
Shopping List:
AC Battery
Electrical Conduit
12 gauge wiring
Steps:
1. Before doing any electrical work, ensure the power is turned off at the breaker panel. Professional installation is recommended for this project.
2. Run four 12 gauge conductors from a 240V breaker at the main electrical panel to the location
3. Attach battery brackets to structure.
4. Run electrical conduit between each bracket.
5. Run four 12 gauge conductors between each bracket. Strip the ends of the conductors and insert them into the appropriate slot of the bracket.
6. Attach each battery to the wall mount bracket.
7. Plug the battery into the port on the bracket.
8. Restore power to the circuit.
Follow This Old House and Ask This Old House:
Facebook: https://www.facebook.com/ThisOldHouse
Twitter: https://twitter.com/thisoldhouse
https://twitter.com/asktoh
Pinterest: http://www.pinterest.com/thisoldhouse/
G+: https://plus.google.com/+thisoldhouse/posts
Instagram: http://instagram.com/thisoldhouse
Tumblr: http://thisoldhouse.tumblr.com/
This guide shows you How To Make A Potato Battery
Watch This and Other Related films here: http://www.videojug.com/film/how-to-make-a-potato-battery
Subscribe! http://www.youtube.com/subscription_center?add_user=videojugeducation
Check Out Our Channel Page: http://www.youtube.com/user/videojugeducation
Like Us On Facebook! https://www.facebook.com/videojug
Follow Us On Twitter! http://www.twitter.com/videojug