18 Years Factory offer Mono-Crystalline 200W Solar Panel for Belgium Manufacturers

Short Description:
In order to best meet client's needs, all of our operations are strictly performed in line with our motto " High Quality, Competitive Price, Fast Service " for 18 Years Factory offer Mono-Crystalline 200W Solar Panel for Belgium Manufacturers, Contact with us today! We are ready for the market service now!
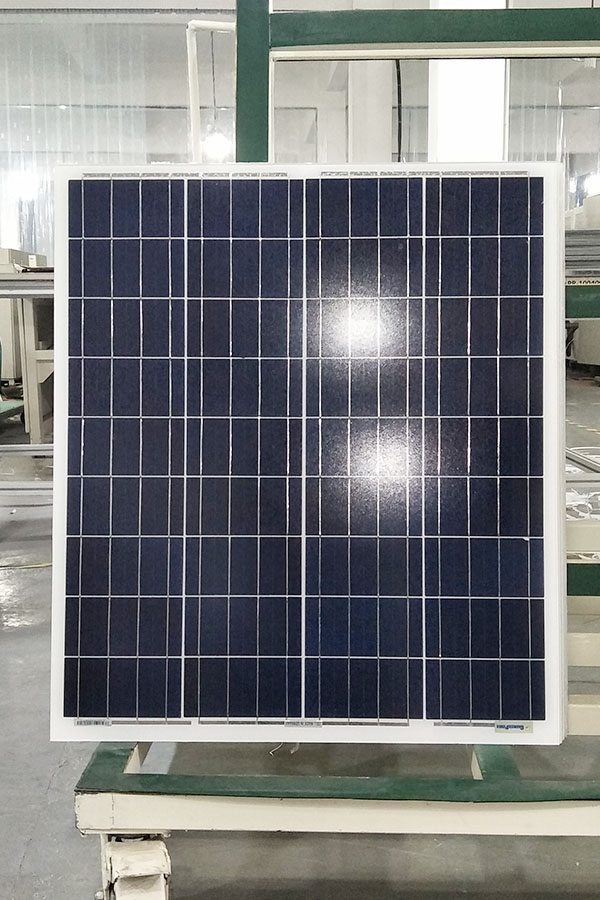
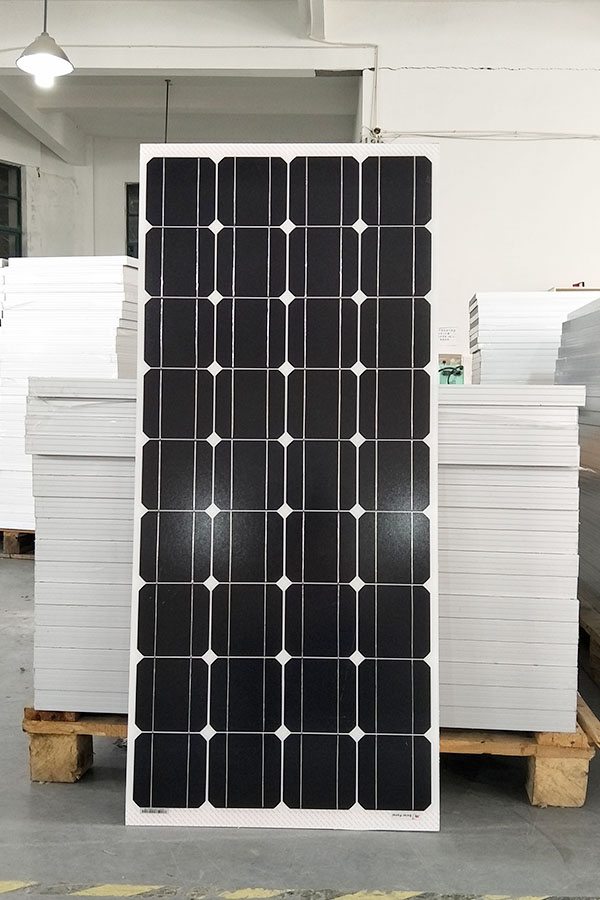
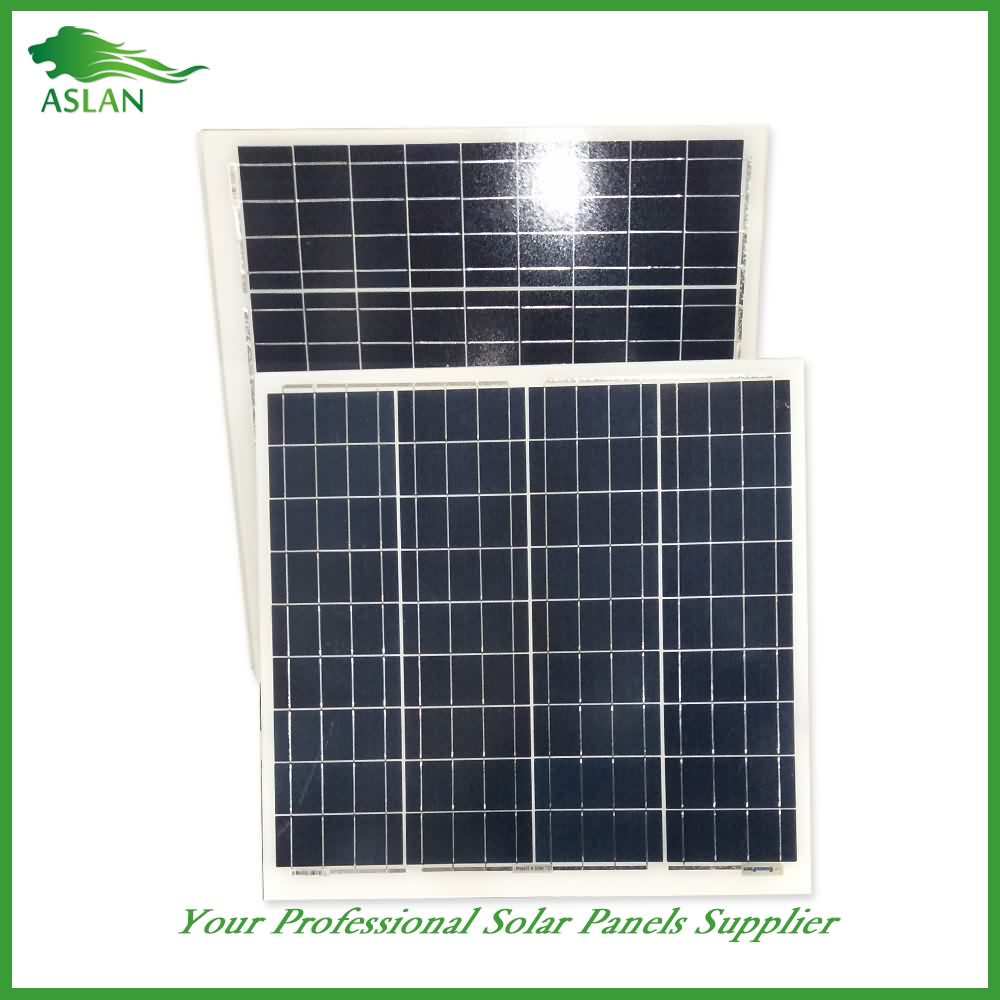
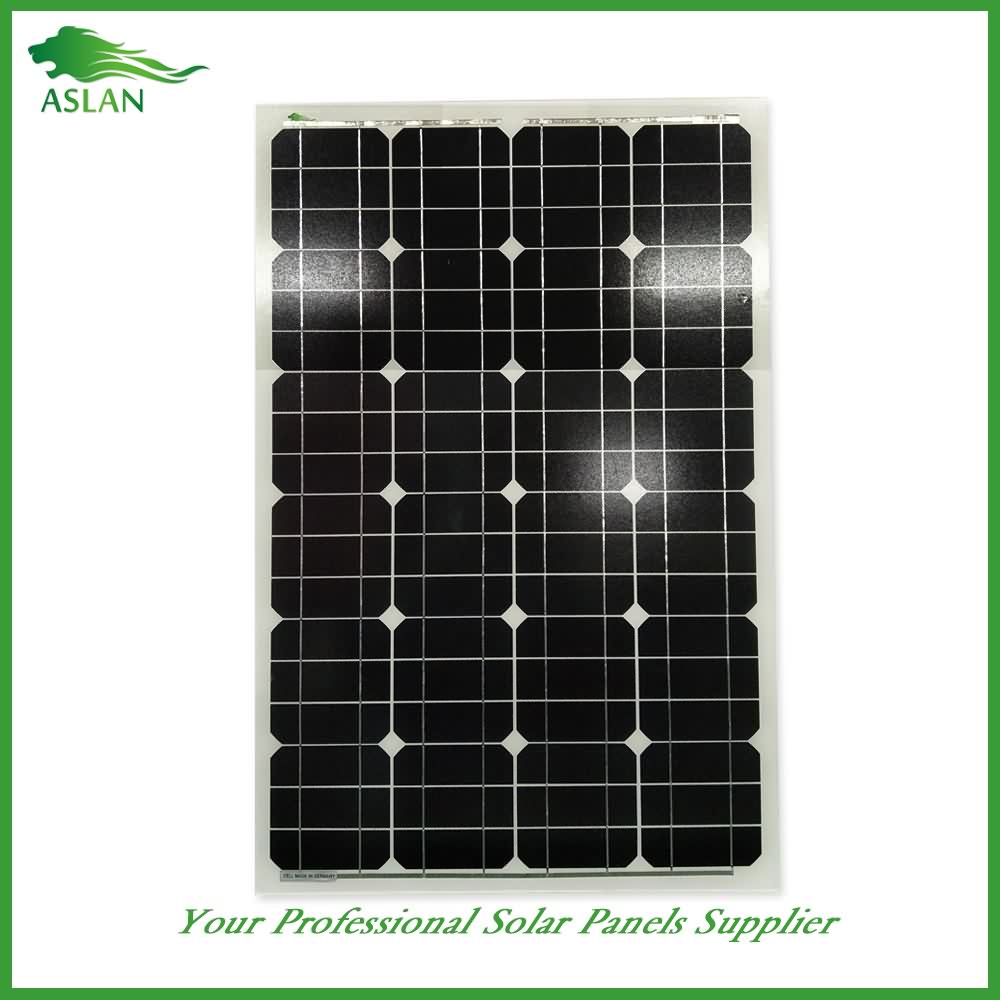
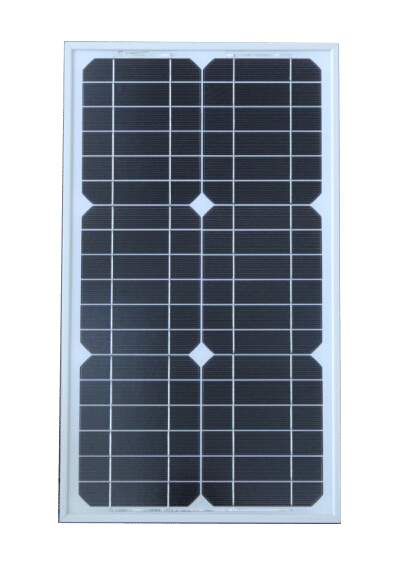
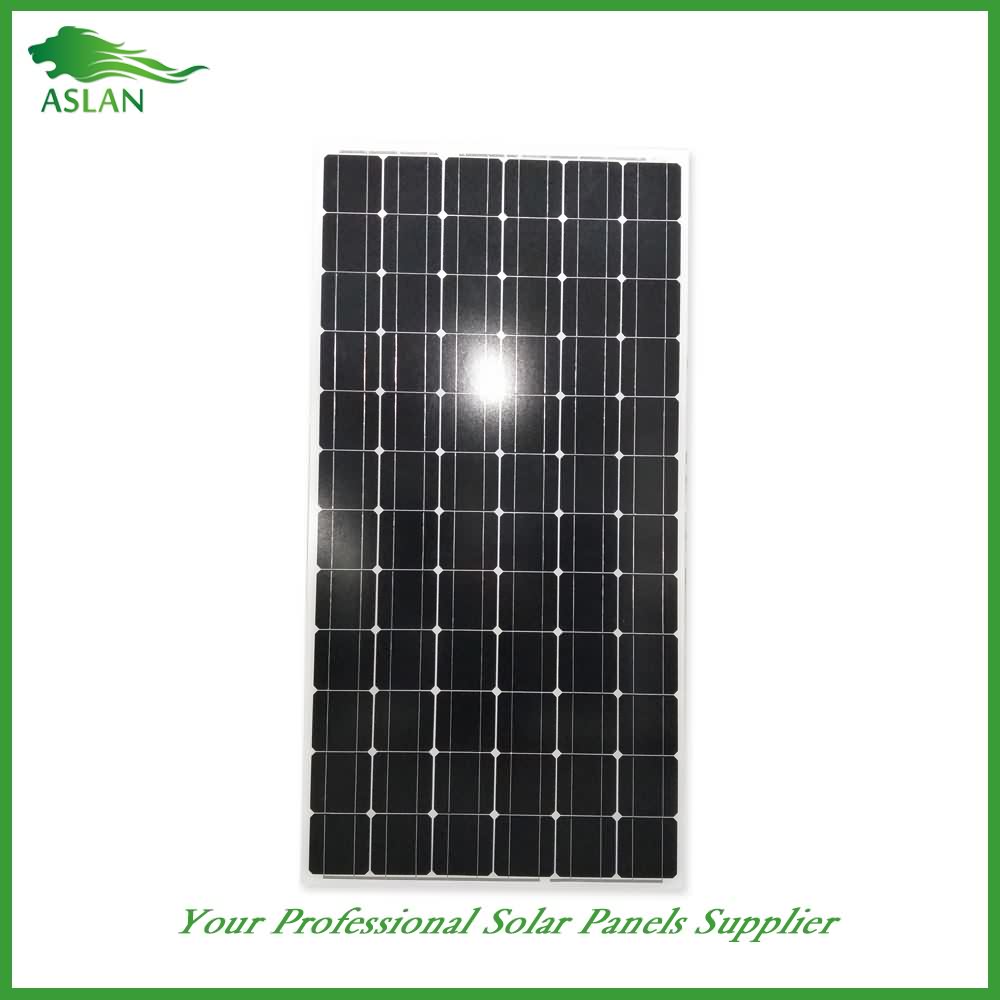
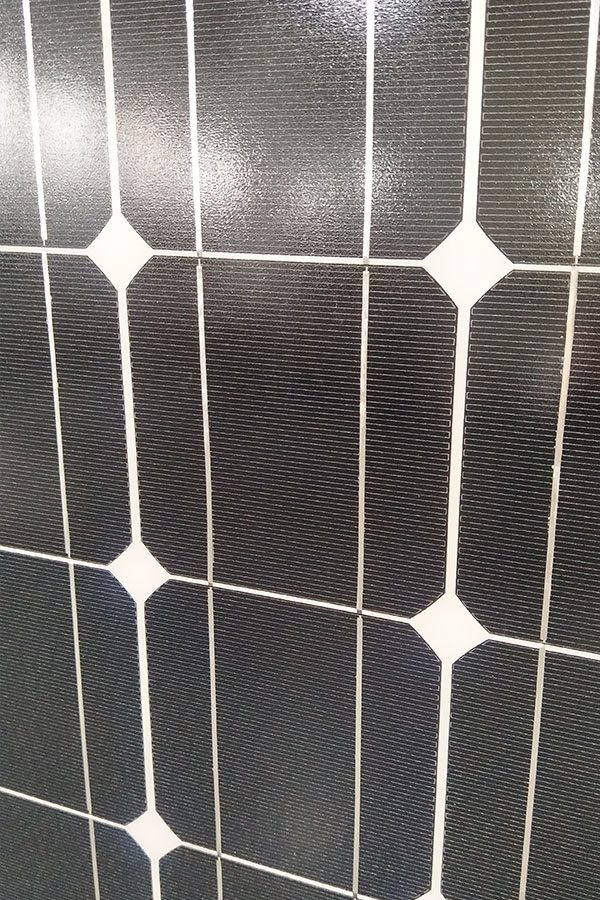
Mono-Crystalline 200W Solar Panel
Technical parameter
Maximum Power(W) 200W
Optimum Power Voltage(Vmp) 37.29V
Optimum Operating Current(Imp) 5.36A
Open Circuit Voltage(Voc) 45.48V
Short Circuit Current(Isc) 5.89A
Mechanical Characteristics
Cell Type Monocrystalline 125x125mm (5 inch)
No of Cell 72 (6x12pcs)
Dimensions 1580x808x35mm
Weight 14.5Kg
Front Glass 3.2mm,High Transmission, Low Iron,Tempered Glass
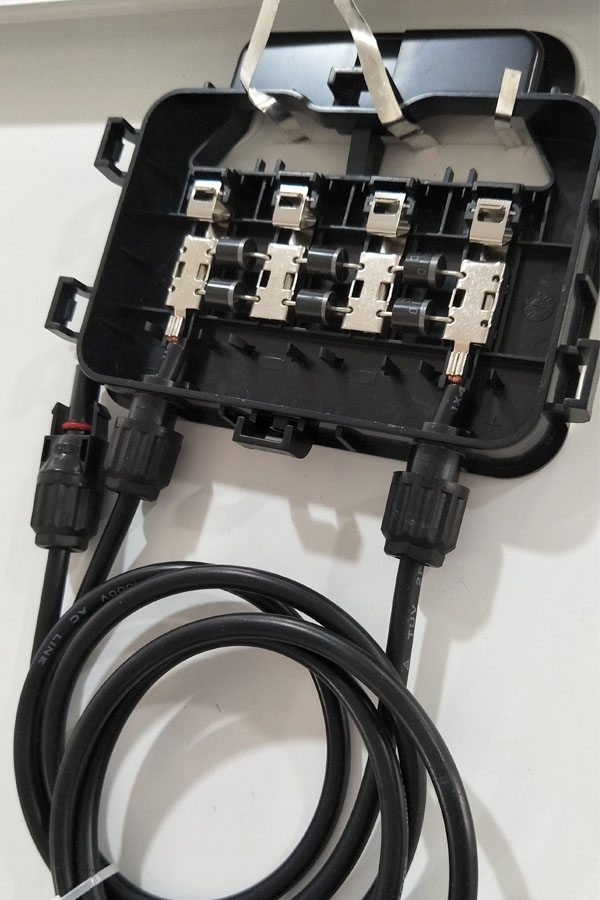
Junction box IP65 Rated
Output Cable TUV 1×4.0mm2/UL12AWG,Length:900mm
Temperature and Coefficients
Operating Temperature(°C): -40°C ~ + 85°C
Maximum System Voltage: 600V(UL)/1000V(IEC) DC
Maximum Rated Current Series: 15A
Temperature Coefficients of Pmax: -0.47%
Temperature Coefficients of Voc: -0.389%
Temperature Coefficients of Isc: 0.057%
Nominal Operationg Cell Temperature (NOCT): 47+/-2°C
Materials of solar panel
1).Solar Cell——Mono-crystalline solar cell 125*125mm
2).Front Glass——-3.2mm, high transmission, low iron, tempered glass
3).EVA——-excellent anti-aging EVA
4).TPT——-TPT hot seal made of flame resistance
5).Frame——anodized aluminum profile
6).Junction Box——-IP65 rated, high quality, with diode protection
Superiority: high quality anodized aluminum frame, high efficiency long life, easy installation, strong wind resistance, strong hail resistance.
Features
1. High cell efficiency with quality silicon materials for long term output stability
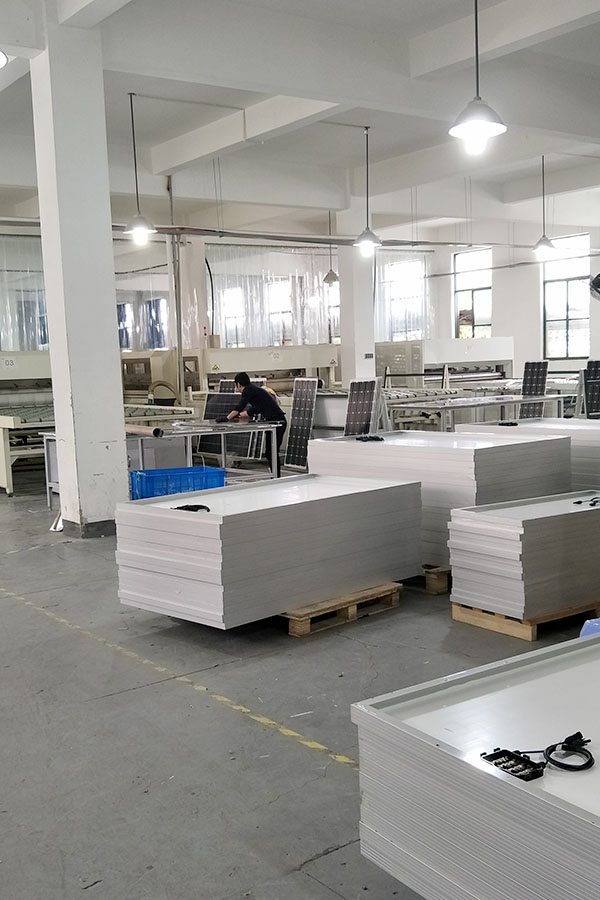
2. Strictly quality control ensure the stability and reliability, totally 23 QC procedures
3. High transmittance low iron tempered glass with enhanced stiffness and impact resistance
4. Both Polycrystalline and Mono-crystalline
5. Excellent performance in harsh weather
6. Outstanding electrical performance under high temperature and low irradiance
Quality assurance testing
Thermal cycling test
Thermal shock test
Thermal/Freezing and high humidity cycling test
Electrical isolation test
Hail impact test
Mechanical, wind and twist loading test
Salt mist test
Light and water-exposure test
Moist carbon dioxide/sulphur dioxide
WV300 FAIL
Vendor: Soled Energy – Milpitas, CA
Inverter FAILS to recover to full full power after a temporary shadow encounter such as a bird, plane, or cloud. (short version)
The most complete and in-depth video on how to build a farmhouse table. DIY PETE shows the entire process from start to finish. This farm table can be built out of everyday construction grade lumber for under $200.
*Please NOTE: While my table has held up well and had only a small amount of movement after 2 1/2 years, there are certainly things I would do differently with more experience under my belt. For beginners, I’d recommend using biscuits and glue for the top planks. Dowels or floating tenons/dominos are another option. Do make sure to let the wood properly dry.
Plans are based off Ana-White’s build geared towards beginning DIY’ers. Pocket holes are a simple way to connect boards, but if you do have access to a biscuit joiner or are capable of more advanced joinery please go for it.
For more info, project photos, and downloadable plans check out:
http://www.DIYPETE.com/farmhousetable
Benches: http://ana-white.com/2013/10/plans/4×4-truss-benches
*Note that these are affiliate links, meaning that when you buy something that is recommended below, it helps support the Channel. Thanks in advance!
*Tools Needed
Power Drill – http://amzn.to/1OxMfnt
12″ Miter Saw – http://amzn.to/1VUVo8s
Kreg Jig – http://amzn.to/1X7Bd9H
Orbital Sander – http://amzn.to/1VUVNYy
Clamps – http://amzn.to/1LwiDEs
*Supplies Needed
2 1/2 inch Kreg Screws – http://amzn.to/1VUVPzF
6 inch Torq Screws – Need about 40 –
4.5 inch Torq Screws – Need about 20
2.5 inch Torq Screws – Need about 20
Stain ( or White Vinegar / Steel Wool )
You’ll need to buy 4×4, 2×10, and 2×4 boards for this project. These boards can be found at your local lumber yard. Take your time to find quality boards that are straight and have little warp. First, I built the table top out of 2x10s. I used 5 2×10’s for the main part of the table and a 2×10 for each breadboard end. Ana’s plans call for four main boards, but I wanted a little larger area to spread out. I used a 12″ miter saw to make all of the cuts. I cut the 5 boards to 69 inches long.
Here is a look at the table top. A 2×10 board is actually 9 1/4 inches wide. The total dimensions of the top are 46 1/4 inches by 87 1/2 inches. Set the Kreg Jig at the 1 1/2 inch setting for the stock thickness. (My video says 2 1/2 inch setting but I meant to say 1 1/2 inch.)
You’ll attach each board using the 2.5 inch long Kreg Jig screws. It helps to clamp the boards to each other and use a little body weight to get the boards even with each other. Drill two pocket holes on the ends of each board as well. They will be used to connect the main boards to the breadboard.
I had to modify the width of the base a bit so that it fit the wider table top. I built the two ends out of 4×4’s. I used 6″ long torq screws (also known as star pattern screws or leg screws) to connect them (about 3 for each joint). The two vertical boards are cut at 10 degree angles (parallel to each other).
Connect the two ends together with the 4×4 horizontal beams on top and bottom. I didn’t have an extra set up hands to help me, so I used Jack Clamps to help hold everything up while I tied the boards together with 6″ torq screws.
Attach the base to the top using 4.5″ torq screws through the 4×4 beams. Use 2 inch torq screws to connect the 2×4 to the table top. (I counter sunk mine a bit).
Here is a look at the completed table prior to staining and sealing the piece. I also created matching benches to fit this table. The plans can be found by clicking here. I modified the width so they are a total of 69″ wide. Instead of using a 2×10 for the breadboards I use 2×8’s. Everything else was kept the same as Ana’s plans. The inside span of my table where the benches fit in is 73″ so that left 2 inches of wiggle room on each side of the bench so it can easily slide in and out.
The next step is to make the table unique to you. I decided to distress the farm table by using tools around the shop to make the table look worn. I used nails to create wormhole marks and a circular saw blade and hammer to put some character into the table.
I used a #00 Steel Wool and White Vinegar solution to patina the wood and give it an aged look. Put a good handful of steel wool in a jar and add white vinegar. Let the vinegar dilute the steel wool for at least 3 to 4 days. The mixture will get darker the longer you let it sit. I let mine sit for a full week. Once diluted, simply brush the mixture on your piece. Oxidation will occur as the mixture reacts with the tannins in the wood to give it variations in color.
Benches: http://ana-white.com/2013/10/plans/4×4-truss-benches
Looking for woodworking, concrete working, and other DIY projects plans to follow? You can download plans for free at http://gumroad.com/DIYPETE
Facebook: http://facebook.com/DiyProjectsWithPete
Instagram: http://instagram.com/diypete
Pete Sveen
1627 W Main Street Suite 182
Bozeman, Montana 59715